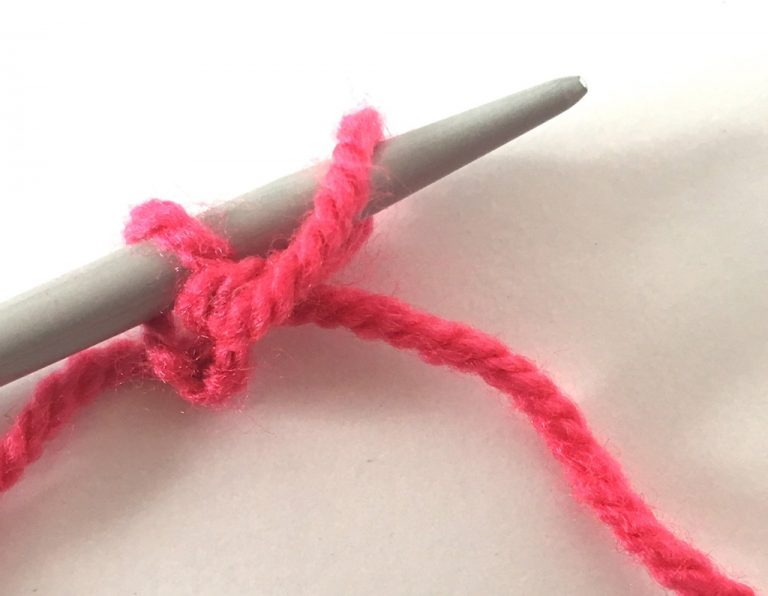
Before you cast on, you need to first make a slip-knot loop. Once you’ve done that, here are two ways to cast on.
The thumb cast-on is the easiest, but the edge is not quite as firm as the knit cast-on, and the first row is slightly more tricky to knit
Thumb style – step 1
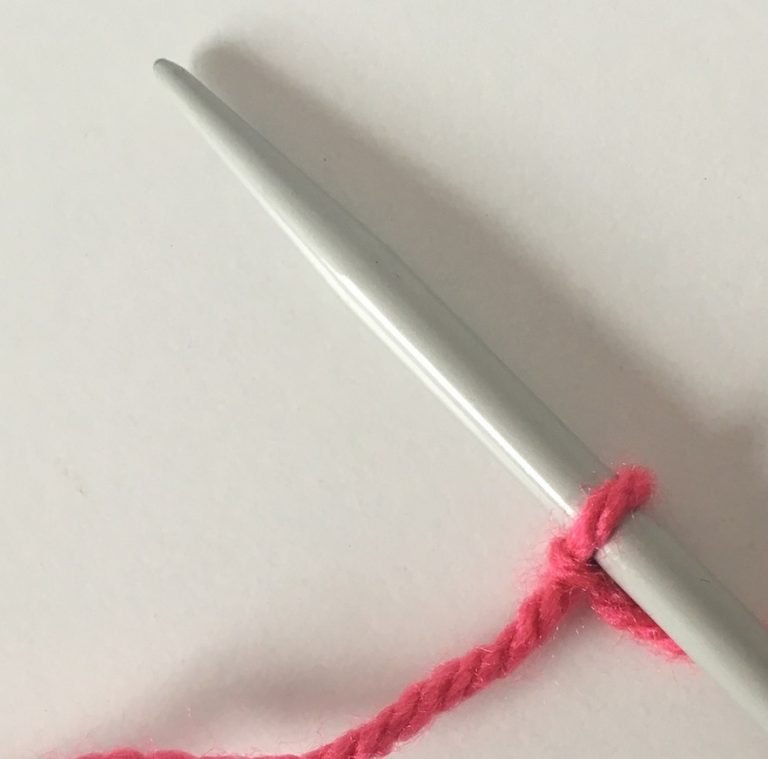
Place a slip knot loop on the right-hand needle.
Thumb style – step 2
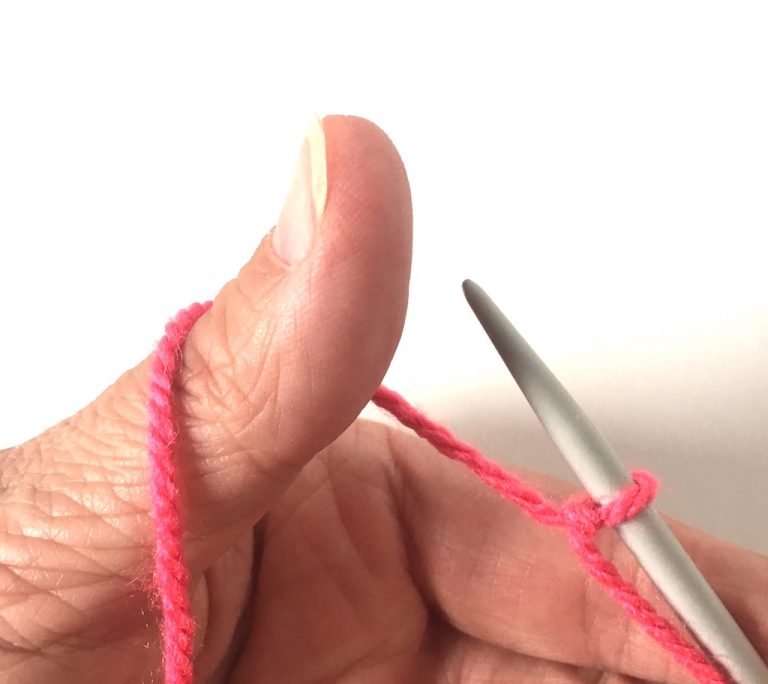
Wrap the yarn from the ball around your left-hand thumb, going behind the thumb and round to the front.
Thumb style – step 3
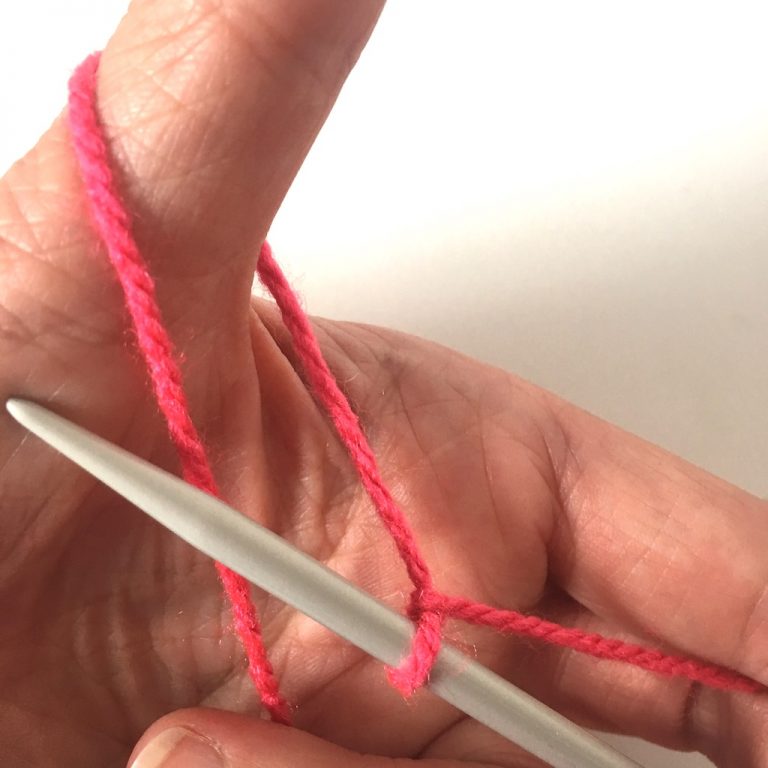
Hold the yarn with a couple of fingers on your left hand, and take the needle in front of the yarn.
Thumb style – step 4
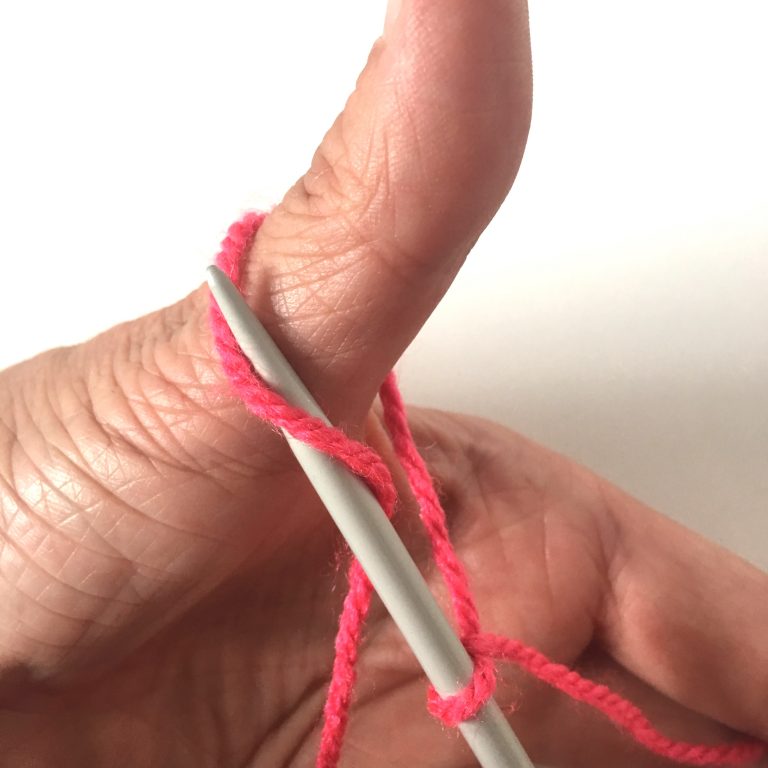
Now take the needle under the yarn and up against the front of your thumb. Now slip the loop off your thumb completely
Thumb style – step 5
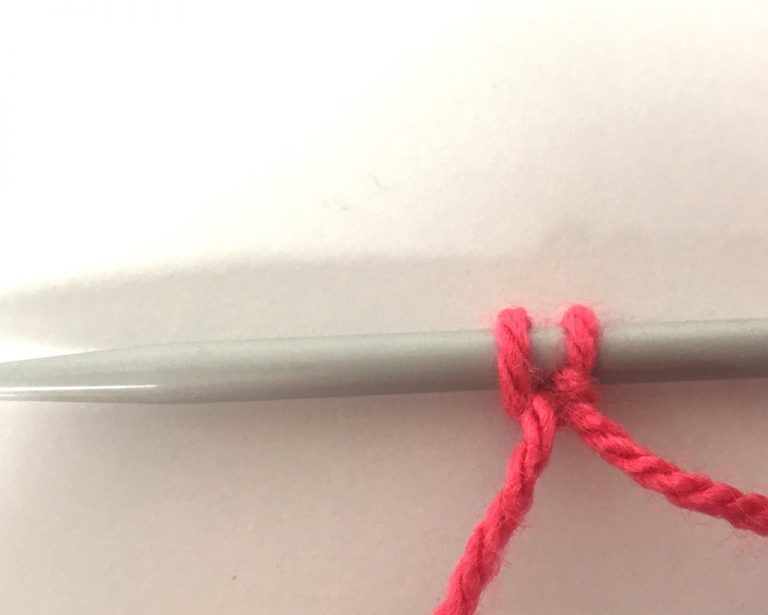
Tighten up the loop on the needle and you have now cast on another stitch. Repeat the steps 2-5 until you have the required number of stitches on the right-hand needle.
Now for the knit style cast-on. This will be easier if you know how to knit a stitch already.
Knit style – step 1
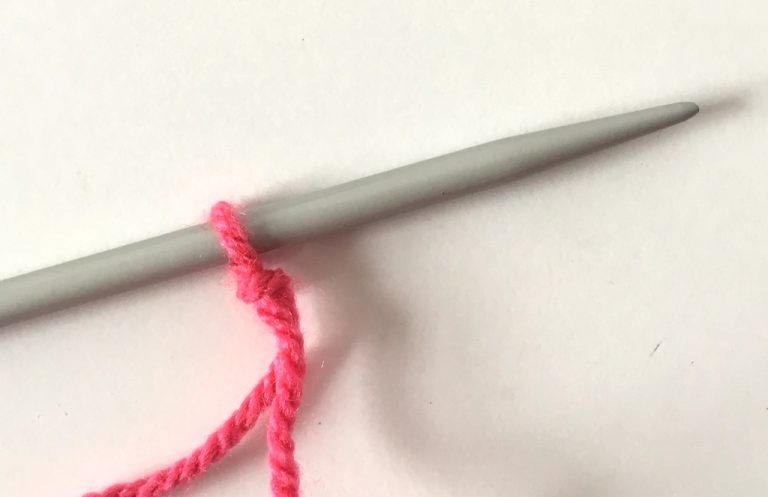
Place a slip knot loop on the left-hand needle.
Knit style – step 2
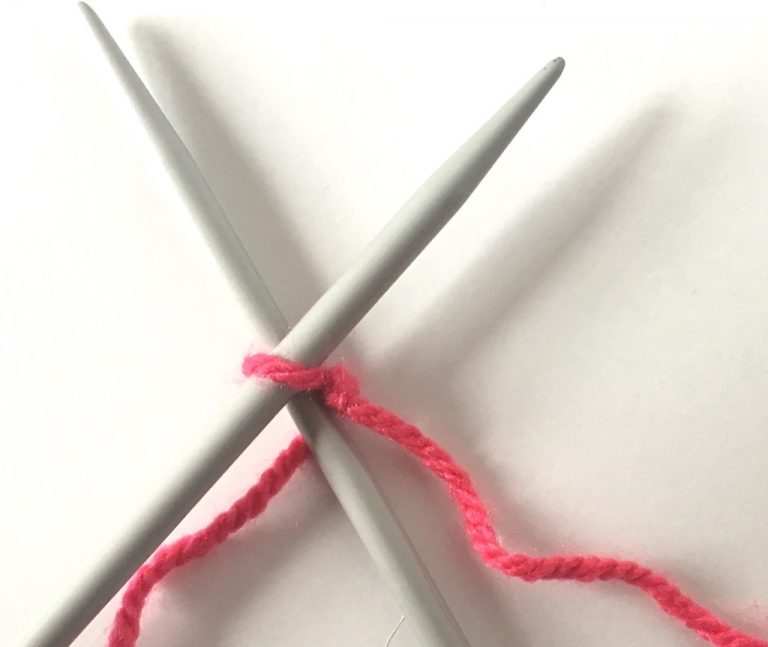
Insert the right-hand needle through the middle of the stitch, going from the left of the loop and through to the back.
Knit style – step 3
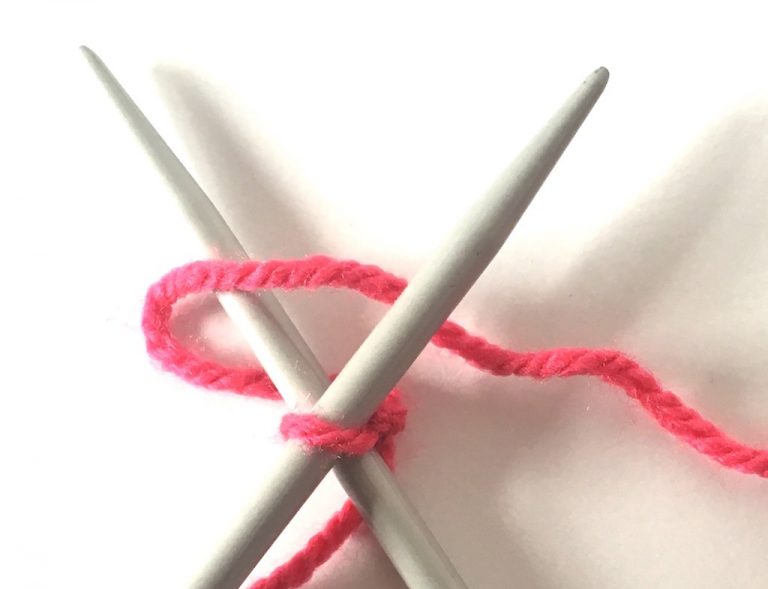
Wrap the yarn from the ball around the right-hand needle going anticlockwise.
Knit style – step 4
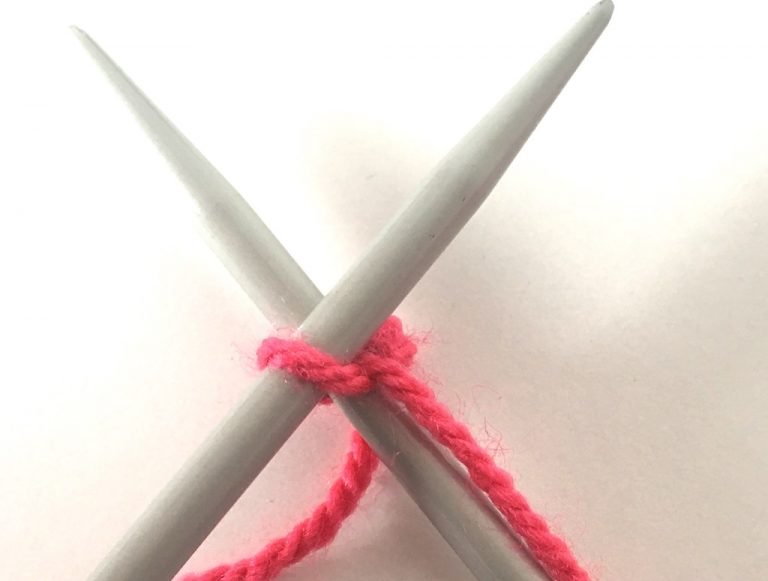
Draw the yarn between the needles and down towards the right, keeping it fairly tight.
Knit style – step 5
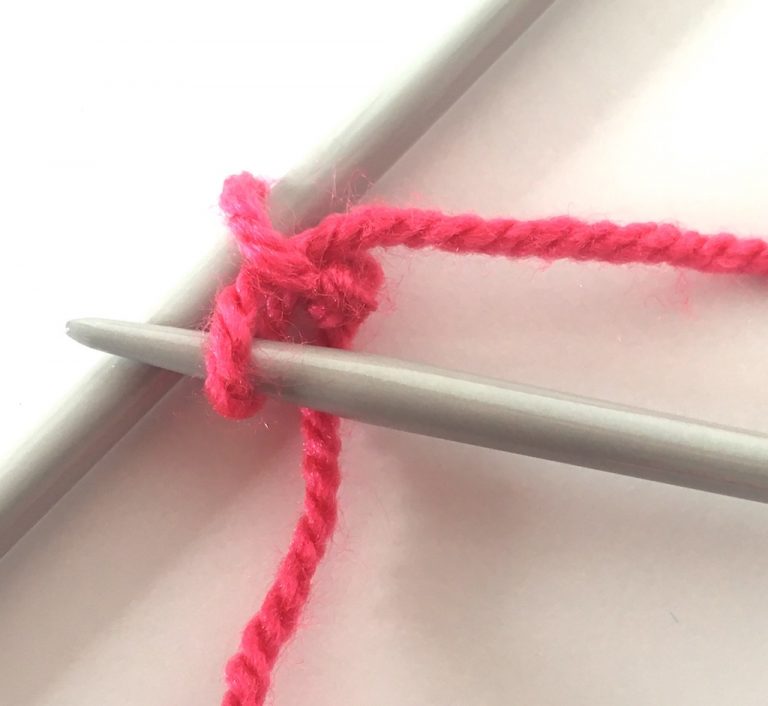
Slide the right hand needle under the left-hand needle towards the front and through the middle of the stitch, forming a new loop.
Knit style – step 6
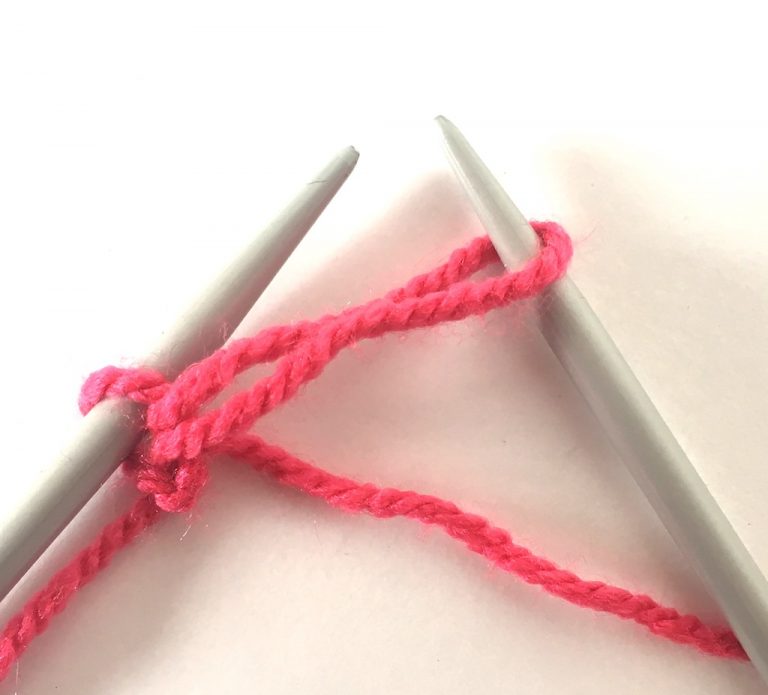
Draw the loop out so that it’s a lot bigger.
Knit style – step 7
You will now be able to slip the loop onto the left-hand needle next to the previous stitch, and tighten it up. You have now cast on a stitch, so repeat step 2 to 7 until you have the correct number of stitches on the left-hand needle.
