Methods of joining granny squares
So, you’ve made a lovely big pile of granny squares and are wondering what to do next… Well, there are so many options when it comes to methods of joining granny squares together, you’re spoiled for choice. And if you haven’t made any yet, here’s my How To guide to making a Basic Granny Square and my own Floral Granny Square)
First of all, decide how the squares are going to fit together. Maybe lay them all out and reorder until you’re satisfied.
Now choose a method of joining. Maybe you want to make the join a feature of the finished design. Or maybe you want to join to be invisible. Whichever you prefer, there’s a method to achieve your goal. (If you live in London, why not come along to one of my classes where I go through all the methods of joining squares together shown below.)
Sewn Joins
Whip stitch: The simplest join is a whip stitch join. This will just be visible from the right side. However, if you make the final edge of all your squares the same colour and use the same thread to sew together, it will be invisible.
Whip stitch
Mattress stitch: This clever stitch, which is done like lacing your shoes, produces an invisible join.

Mattress stitch
Simple crocheted joins
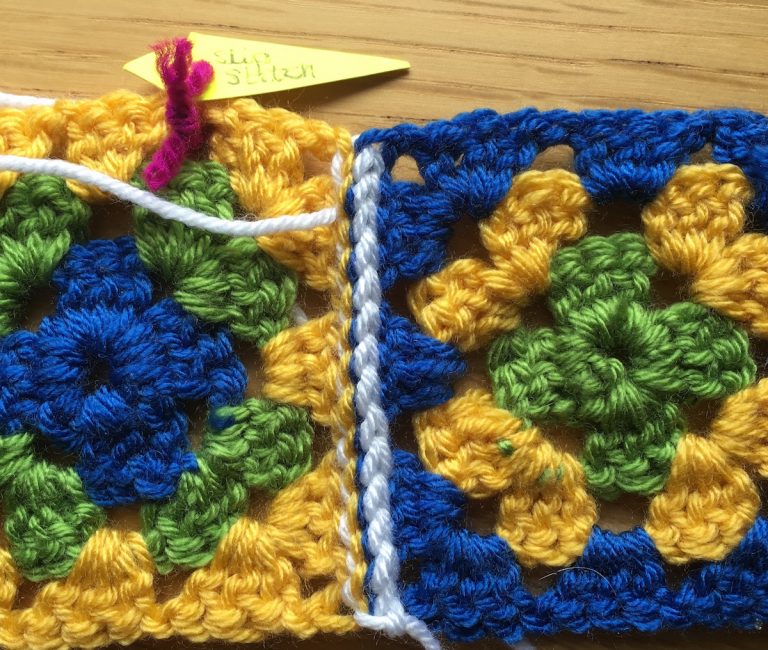
Slip stitch: This produces a more or less invisible join on the right side.
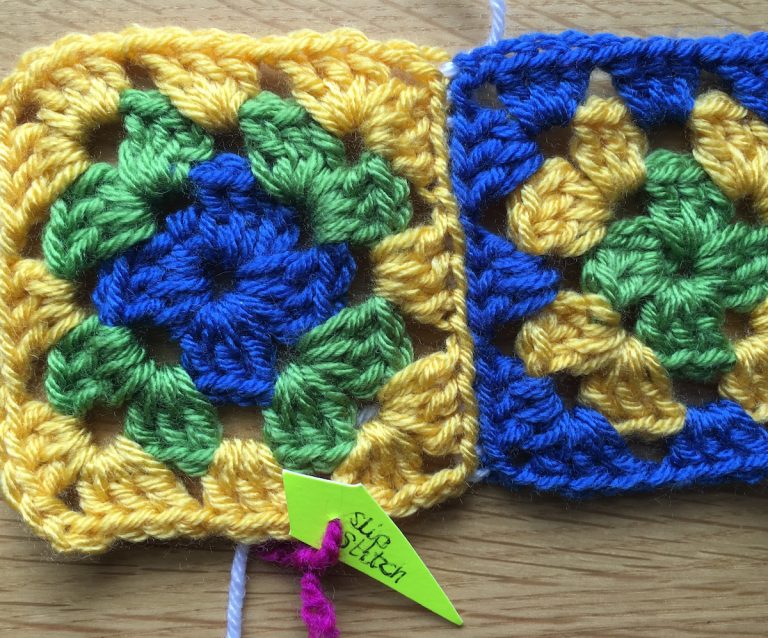
Slip stitch
However you can also use the join on the right side to produce an effect. Here it is on the back of the work, but if you work with the wrong sides together, this is what it will look like at the front.
Reverse of slip stitch join
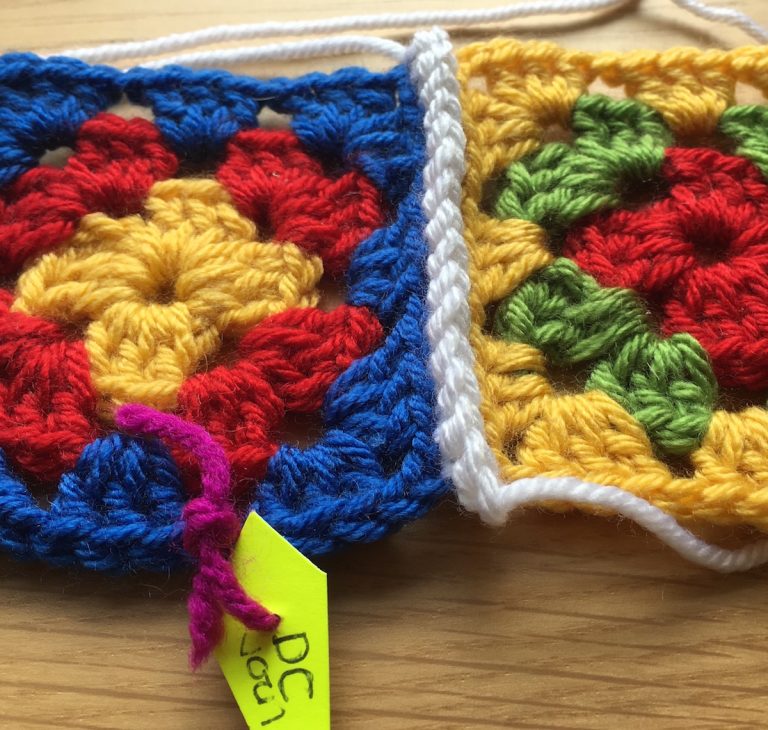
Flat zip join: This is another type of slip stitch join, but it produces a flat decorative join on the right side of the work.
Flat zip join
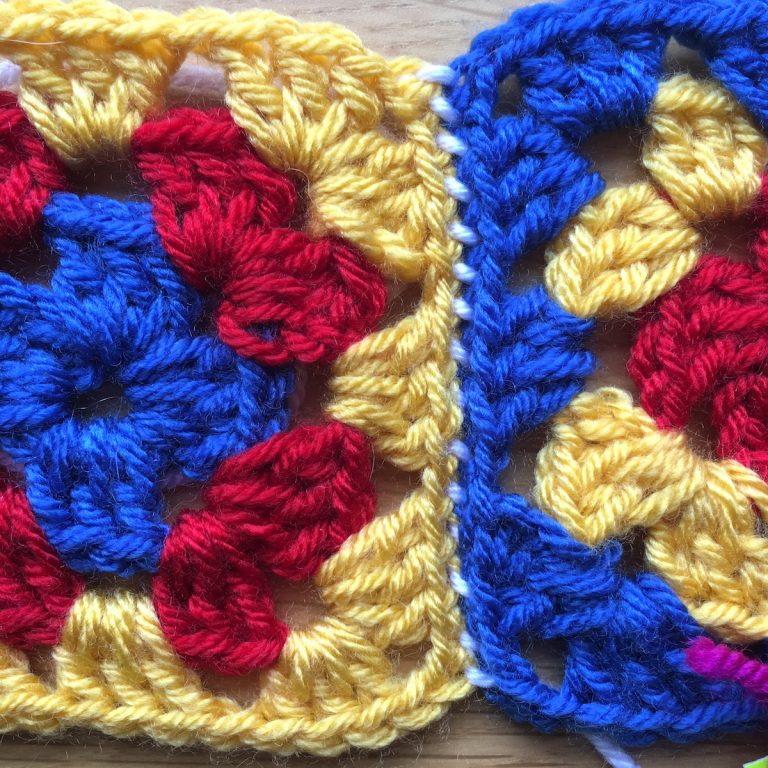
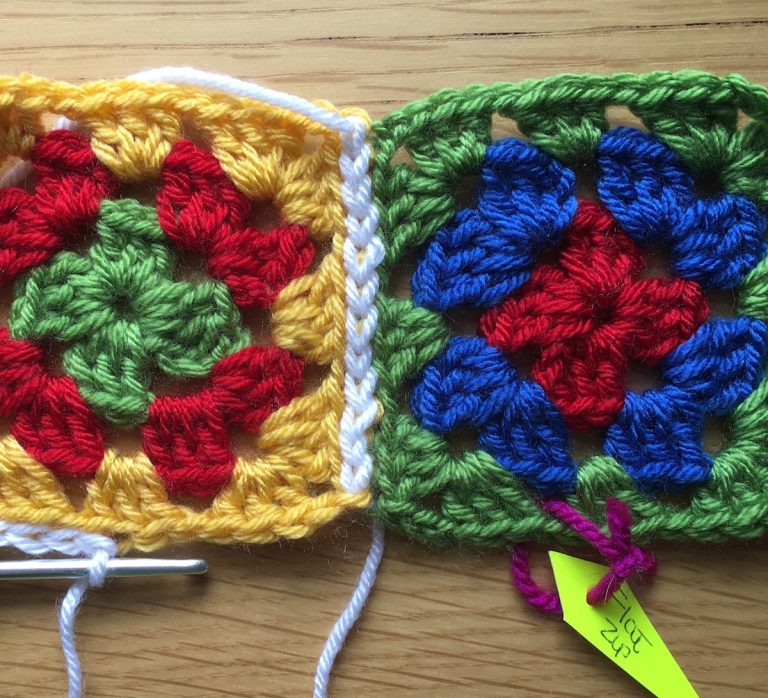
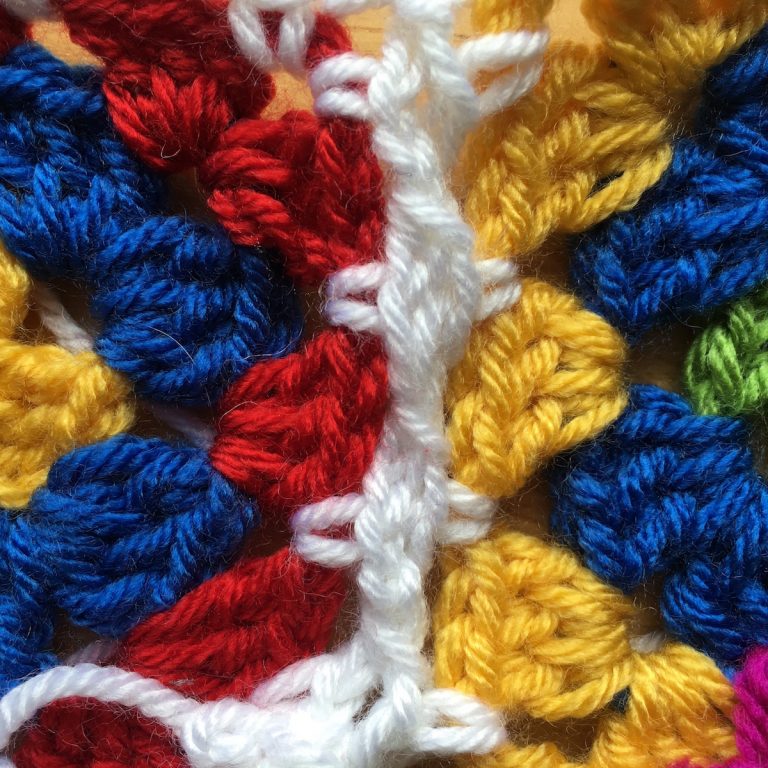
Double crochet join: This creates a ridged join on the right side of the work.
Double crochet join
More decorative joins
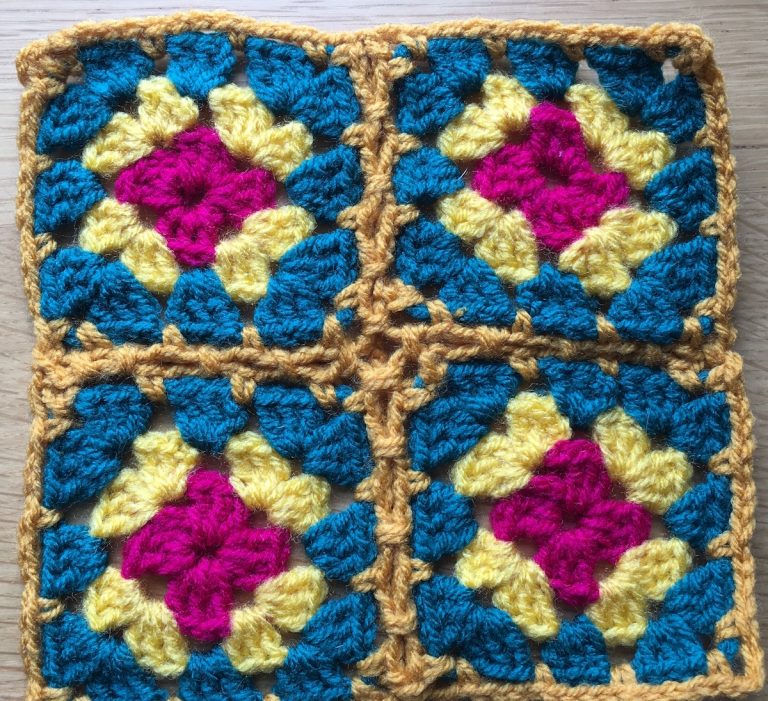
Join-as-you-go: This clever method enables you to join squares as you work them, however you need to plan out the design before you start.
Join-as-you-go
You also need to join in a certain pattern. Here’s a chart to show you how…
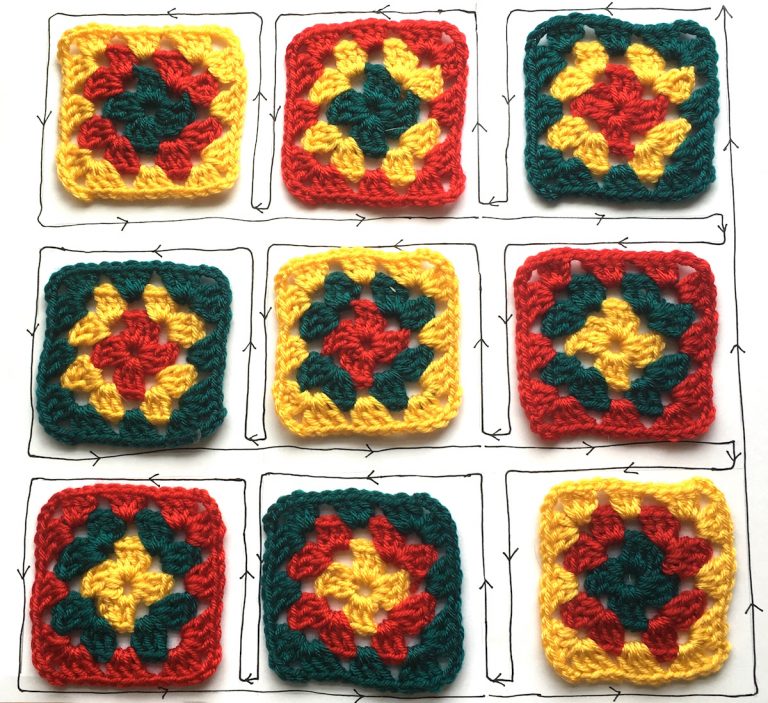
Join-as-you-go chart
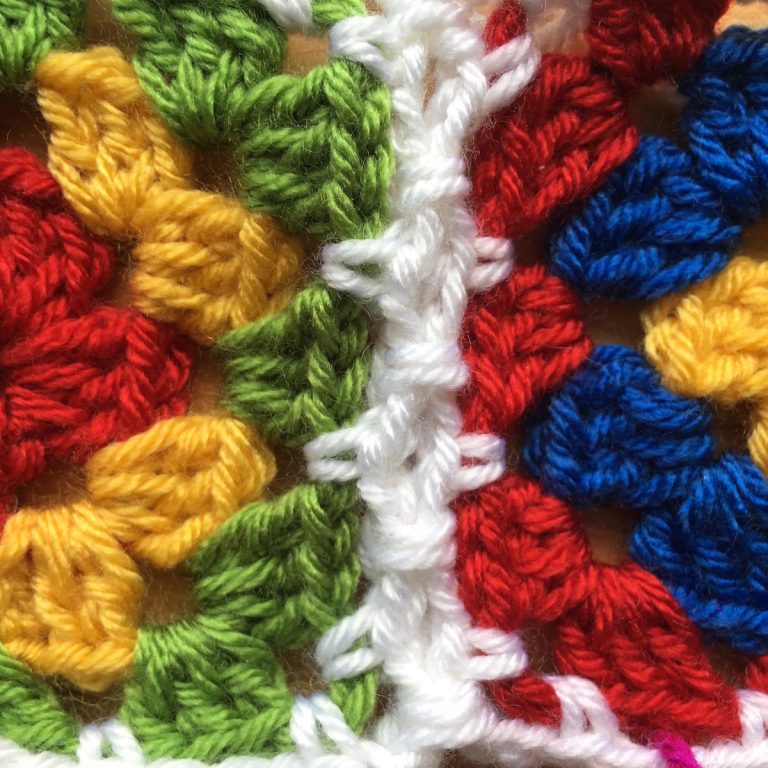
Flat-braid join: This decorative join can be worked in the JAYG method if you wish. Or you can work in strips.
Flat-braid join
Scallop join: This looks very similar to the flat braid join, but it doesn’t involve taking the loop off the hook , then picking it up from behind work when joining squares together.

Scallop join
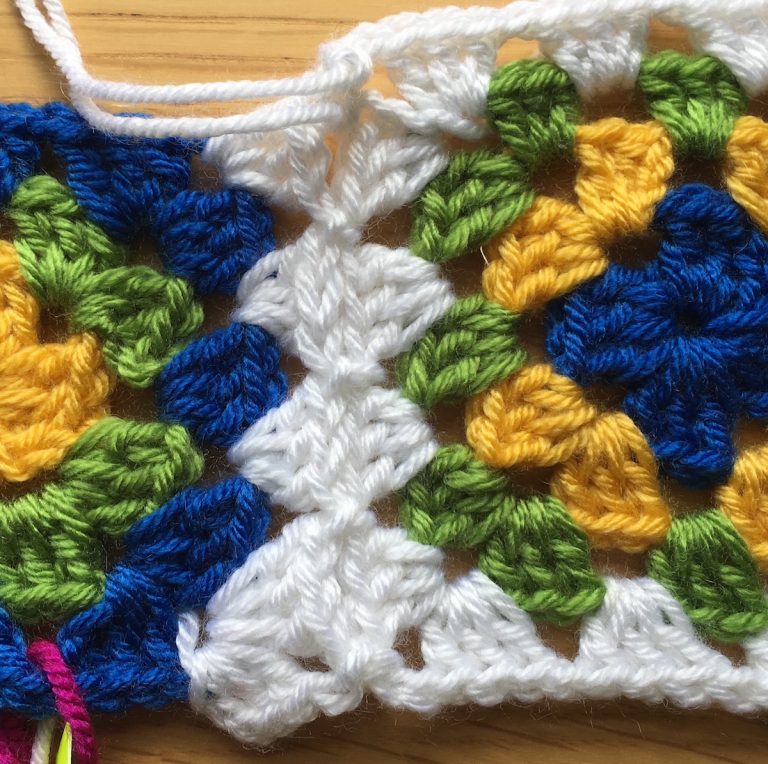
Simulated braid: Finally, here’s one that looks much more complicated than it is!
Simulated braid
Here’s what it looks like when you’ve joined a few squares together…