Bright yarn to get you noticed!
Go Bright with your yarn choices!
Bright yarn can add zing to a jumper! A simple striped top becomes a garment that means you’ll really make an entrance in if you choose to mix up some eyecatching shades…
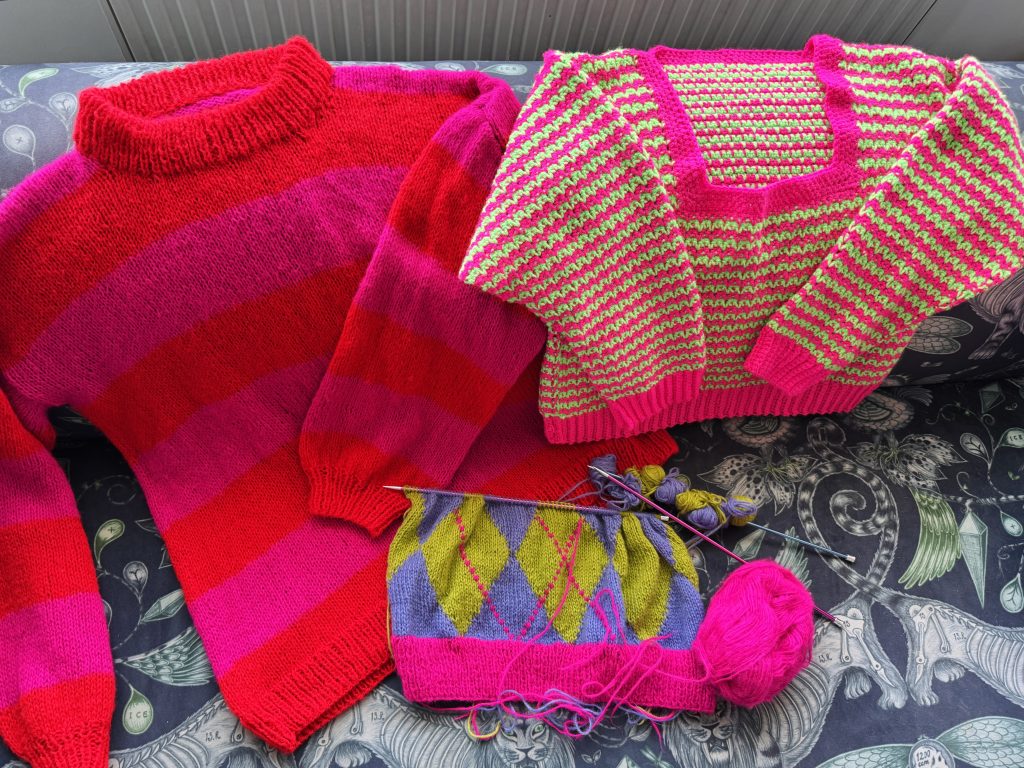
I’ve loved knitting and crocheting with bright, neon-coloured yarns recently. And there are so many about to choose from. I particularly like the new Sirdar Soft Down DK which has lots of bright colours in its spectrum. As it name suggests, it’s as soft as soft can be. Made with 20% wool and 80% acrylic, this brushed wool blend definitely goes a long way. In fact, the stripey jumper I made only took four 100g balls.
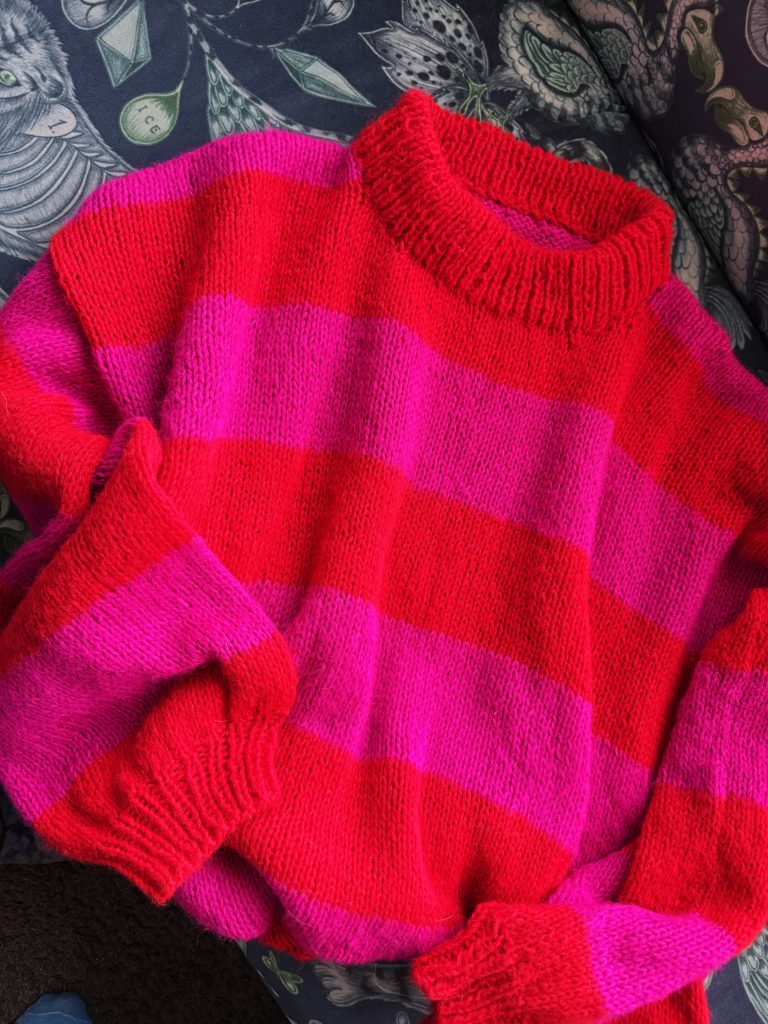
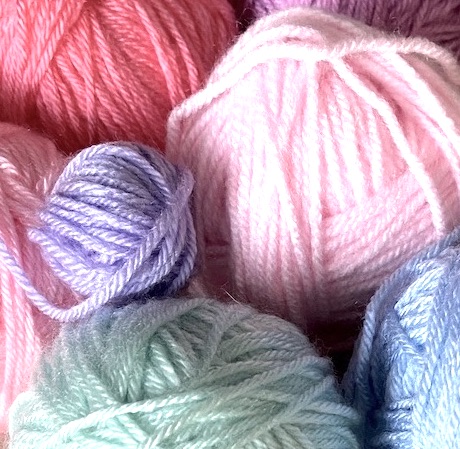
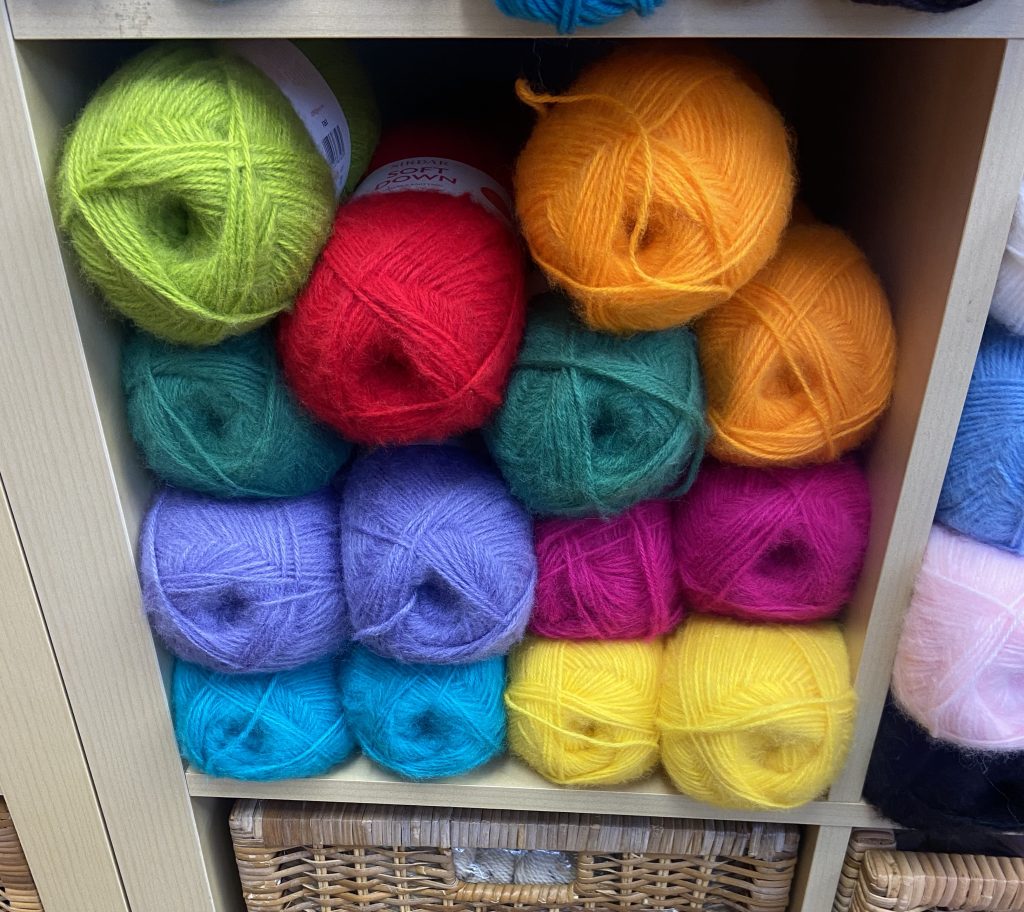
I chose Scarlet Blur and Fuzzy Fuchsia for my stripey jumper – the original pattern was shown in pale pink and orange, but I just loved the vibrant shades together. Here are a few of the shades available.
After finishing my knitted jumper, I still had plenty of bright pink yarn left. I decided to knit an Argyle syle jumper too with two new shades, and using the pink for the ribs and diagonal-line highlights. This one goes full-on 80s, using Matcha Haze and Lilac Whisper for the large triangles.

I’m using the intarsia technique for this one (not my favourite, because of all the darning in!). I’ve discovered a way to keep all the separate balls tangle free though. As it’s a geometric pattern, I just use the first colour and slip it onto a spare needle. The next colour is used, then slipped on next to the first. At the end of the row, all the little balls are in order on the spare needle. On the way back, I just take each one off in turn to knit with, then put it on another spare needle. You just need to take care not to split the yarn on the balls as you slide them onto the spare needle…
Not sure how long this one will take to knit, but it’s growing quite quickly!
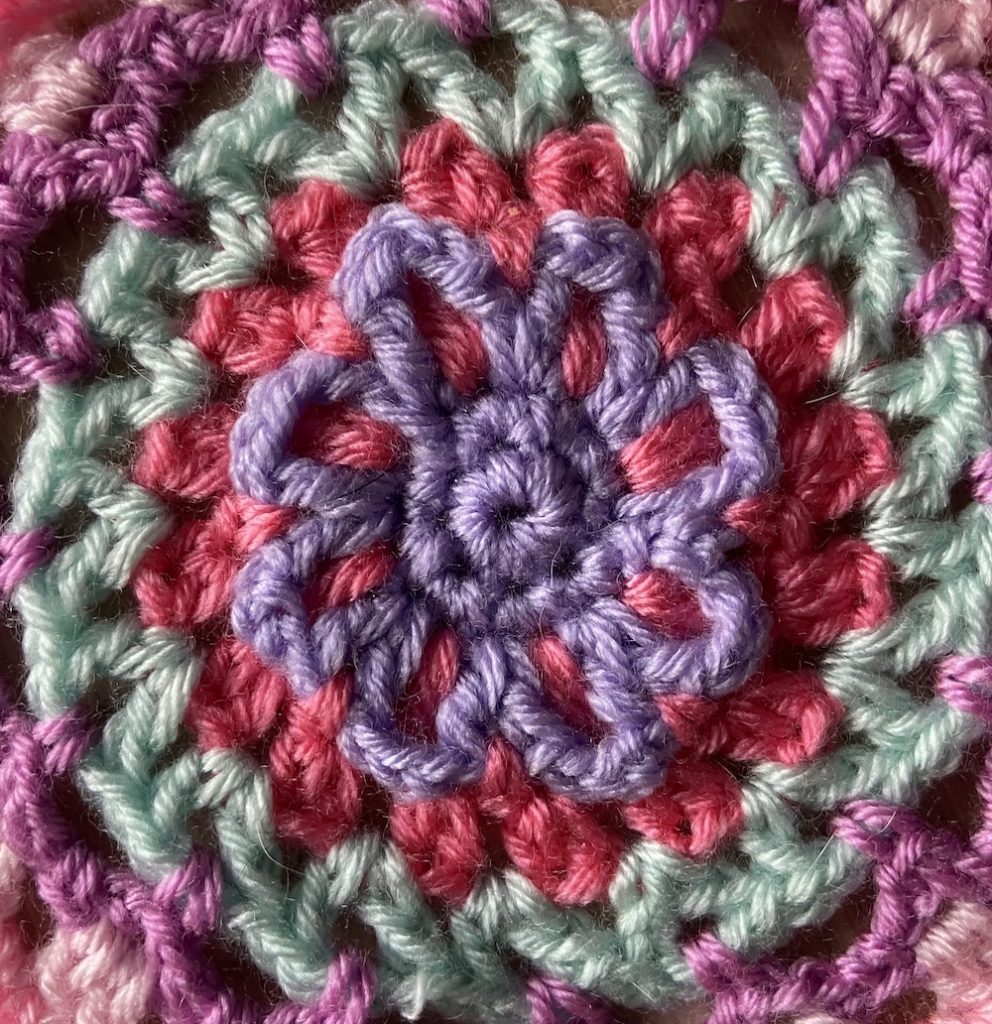
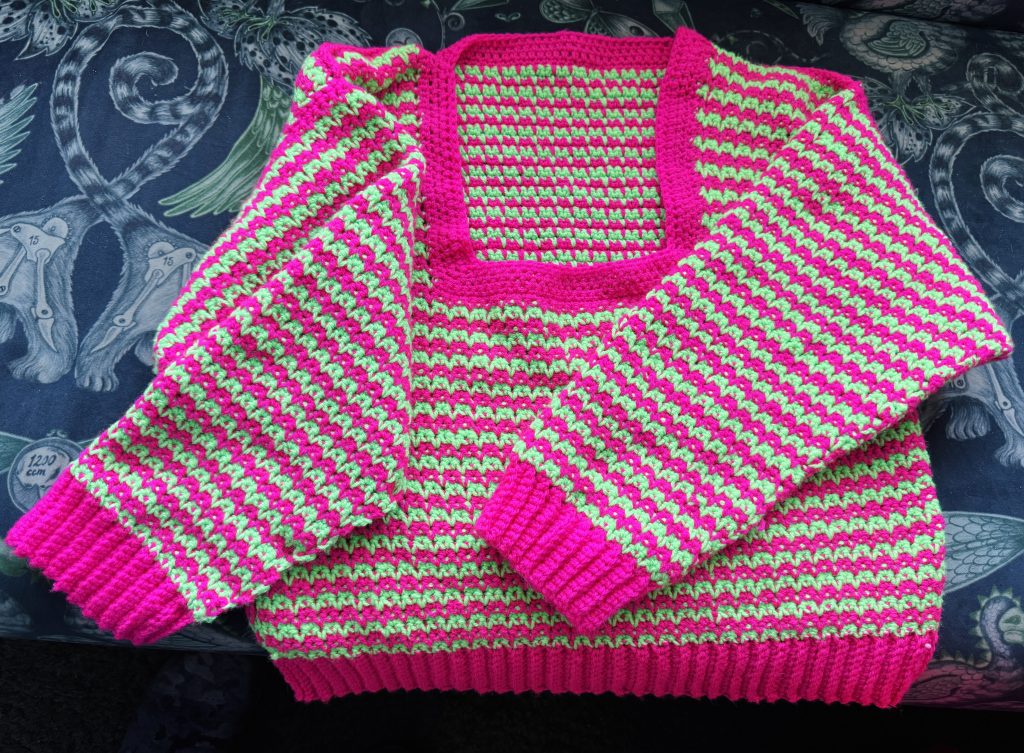
Now for bright crochet
I already had a number of balls of Stylecraft Studio DK in Fiesta and Bright Green – really bright, neon shades which clash perfectly!!! I crocheted up a zingy jumper in this bright yarn. Green and pink stripes with a pink rib – really packs a punch.
Don’t forget, if you’re a knitting or crochet newbie, I’ve courses and lessons to help you if you live in Thanet – check them out here – you’ll soon be ready to start your own bright project.
Which colours have you used recently? Love to hear about your projects.