• All about me
  • Blog
  • Favourite links to blogs, places and people
  • Features and Interviews
    • An interview with Dee Hardwicke
    • Knitwear designer Martin Storey – an interview
    • Louisa Harding, knitwear designer talks to Annie Windley
  • How to guides
    • 1 Making a slip knot
    • 2 Cast on – a step-by-step guide
    • 3 Knit stitch – a step-by-step guide
    • 4 Purl stitch – a step-by-step guide
    • 5 Cast off – a step-by-step guide
    • 6 Making a chain stitch
    • 7 Making a double crochet stitch
    • 8 Making a treble crochet stitch
    • How to make a Basic Granny Square
    • Joining granny squares
  • Lessons in Thanet and North London
    • Crochet projects
    • Now We’re Knitting! (beginners)
  • Patterns
    • Annie’s Advent Calendar: Christmas CAL 2018
    • Carrot & pea bunting pattern
    • Fallen Leaves Autumn Cowl
    • Floral granny squares & little flowers pattern
    • Little crochet heart pattern
    • Little Tea Cosy pattern
    • Waffle Blanket
  • Shop
  • Spring Granny-Square Bag CAL pattern
Picking Up Stitches

Knitting, crochet, cross stitch and more - the wonderful world of working with wool

Uncategorized

Spring crochet in pastel shades

February 20, 2024 by Annie Leave a Comment

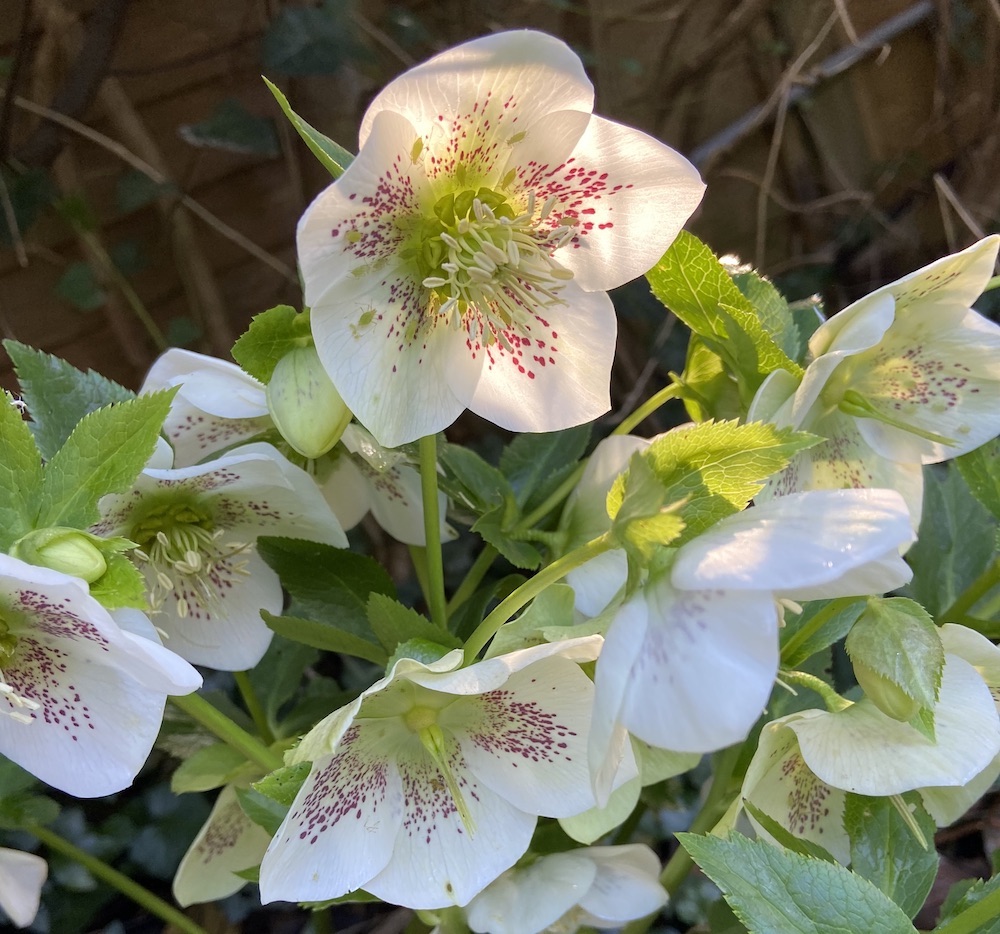
I can’t believe that spring is nearly here again! The spring flowers are beginning to bloom. Hellebores, daffs, and crocuses, snowdrops and primroses all bring a welcome dash of colour to the garden.

Pale cream hallebores with purple spots

Welcome spring sunshine is gradually replacing the cold, grey mornings! So what better than a few projects in pastel shades to brighten up the wardrobe too!

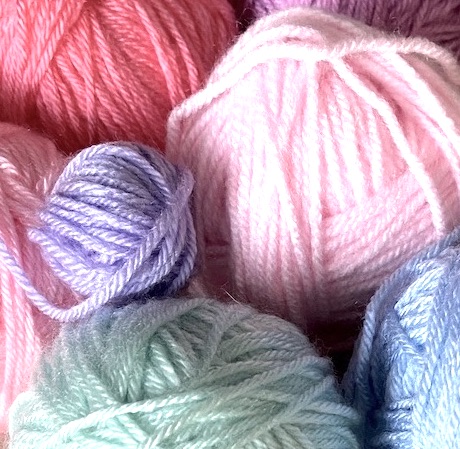
Diving into the yarn stash

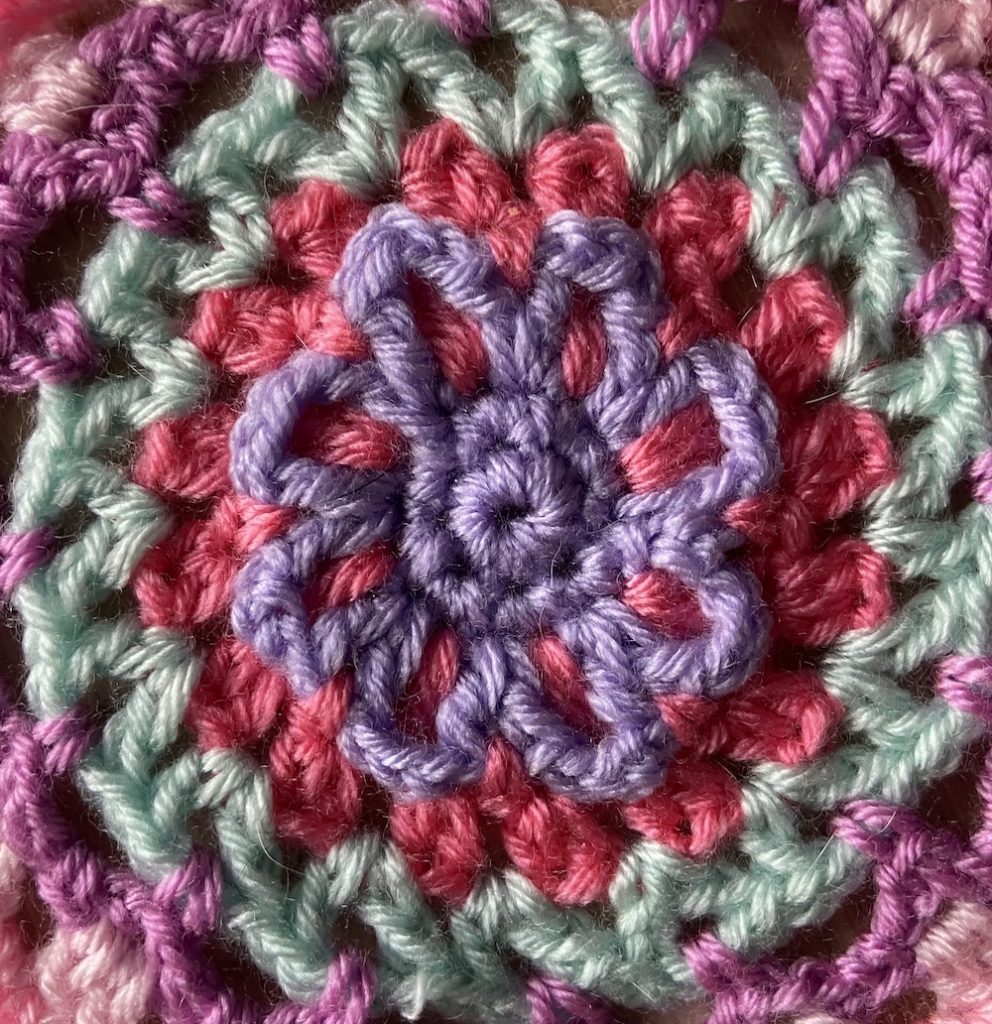
Luckily I found a few balls of Stylecraft Special Baby DK in my craft room. They were just waiting to be turned into something springlike! I decided to design a special square block to take advantage of all the shades. The block starts with a circle in the middle, followed by ‘petals’, and then builds up outwards until it almost turns into a granny square at the edge!

close up of centre of spring pastel block

Spring accessories

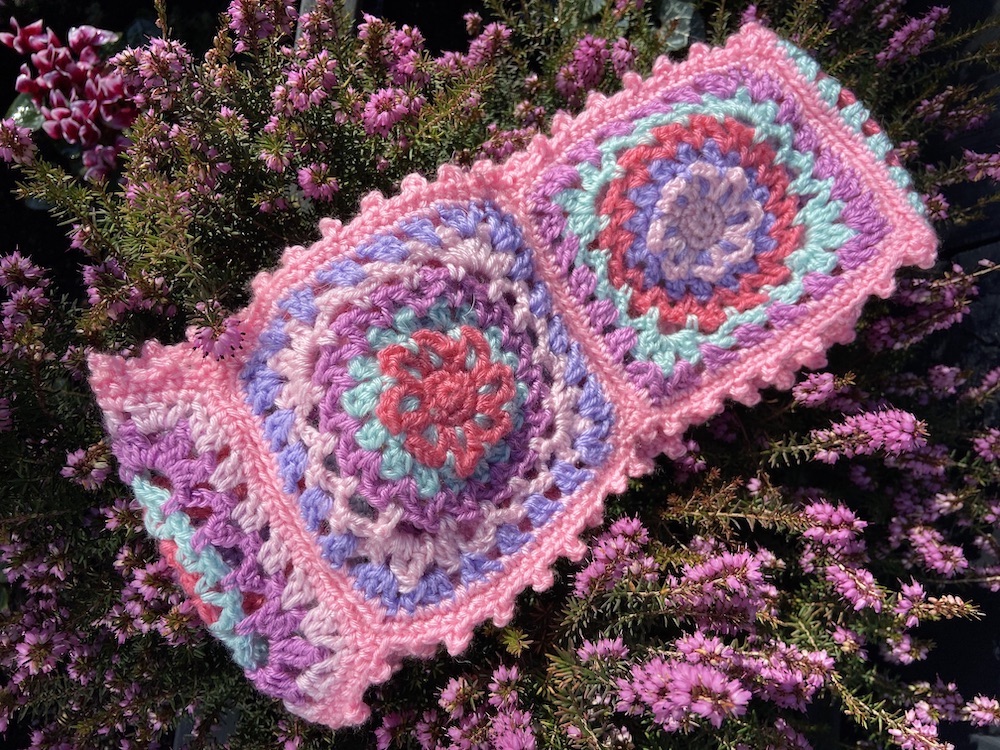
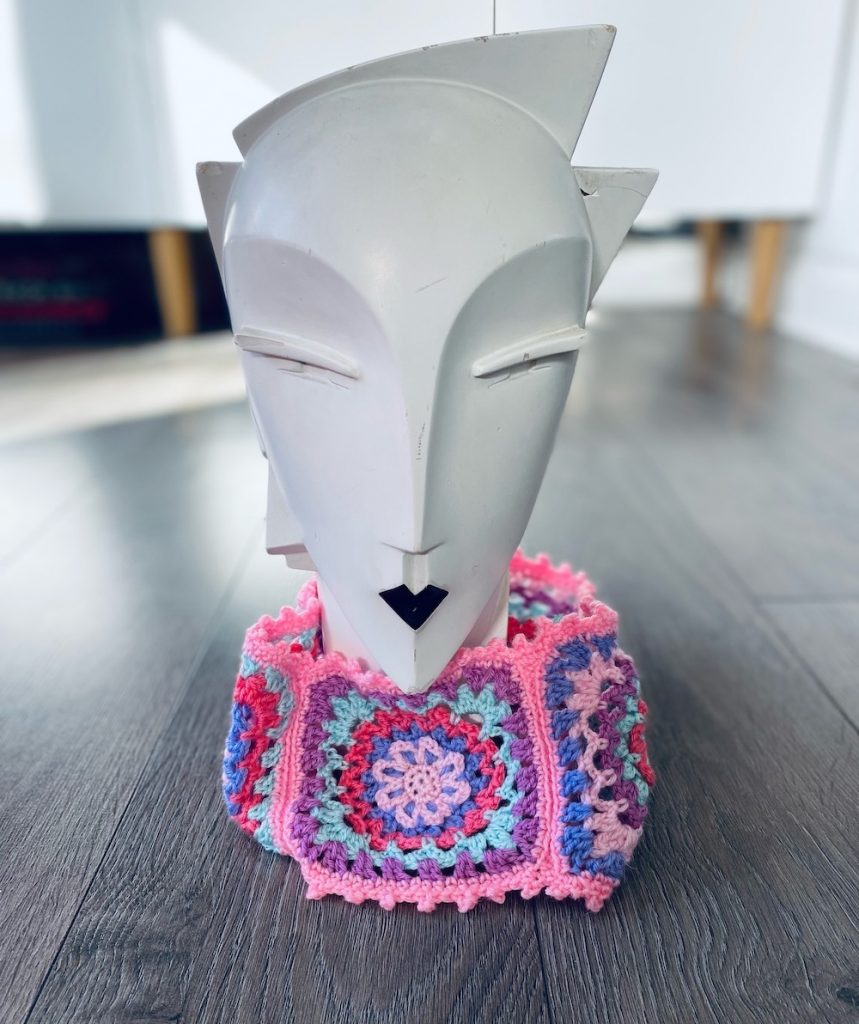
Once I’d made a few of these, I had to decide what to turn them into. I added a pretty picot edging, and turned five of the squares into a Spring neckwarmer. (Well, the chilly temperatures haven’t disappeared completely yet, have they?) And doesn’t it look perfect on this pinky-purple heather?

Spring neckwarmer on pink heather

It’s even more beautiful worn around the neck, as this stylish model demonstrates!

Spring neckwarmer on model head

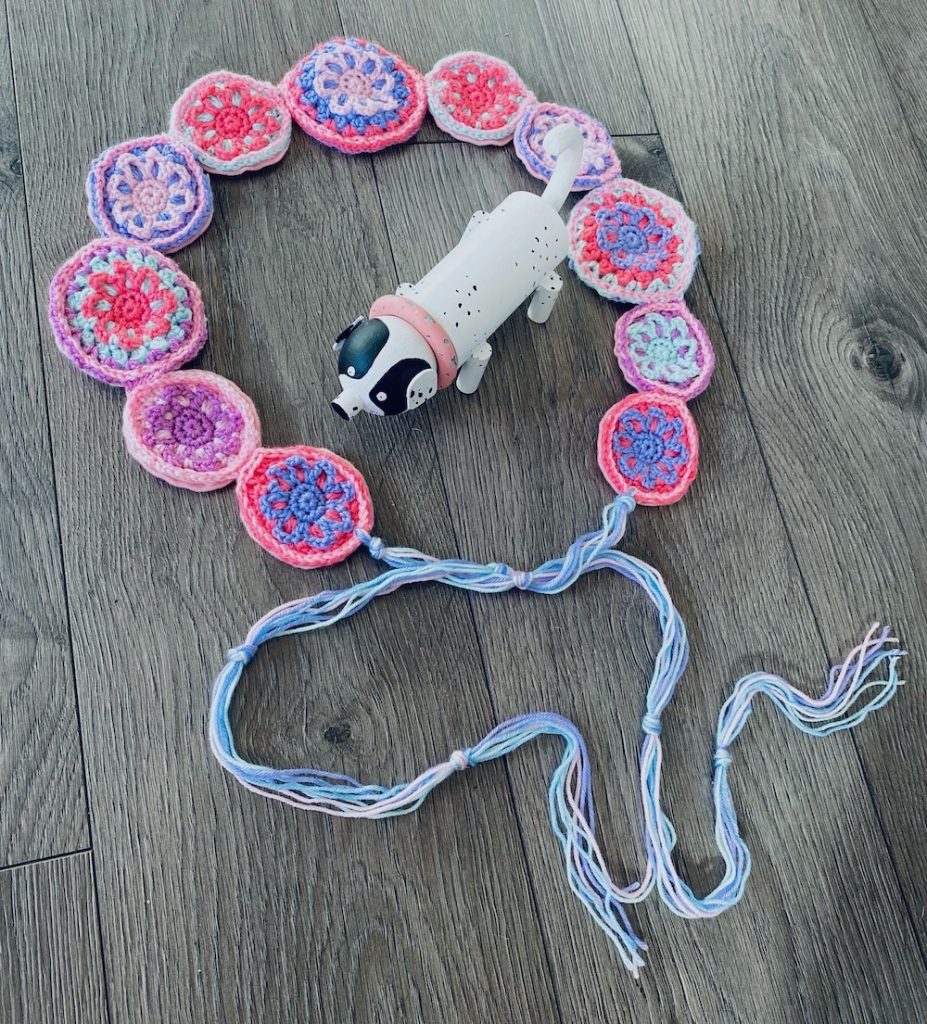
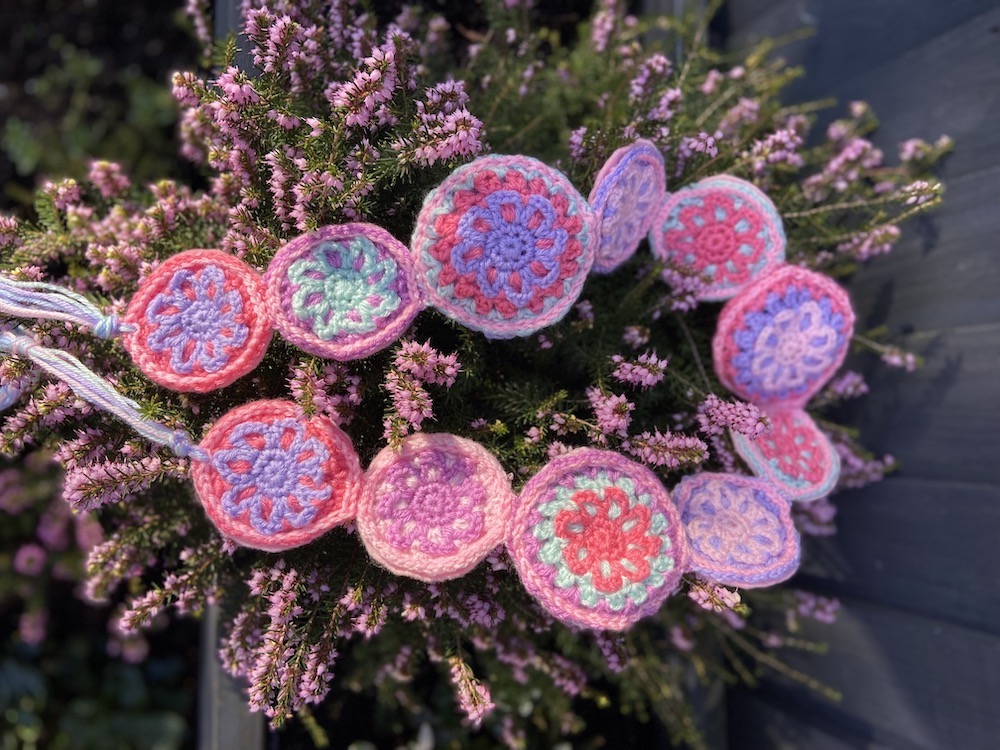
I still had lots of yarn left though, so I decided to crochet a series of circles, simply using the centre of my pattern. I turned them into this spring belt – very 70s style! (It reminded me of my dog Lily’s collar, which is just like the one on this lovely wooden model of her from Studio Todd in Margate!)

70s style spring belt with a model of our dog Lily

And here it is on the heather in the garden!

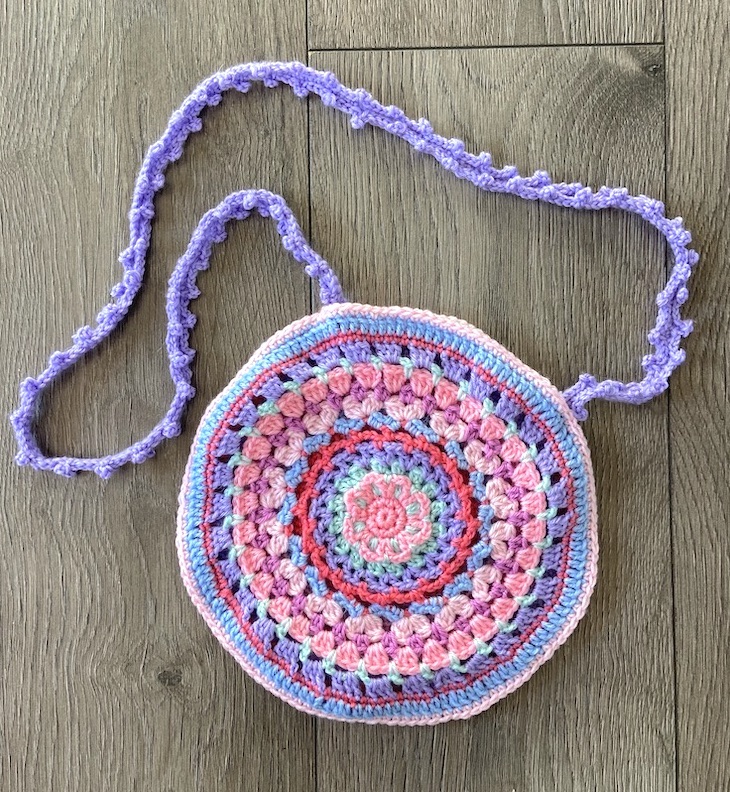
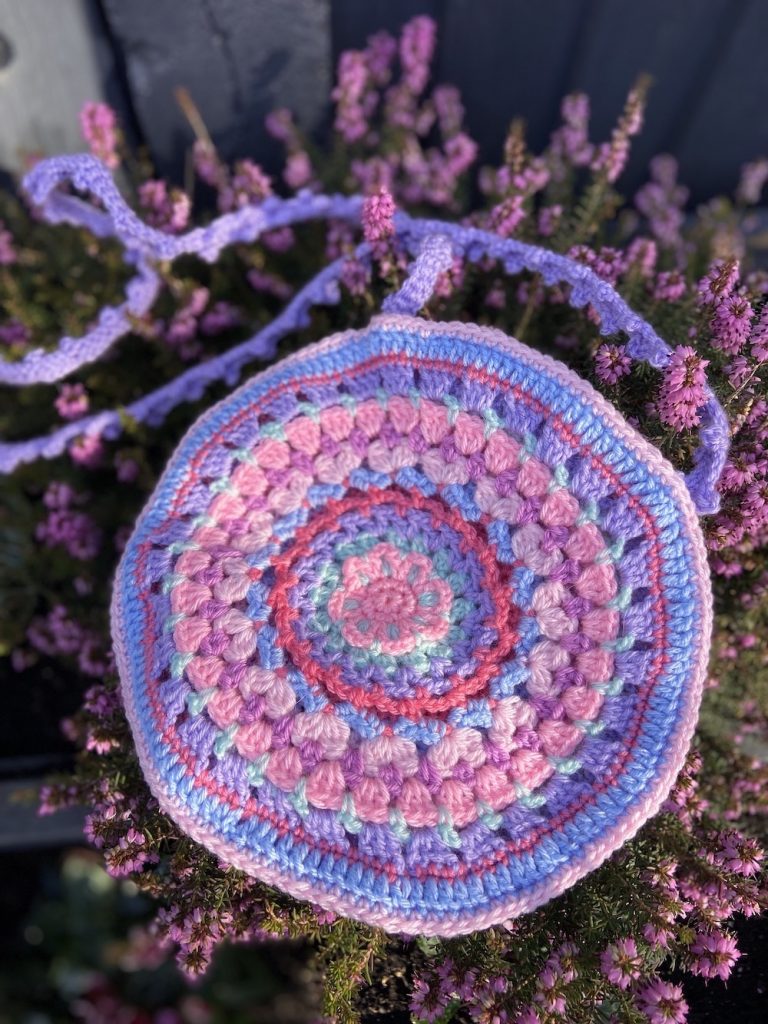
Of course, to finish off the look, I had to make a matching circular bag! The strap has picot edging, just like the neckwarmer…

Crocheted circular spring bag

Hope you like my spring look!

Want to learn how to crochet them?

And, don’t forget, if you’d like to learn how to make any of these items and you live in Thanet, why not arrange a lesson and I can teach you. See here for details. Or see the Kent Adult Education website for details of a half-day Easter crochet class I’m teaching – perfect for a spring treat!

Posted in: classes, crochet, inspiration, Uncategorized Tagged: Pastel shades, spring

Learning to crochet or knit on Zoom!

November 6, 2020 by Annie 10 Comments

Learning a new skill is a brilliant thing to do at any time. But especially during lockdown, it’s wonderful to take up a new craft to keep you busy while you’re stuck at home.

For me, teaching people to knit or crochet has been so difficult since the beginning of lockdown. I always like to be able to see clearly what people are doing when I’m teaching them. That way, I can help them with whatever they’re finding most challenging. Here’s one of the lessons I held in North London last year, before the pandemic hit our shores.

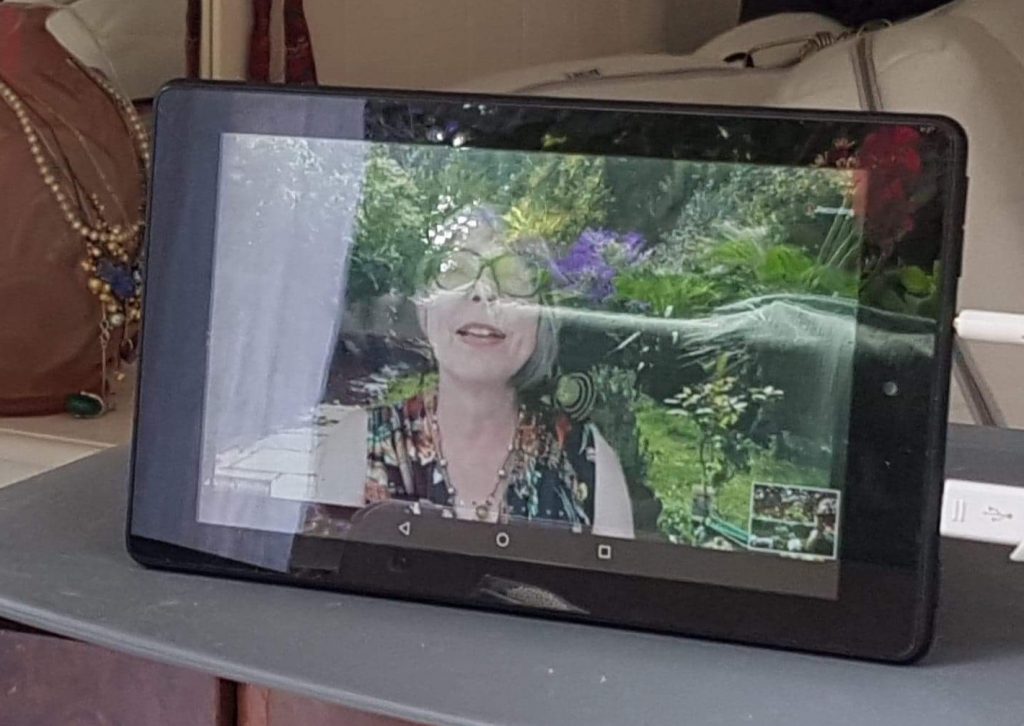
Of course now, with the two-metre rule, teaching like that is almost impossible. I’d been wondering about how I could carry on teaching people who were interested in learning to crochet or to knit during lockdown, and I’ve now decided to offer one-to-one lessons using Zoom!

That way you can still get individual attention and learn how to make exactly what you want! Also, I’ll be able to teach you, wherever you live! Even if you live outside of London or Thanet, where I usually teach

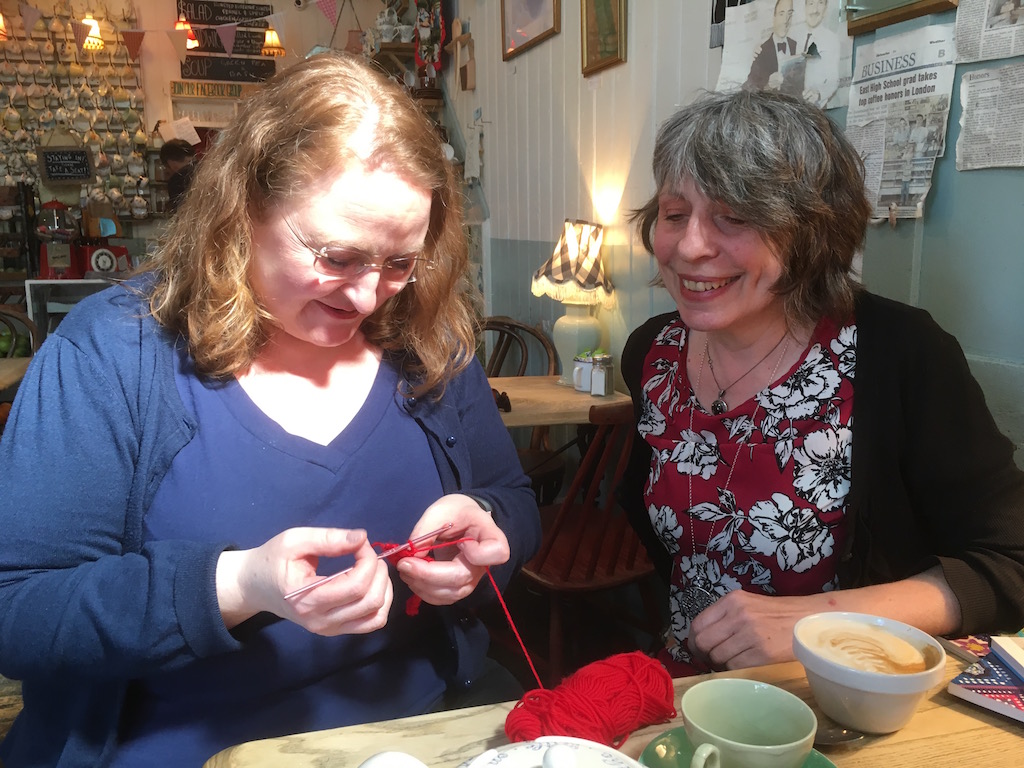
So although I won’t be teaching you like this…

Learning to crochet at a cafe before lockdown

… you’ll still have my undivided attention, just via a screen.

If you haven’t yet used Zoom, all you need is a computer or tablet and an internet connection – it’s so easy! Don’t worry, I’ll explain exactly what you need to do…

Just think what you’ll be able to make!

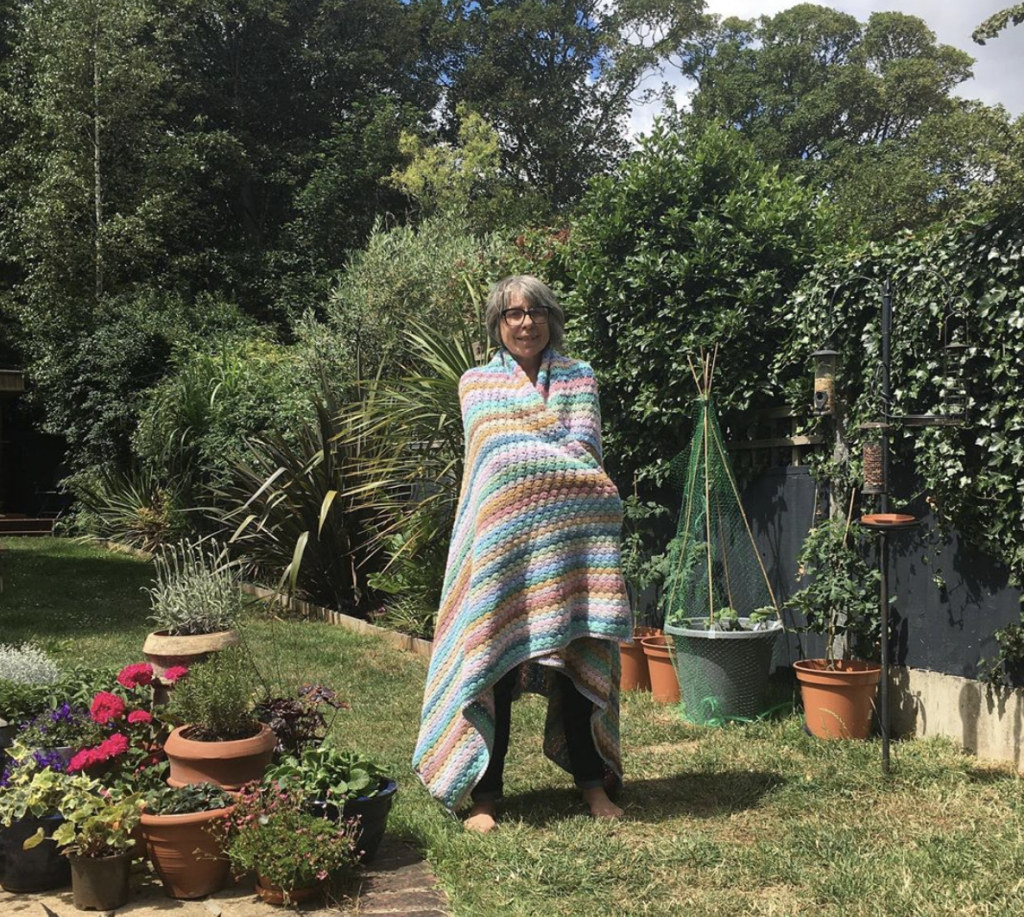
And what a brilliant pastime knitting and crocheting is while you’re stuck at home! I’ve been busy finishing all sorts of projects – I finally had time to crochet a blanket by Attic24 I’d been meaning to make for ages…

Just think – if you learn now, you’ll still be in time to crochet or knit some Christmas presents! So take a look at the crochet projects on my page here or decide what you’d like to learn to knit and drop me a line if you’re interested in arranging a lesson… More info here
UPDATE: Because the lockdowns are thankfully a thing of the past, I’m no longer offering Zoom lessons, but instead just offering face-to-face sessions in London and the Thanet region of Kent.

Posted in: classes, crochet, knitting, Uncategorized Tagged: classes, crochet classes, knitting

Helpful Notes on the Spring Bag CAL

April 28, 2020 by Annie Leave a Comment

I thought I’d add some (hopefully) helpful notes here, to explain how you can prepare each section of the Spring Bag CAL so that they’re ready for joining together eventually, then tomorrow, Part 2 of the instructions will be here…

Helpful notes 1 – Darning in the ends

As there are lots of colour changes in this pattern, guess what?! That means loads of ENDS!!!!! You’ve probably already noticed if you’ve done the first Part. And each one will need darning in, so that your work won’t unravel as soon as you begin using the bag. Make sure you leave a long enough end when you start each new colour and when you cut off the colour at the end of the round, to make it easier to darn in.

A useful technique

If you can manage it, a useful thing to do is to crochet over each new end as you go along, then at least it’s partially darned in automatically. It only works on rounds where you’re working a number of stitches in the same place though…

Here’s an example – it’s the second round. I’ve joined in my yarn and done the initial 2 chain stitches. You can see that I’ve placed the green loose end along the top of the lilac stitches on the first round.

Now, when I insert the hook through the space for the first treble, I’m also putting my hook under that loose end.

Once I finish my treble, it’s secured that end in place.

I do that again with the double treble and treble.

Here’s what it looks like on the back…

Now it’s quite secure, so I can leave the loose end at the back. To be on the safe side, I usually still darn the yarn back the opposite direction once I’ve finished the round, read on for how to do this…

Get your darning-in needle out

Once you’ve finished each piece of this CAL, it’s easier if you darn in any loose ends. That way, when you come to join the pieces together, there won’t be so many ends getting in the way.

You’ll be darning in on the back of the work so it isn’t visible on the front.

Thread that needle and look for some handy stitches that you can weave the end through… Here I’ve found some brown treble stitches to weave my pink thread through.

I put my needle through the middle of the stitches – here I’ve gone through 3 stitches.

Now I turn back the other way, miss the first stitch and thread the needle through the middle of the stitches going in the opposite direction.

This should be secure now, but you can turn and go back the other way, missing the first stitch if you prefer. Now you can trim the end off completely, safe in the knowledge that it won’t unravel.

Notes 2 – Blocking

Blocking is a step that you do to set the crocheted piece into it’s final shape. So only do this stage once you’ve finished the whole of a main square (that’ll be after Part 3 on Friday). Then block out each completed piece as it’s finished.

Get yourself a pile of towels, or fold one up so you have several layers. Using rustproof dressmaking pins (if you have rustproof ones), place your square on the towel and pin the corners so that piece is exactly a square. Don’t stretch it too much, just ease the corners slightly so that each side is straight. Now you can add a few more pins along each side.

If you have a mist spray bottle (like a plant spray), just lightly spray the square with tepid water. You don’t want to make it soaking wet, just slightly moist. If you don’t have a spray bottle, you can just cover the square with a damp cloth till it’s damp. Now leave the square until it’s completely dry.

Sometimes with acrylic yarn, an extra boost is necessary. I very carefully use my steam iron. VERY IMPORTANT DO NOT TOUCH THE CROCHETED PIECE WITH THE IRON (if you do touch acrylic yarn with a hot iron, it will ‘melt’ or fuse in place, or even stick to your iron which is not what you want at all!). I hover my steam iron a couple of inches above the pinned-out crochet piece and give it a short burst of steam. Once I’ve done this to the whole piece I leave it till it’s completely dry before taking out the pins.

So now you know all about the finishing touches, you’re ready for the next few parts of the CAL.

Posted in: Uncategorized Tagged: Blocking, crochet tips, darning in ends
1 2 … 4 Next »

Recent Posts

  • Crocheted daffodils for Easter
  • Spring crochet in pastel shades
  • Easter Bunnies
  • December is here!
  • Crocheted plantpots

Archives

  • March 2024
  • February 2024
  • February 2023
  • December 2022
  • May 2022
  • November 2021
  • February 2021
  • November 2020
  • May 2020
  • April 2020
  • February 2020
  • January 2020
  • November 2019
  • January 2019
  • December 2018
  • November 2018
  • September 2018
  • July 2018
  • April 2018
  • March 2018
  • February 2018
  • December 2017
  • October 2017
  • September 2017
  • August 2017
  • July 2017
  • June 2017
  • May 2017
  • April 2017

Categories

  • Bunting
  • Christmas
  • classes
  • craft fair
  • crochet
  • Crochet patterns
  • granny squares
  • inspiration
  • Interviews
  • knitting
  • knitting patterns
  • Thanet news
  • Uncategorized
  • workshops

Pages

  • All about me
  • Blog
  • Favourite links to blogs, places and people
  • Features and Interviews
    • An interview with Dee Hardwicke
    • Knitwear designer Martin Storey – an interview
    • Louisa Harding, knitwear designer talks to Annie Windley
  • How to guides
    • 1 Making a slip knot
    • 2 Cast on – a step-by-step guide
    • 3 Knit stitch – a step-by-step guide
    • 4 Purl stitch – a step-by-step guide
    • 5 Cast off – a step-by-step guide
    • 6 Making a chain stitch
    • 7 Making a double crochet stitch
    • 8 Making a treble crochet stitch
    • How to make a Basic Granny Square
    • Joining granny squares
  • Lessons in Thanet and North London
    • Crochet projects
    • Now We’re Knitting! (beginners)
  • Patterns
    • Annie’s Advent Calendar: Christmas CAL 2018
    • Carrot & pea bunting pattern
    • Fallen Leaves Autumn Cowl
    • Floral granny squares & little flowers pattern
    • Little crochet heart pattern
    • Little Tea Cosy pattern
    • Waffle Blanket
  • Shop
  • Spring Granny-Square Bag CAL pattern

Meta

  • Log in
  • Entries feed
  • Comments feed
  • WordPress.org

Follow me on social media

Twitter
Facebook
Instagram

Copyright © 2025 Picking Up Stitches.

Omega WordPress Theme by ThemeHall