Granny-Square Bag begins
I’ve been thinking of making a granny-square bag for some time – I thought it would make a perfect CAL, (crochet along). However what with moving house (which took over a year, and involved all my craft supplies being packed away in boxes) I didn’t seem to have either the time or space to begin on a new design project.
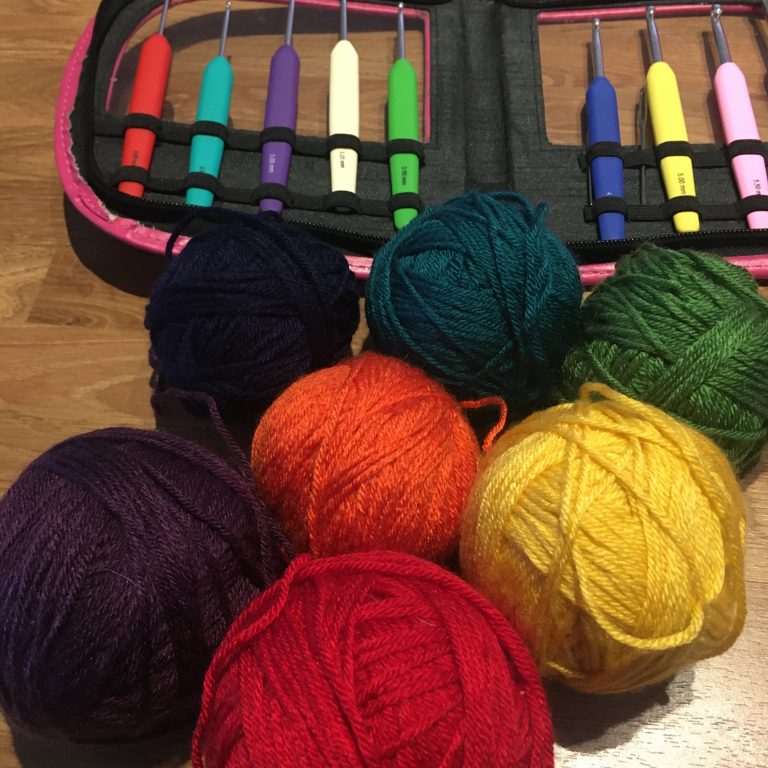
However, now I’m happily ensconced in my seaside home in Kent, and my dedicated craft room at the end of the garden is nigh on finished, I’ve had time to sit down and pick up my set of Knitpro Waves crochet hooks again and thought you might like to know how I went about designing the bag!
Making a start
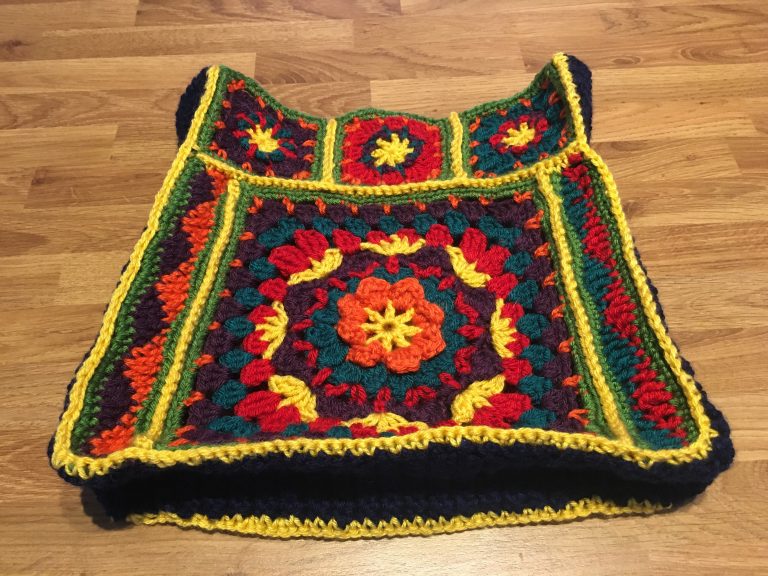
I already had lots of Deramores Studio DK yarn in a whole host of colours, so I decided that this granny-square bag was definitely going to be a multicoloured one! So, I chose a jewel palette of yellow, red, orange, deep purple, dark teal, green and navy. Finally, I took the plunge and drew a rough picture of how I’d like to bag to look. A big square on each side, surrounded by small squares and panels down the side, and a long strap made of small squares.
The main granny-square bag motifs
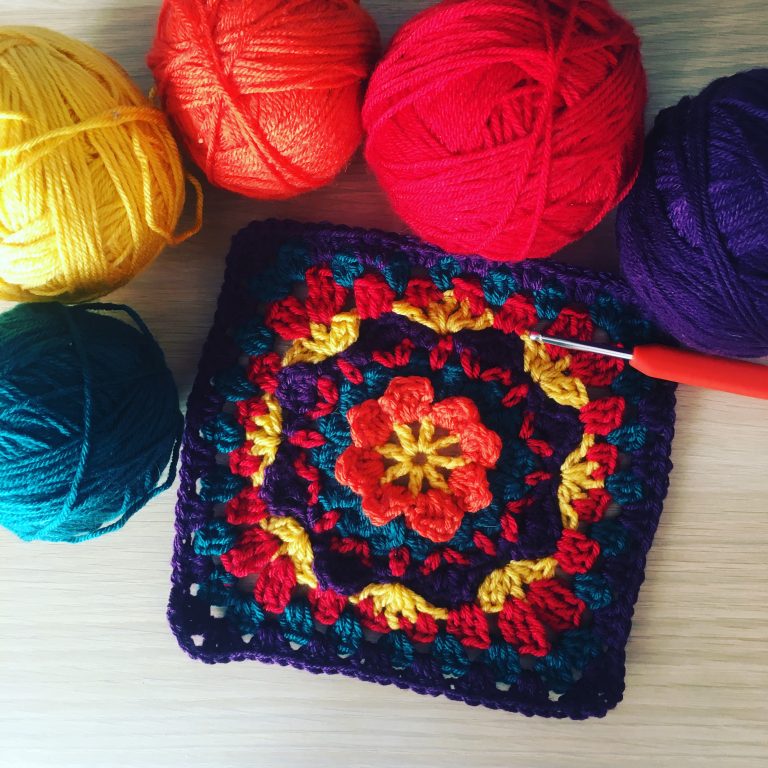
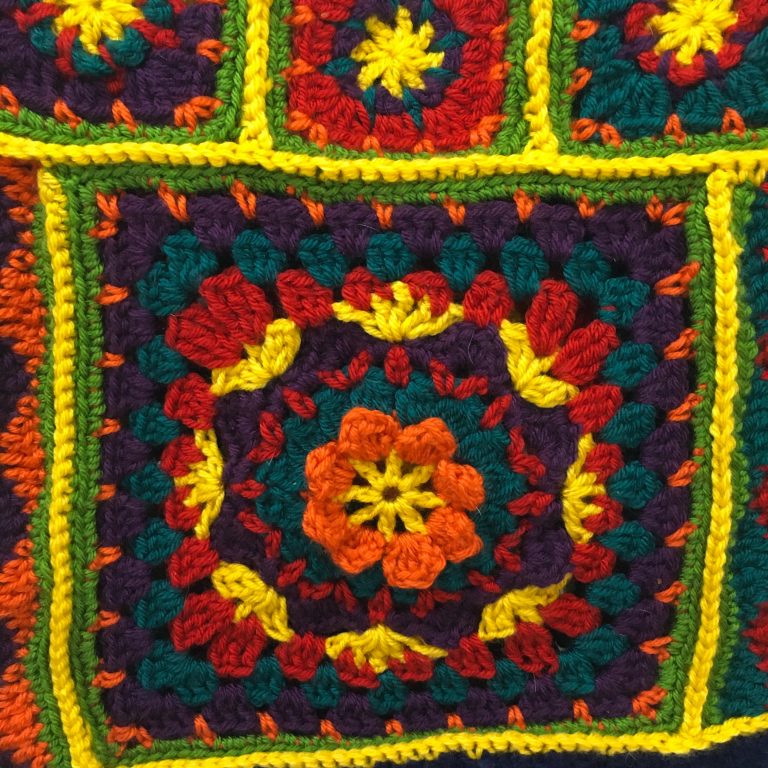
It was fun mixing and matching the colours and deciding on the design of the square as I went along. I knew I’d like to incorporate a daisy flower in the middle, but apart from that it was trial and error to achieve a square I was happy with. And I quickly made another for the other side to match. What do you think of it?
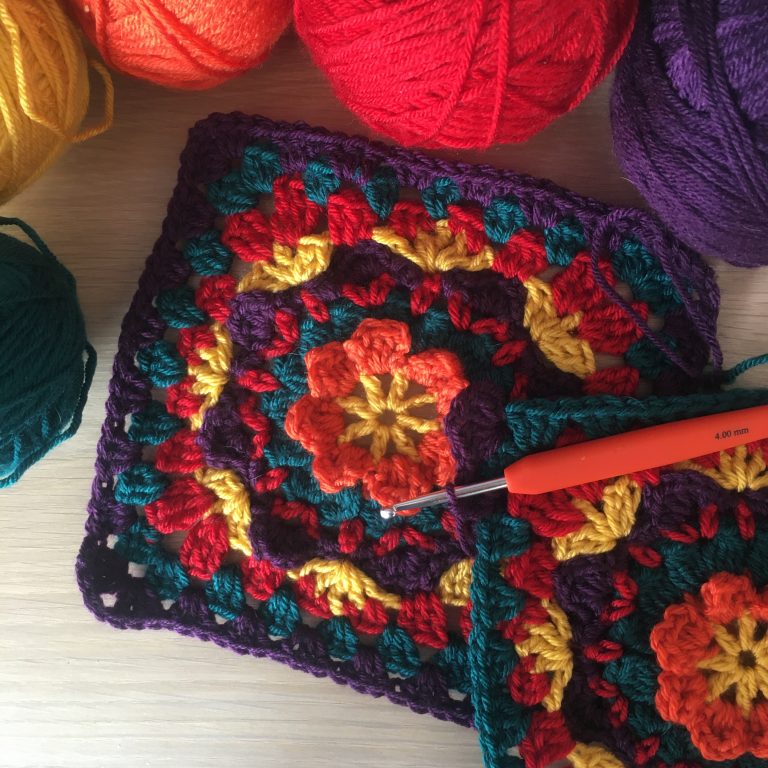
Working on the top strip
The small squares along the top have references to the main square and I came up with 6 colour variations, always starting with a yellow centre to mirror the main motif and also finishing with a green row of double crochet. Before I moved on to the side panels I joined the squares into a strip, so that I could see exactly how wide the side panels should be. I decided to complete all the joins in yellow to match centres of the squares which helped tie the whole design together. The joins were all going to be double crochet ones, to create a touch of raised texture.
The panels
Now I could see exactly how wide the side panels of the granny-square bag should be, I worked a strip to fit.
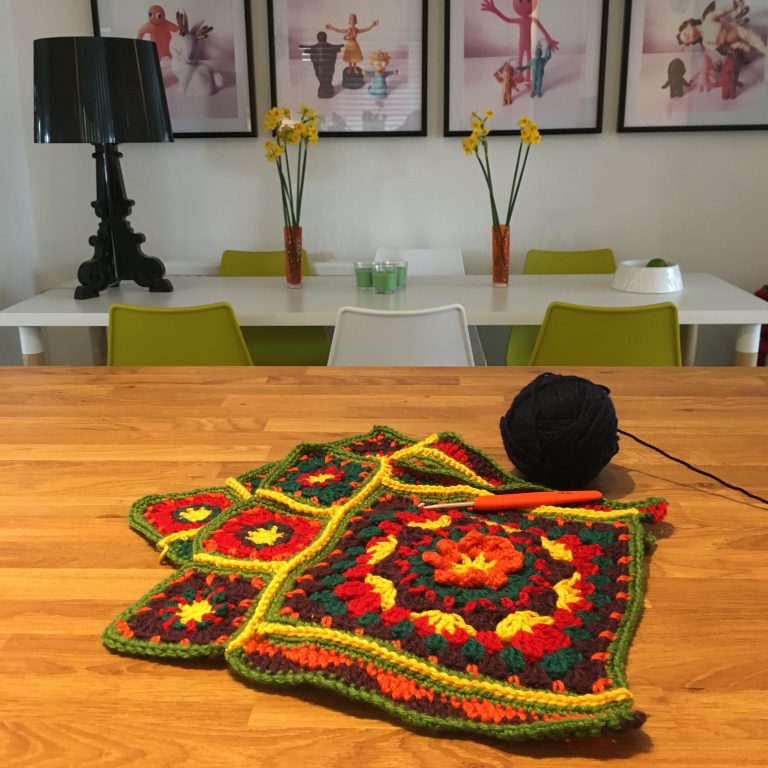
I starting and ending with a row of green double crochet and crocheting a couple of rows of waves, but starting each row from the same edge, rather than turning the work. I then joined the strips to the main square, then finally this section to the strip of squares. The main parts of the bag were now finished.
Joining the sides together
As there was so much colour work going on, I decided to make a plain gusset – crocheting a 5cm wide strip in navy double crochet.
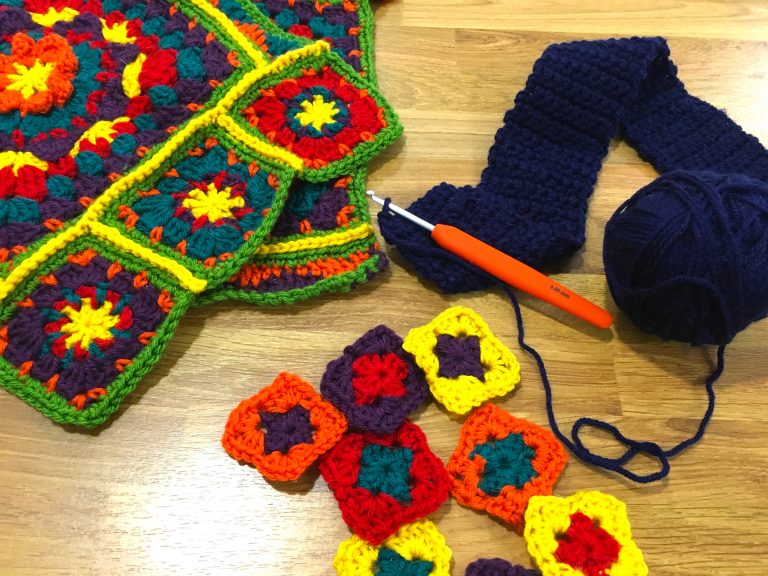
Again, I used the yellow double crochet join to fix this in place around three sides of the main bag panels.
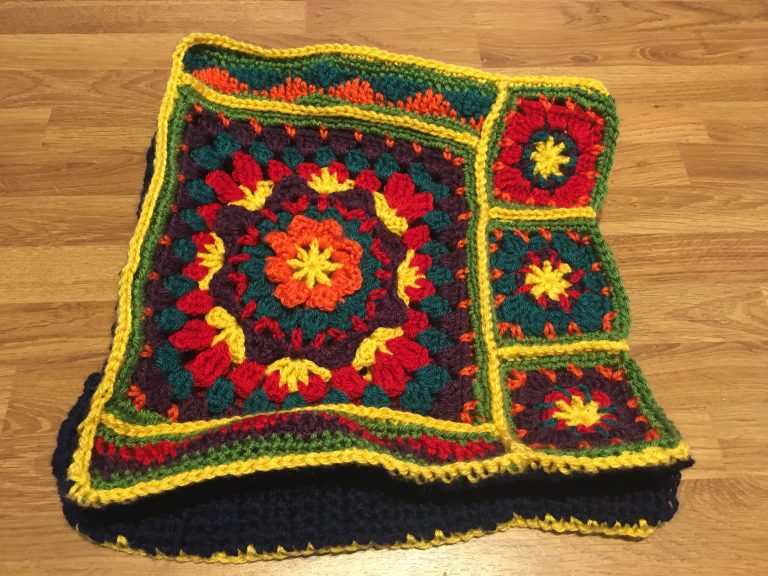
I eased it around the corners, working a few extra dc stitches at the point that I needed to change direction.
The strap
Now it was time to turn my attention to the strap.
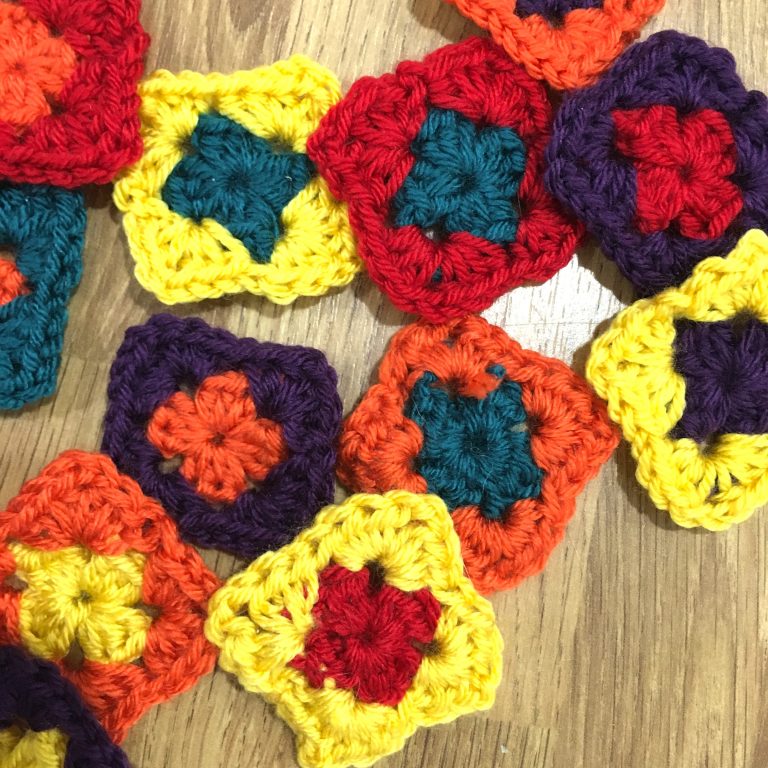
I began crocheting simple little two-round granny squares, in as many variations of colour as I could.
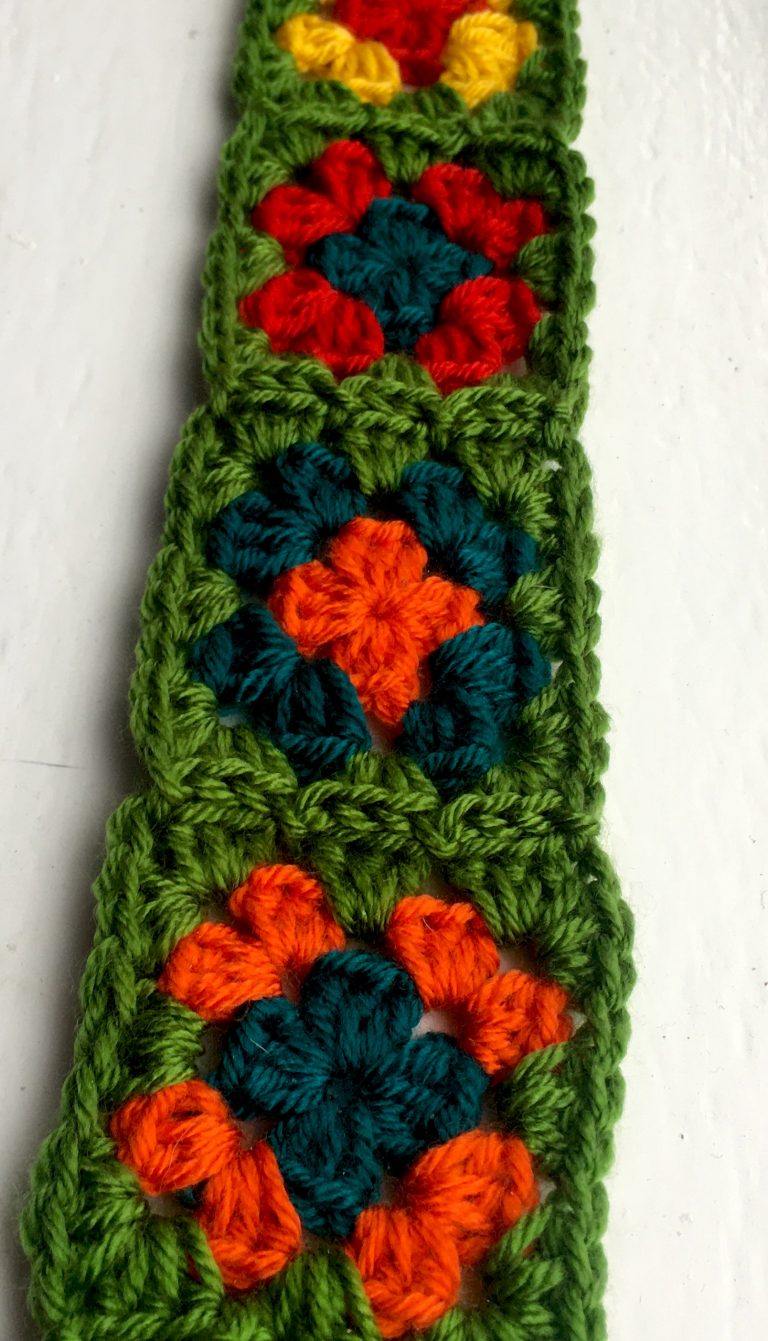
I then completed these with green as their final round, joining them together with the Join-As-You-Go method as I went along.
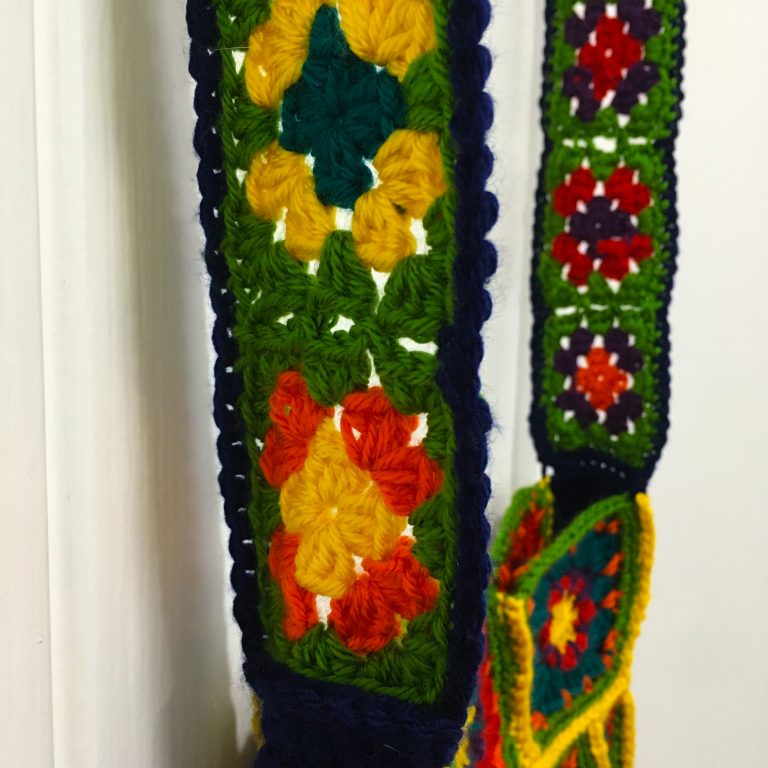
Then it was just a matter of deciding when to stop and then attaching the strap to the gusset. Finally I crocheted around the edges of the strap with navy to tie it in with the gusset of the bag. Ta-da!!
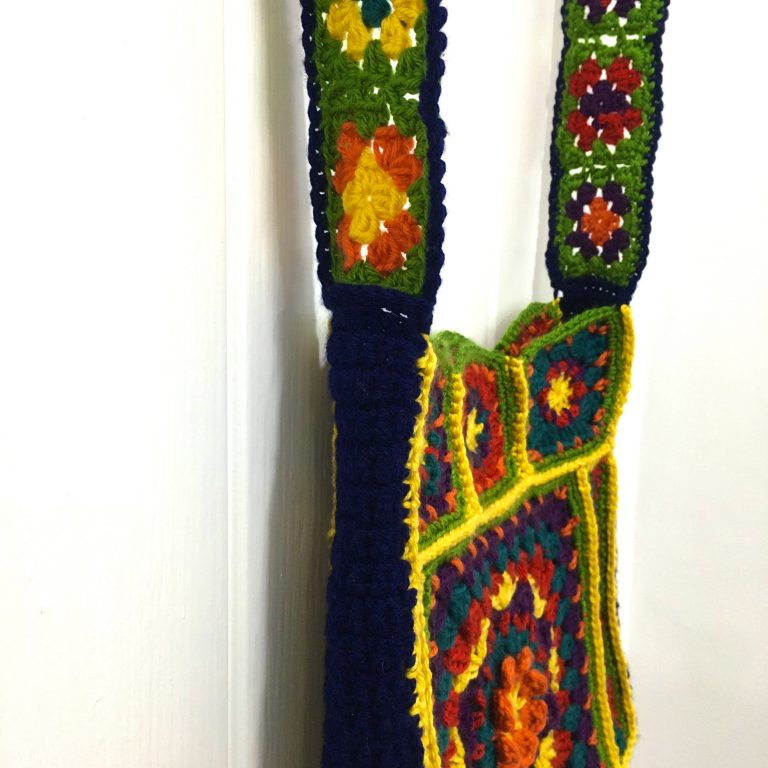
I may add a cotton lining once I’ve unpacked my sewing machine, but I’m really pleased with the outcome so far…

If you’d like to learn to make a granny square
There are instructions of how to crochet a basic granny square here on my website, and if you’re a beginner and live in London or Thanet and would like me to teach you how to crochet a granny square in a 1-2-1 lesson, there’s more info here
