Easter Bunnies
Easter Bunnies – what’s not to love! This year I decided that they definitely deserved an Easter garland all of their own. After all, Easter is only a hop and skip away!
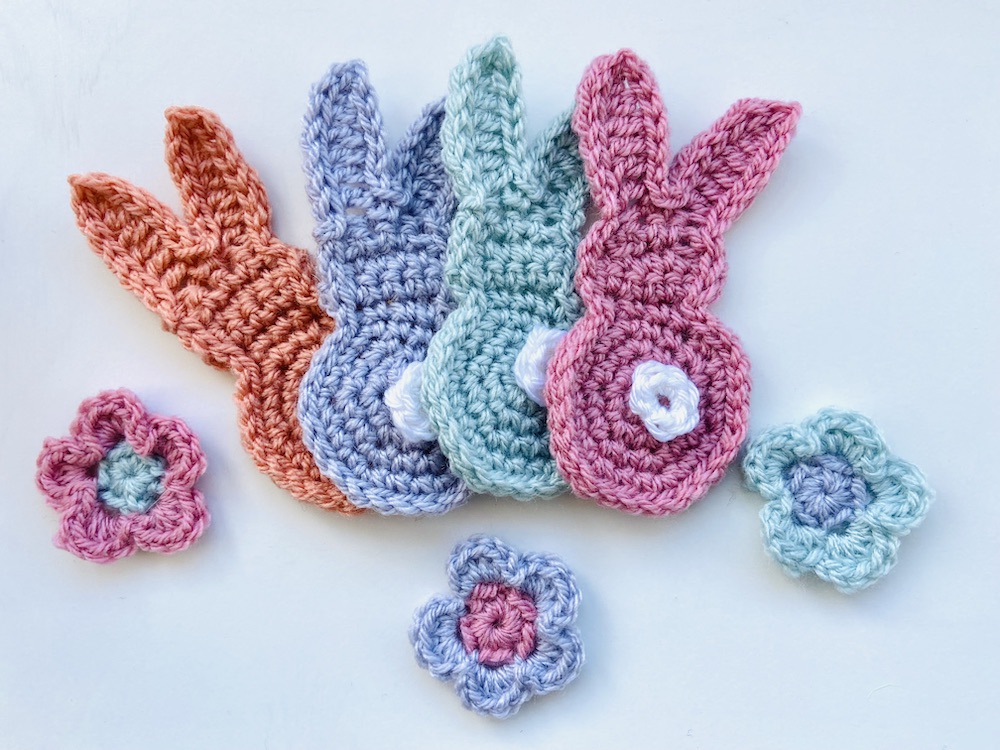
I discovered that I had lots of pastel colours in my yarn stash. So I soon hooked a series of pretty little Easter bunnies with cute white bobtails. (Also, I’ve just taken delivery of a lovely colour pack of Stylecraft DK yarn in beautiful spring colours from Lincoln Wool Pack, so I feel a few more of these Easter Bunnies will be appearing around my house soon!)
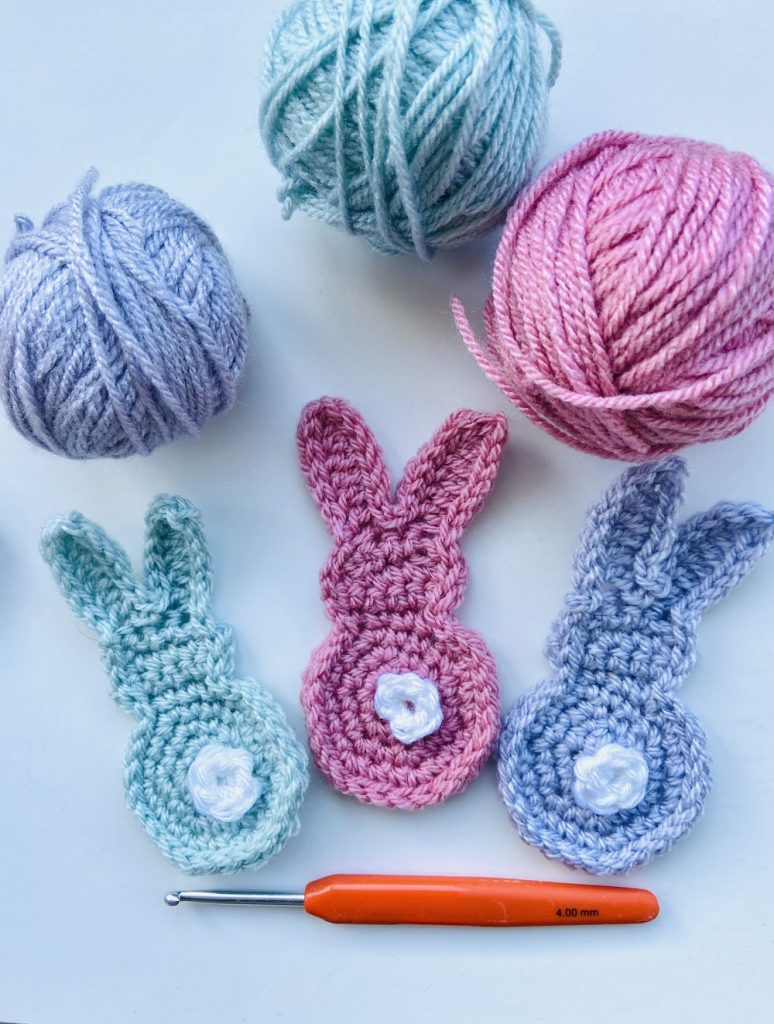
The rabbits are each worked in one piece, apart from the tail, starting with the body, followed by the head and finishing with the ears. The little tails are sewn on at the end.
Although the little rabbits would look perfectly fine and dandy on their own, I thought little flowers would make the garland perfect.
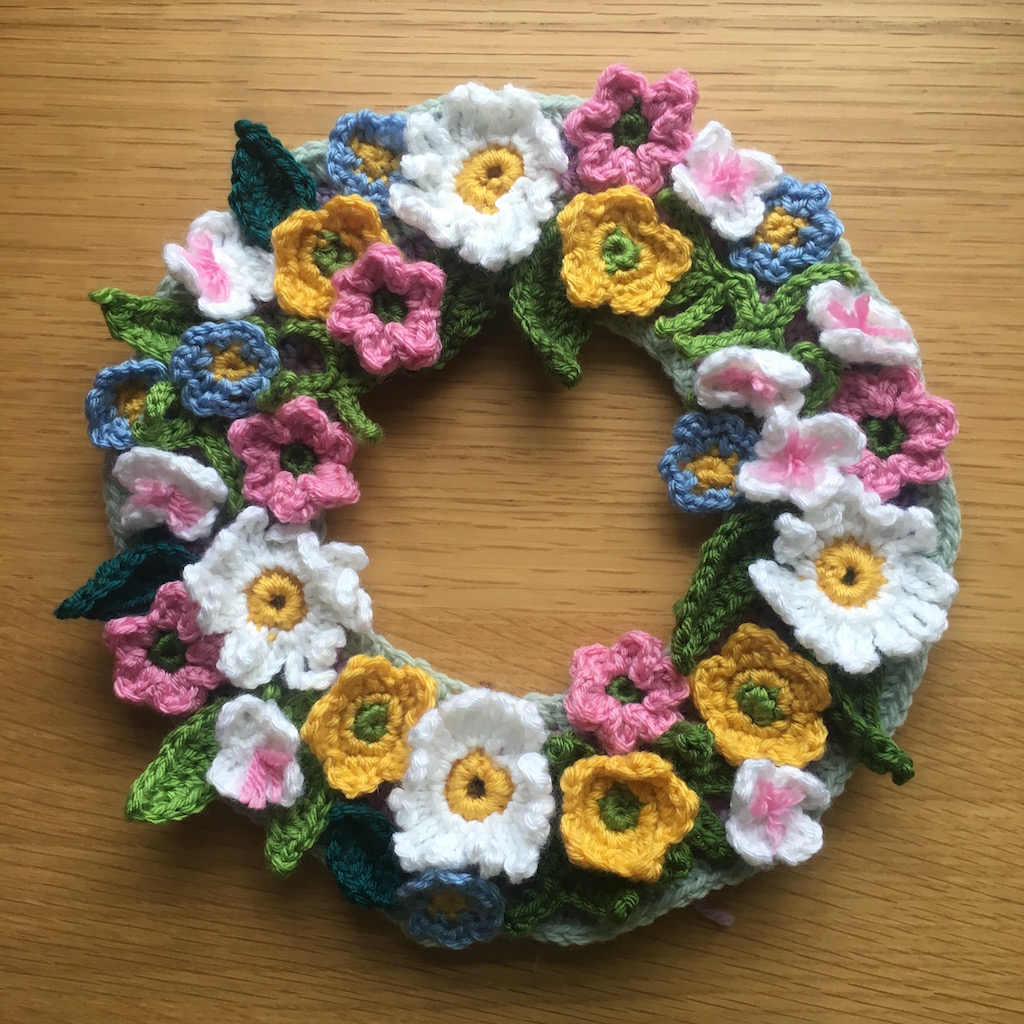
I had so many flowers to choose from – remember my Springtime wreath (this is one of the crochet projects I teach, by the way)? Would any of these fit the bill?
Or maybe one of these, that I made years ago to grace the picture at the top of my website?
In the end, I came up with new one! Each flower is worked in two colours – so quick to make.
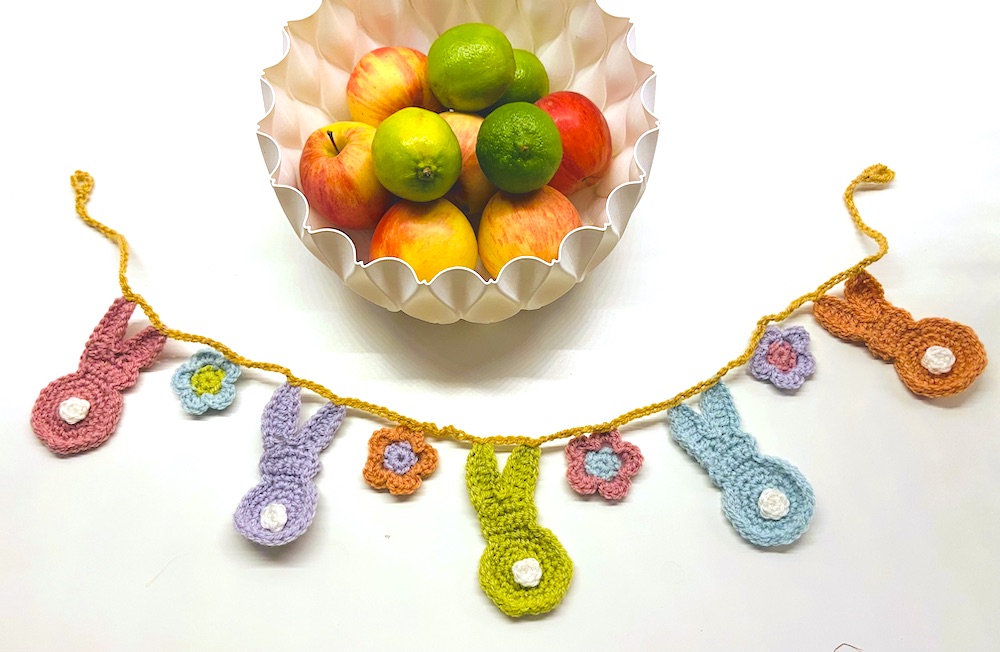
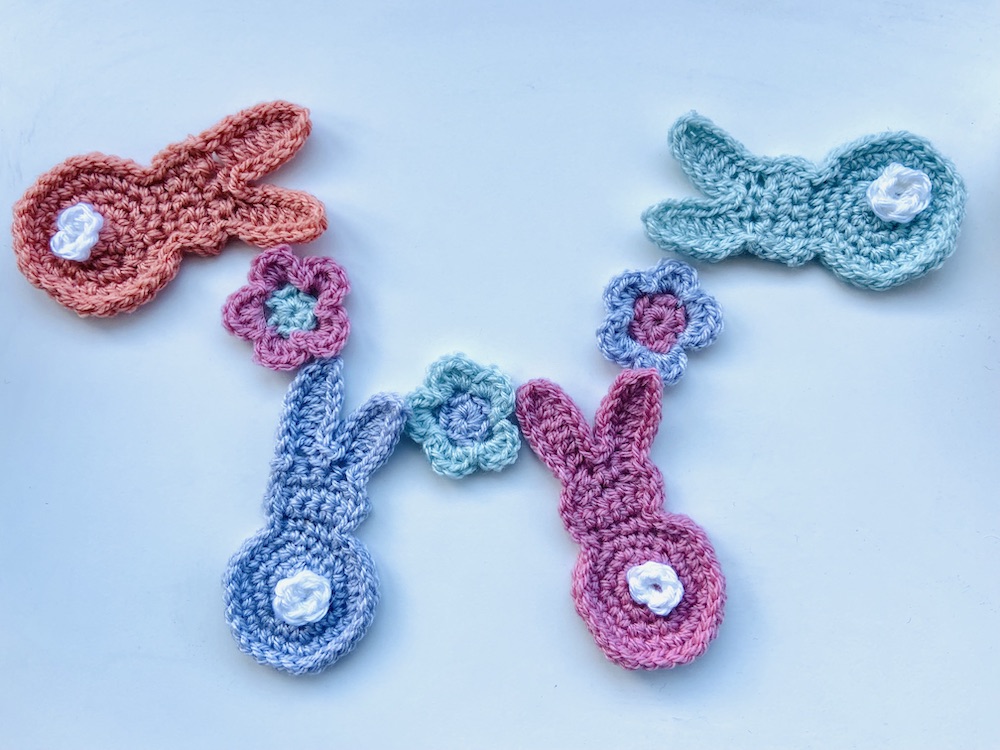
I chose to have a rabbit each end and a flower in between each pair.
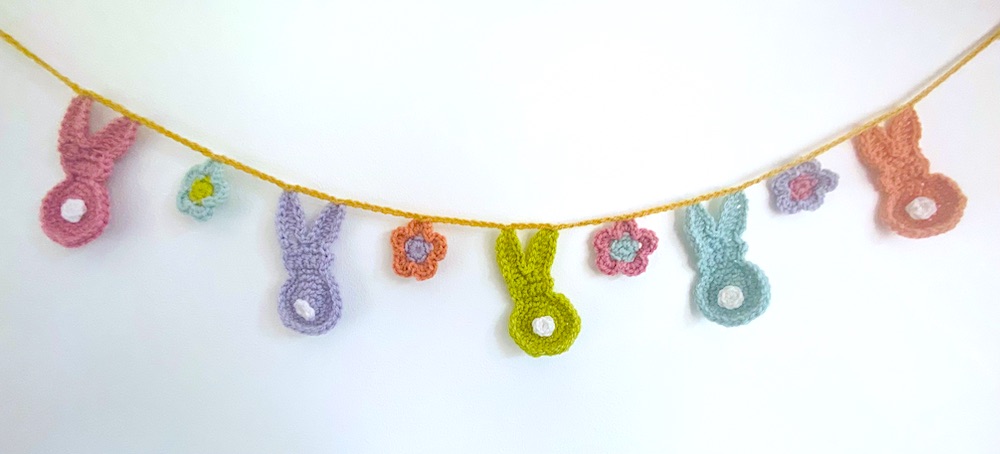
Then they were all crocheted together with a little loop at each end of the string – a perfect garland of Easter Bunnies ready to hang up.
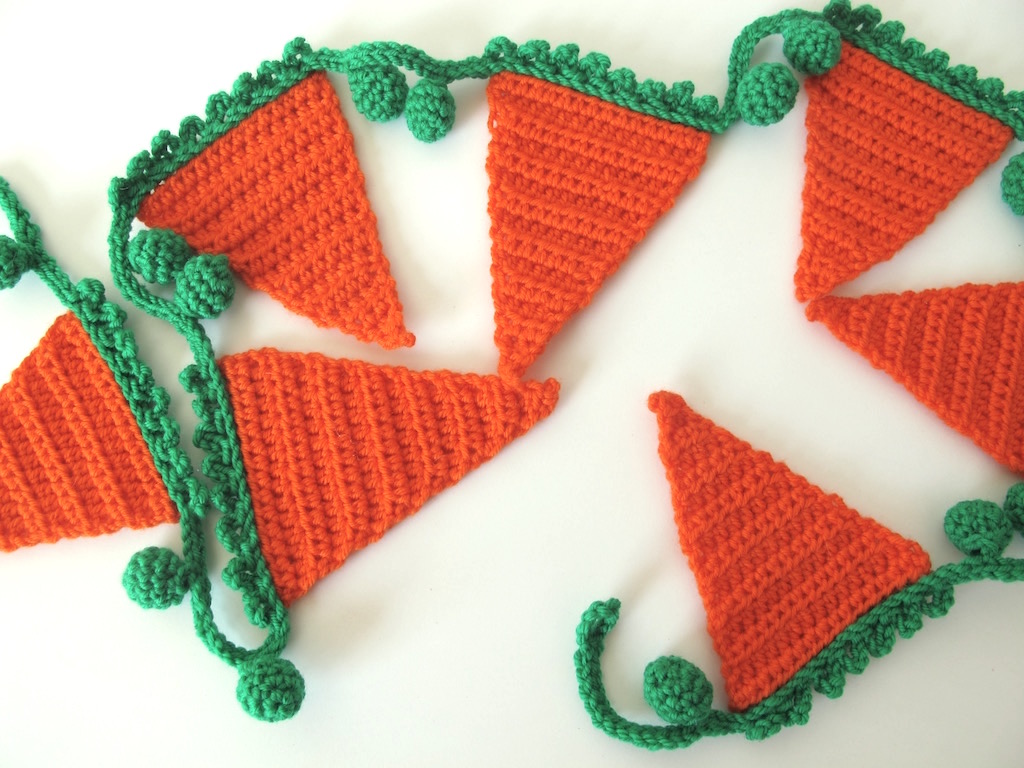
And once I’d finished the Easter bunnies, I realised that they’d go perfectly with a string of bunting I made before. My carrots and peas bunting! Do you remember that?
The pattern for that one is here.
Or you can read about the background to this bunting here
Don’t forget that if you live in Thanet, I teach classes for beginners, and the Easter Bunnies will be added to my list of crochet projects to choose from (I also teach at Broadstairs Adult Education College – see Kent Adult Education site for details about current classes). The pattern will be available on Ravelry soon, so keep an eye out there! I’ll hop along now!!!