• All about me
  • Blog
  • Favourite links to blogs, places and people
  • Features and Interviews
    • An interview with Dee Hardwicke
    • Knitwear designer Martin Storey – an interview
    • Louisa Harding, knitwear designer talks to Annie Windley
  • How to guides
    • 1 Making a slip knot
    • 2 Cast on – a step-by-step guide
    • 3 Knit stitch – a step-by-step guide
    • 4 Purl stitch – a step-by-step guide
    • 5 Cast off – a step-by-step guide
    • 6 Making a chain stitch
    • 7 Making a double crochet stitch
    • 8 Making a treble crochet stitch
    • How to make a Basic Granny Square
    • Joining granny squares
  • Lessons in Thanet and North London and by Zoom
    • Crochet projects
    • Now We’re Knitting! (beginners)
  • Patterns
    • Annie’s Advent Calendar: Christmas CAL 2018
    • Carrot & pea bunting pattern
    • Fallen Leaves Autumn Cowl
    • Floral granny squares & little flowers pattern
    • Little crochet heart pattern
    • Little Tea Cosy pattern
    • Waffle Blanket
  • Shop
  • Spring Granny-Square Bag CAL pattern
Picking Up Stitches

Knitting, crochet, cross stitch and more - the wonderful world of working with wool

Month: May 2020

Part 4 of CAL – the small squares

May 4, 2020 by Annie Leave a Comment

On to Part 4 – the squares along the top of the square

Part 4 of the crochet-along starts here, but i you’ve just found this page, you can start with these squares, and then go back and do Parts 1 (rows 1-6 of main squares), Part 2 (rows 7-9), and 3 (finishing the main squares) starting here. But if you prefer standard written instructions instead of the version with pictures, head here.

And don’t forget, if you’re still on one of the previous parts, it doesn’t matter – there’s no rush, just take as long as you want!

SMALL SQUARES (make 6)

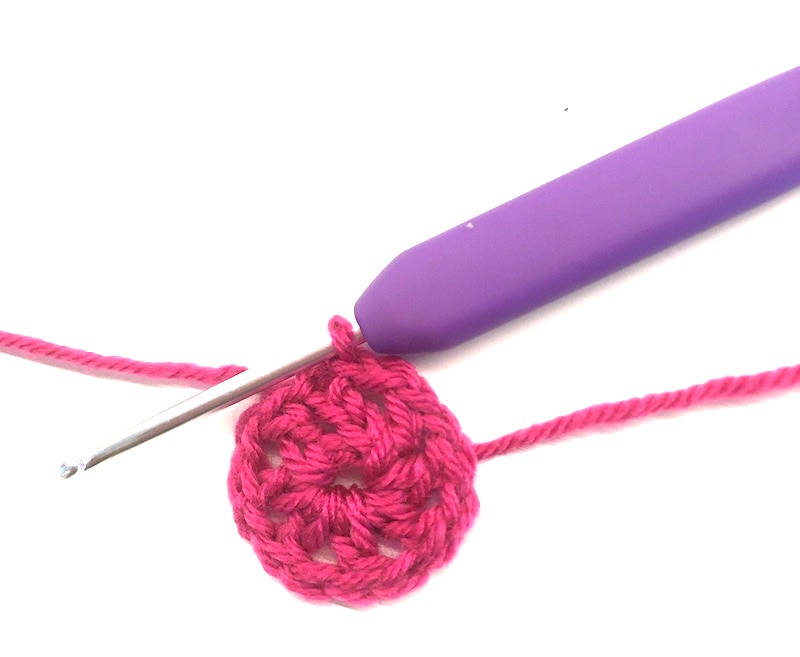
Round 1: Either make a circle from 4 chain stitches joined with a slip stitch, or start with a magic circle.

Either start with chain stitches…
…joined into a circle with a slip stitch
Or start in a magic circle

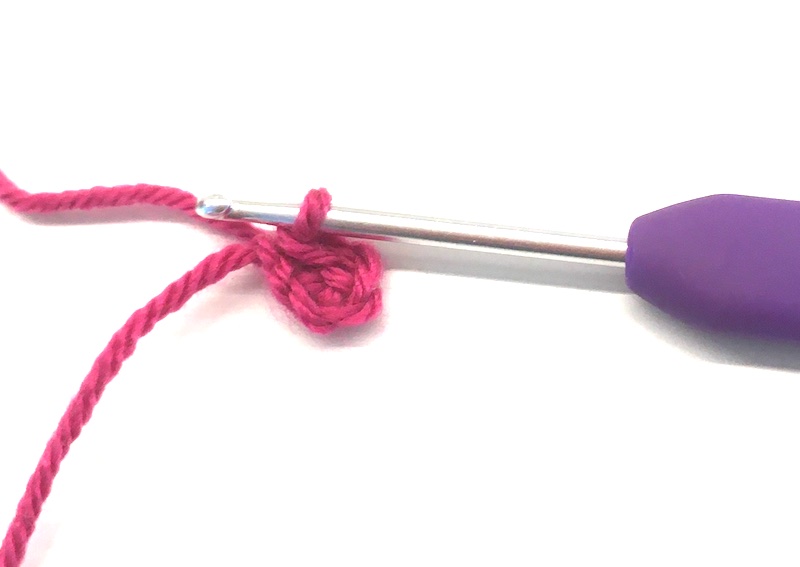
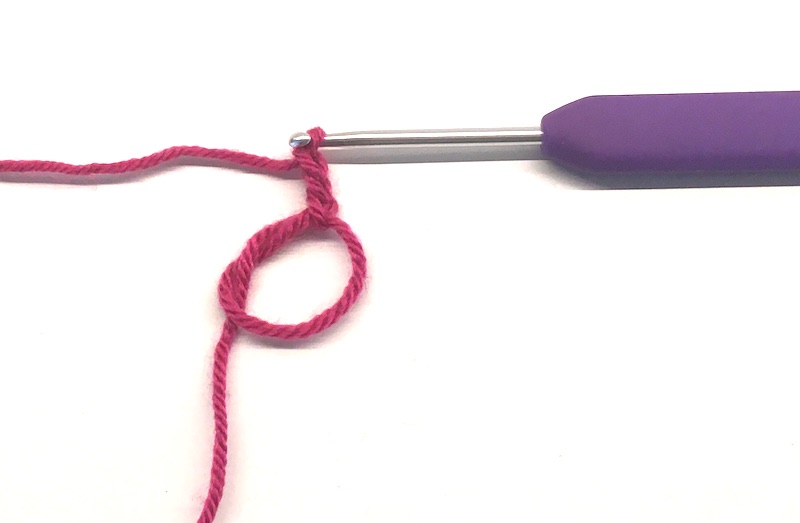
Now work 3 chain stitches [counts as a half treble and 1 chain], then work (htr, 1ch) seven times, and join with ss to the 3rd chain at the start.

Working the firs round starting with the chain ring
Here’s the half trebles worked into a magic circle

Fasten off. You should now have a circle of spokes – like the beginning of the main square, but a bit smaller.

Round 1 completed

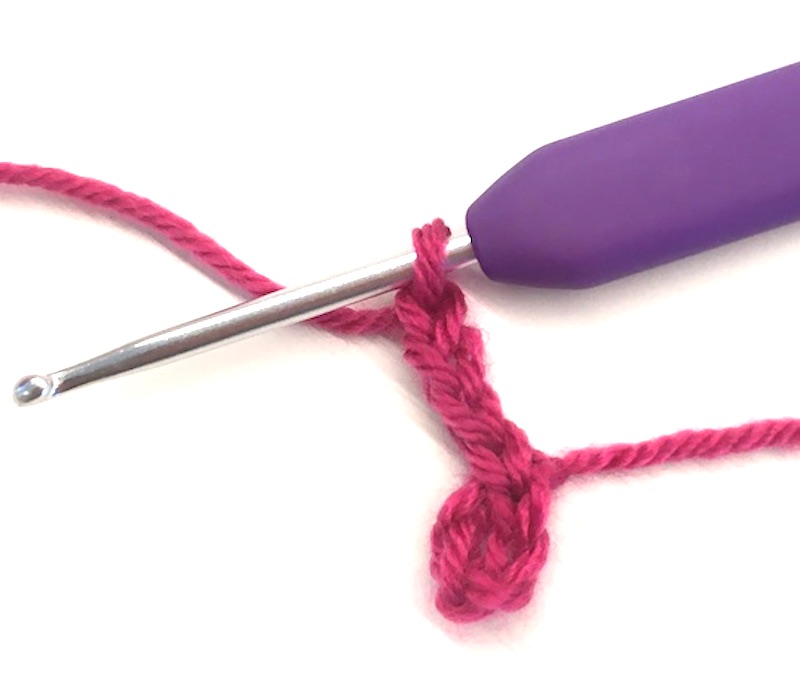
Round 2:  Join yarn into a space with a ss, (work 3ch, then slip stitch into the next space) 7 times,

Here’s the start with 3ch and a ss into the next space

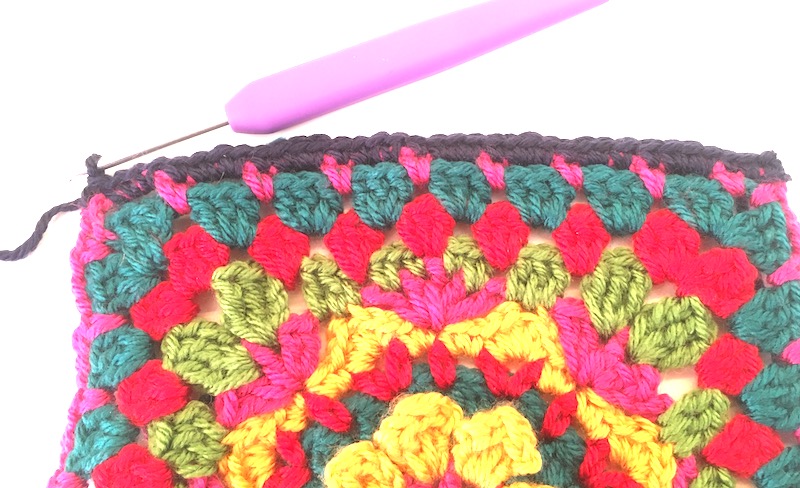
another 3ch, and join with ss to the first stitch. Fasten off. It should look like this…

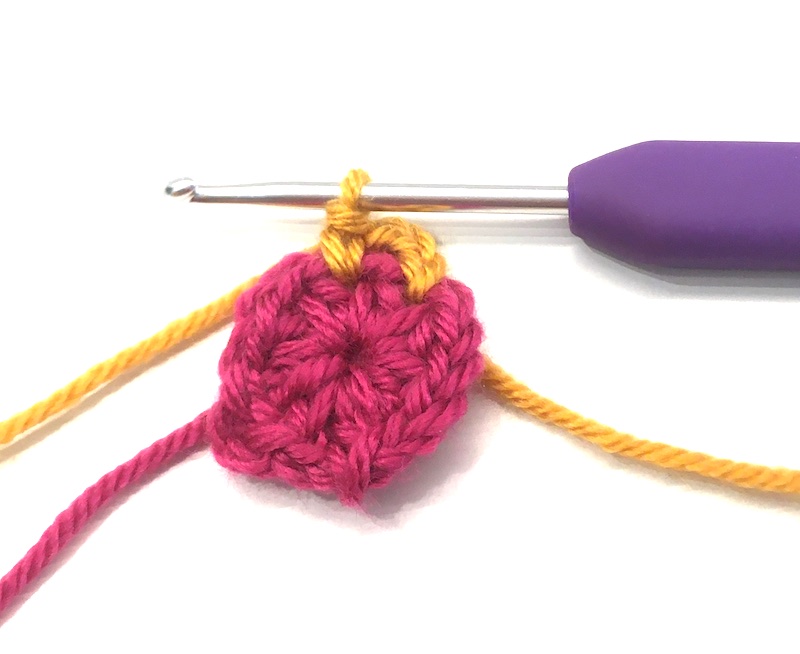
Round 3: Join yarn in a chain space on Round 1, work 1 chain stitch [counts as a double crochet],

Make sure you work through Round 1 (the pink round here)

(work 2ch, then a double crochet in next sp on Round 1) 7 times – you’ll have a stitch of the current round sitting next to a stitch from round 2 – here’s the first one done.

Finally 2 chain stitches, join with ss to the 1st chain. Fasten off. It should look like this…

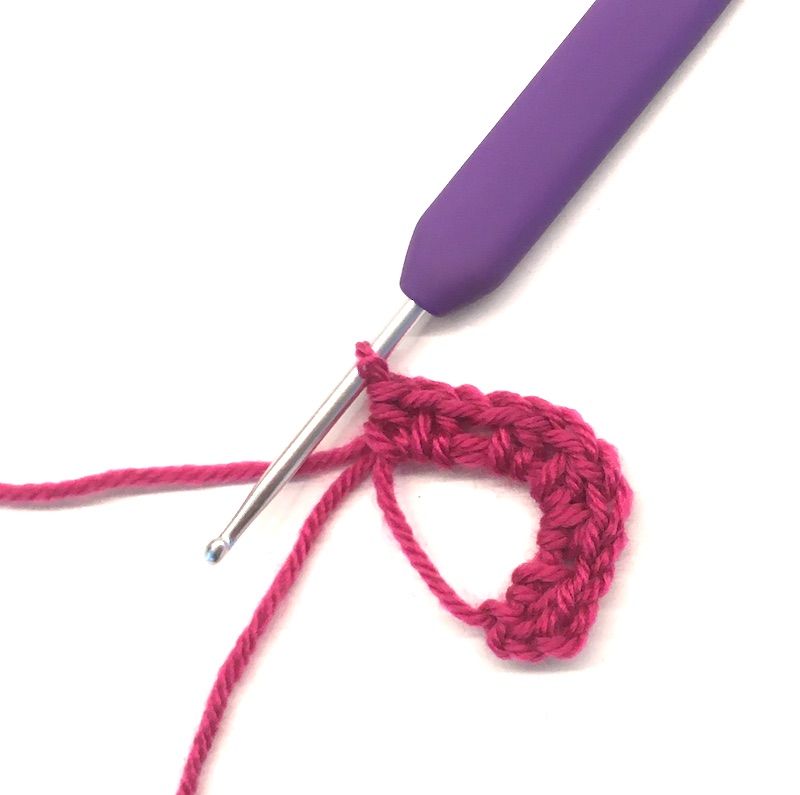
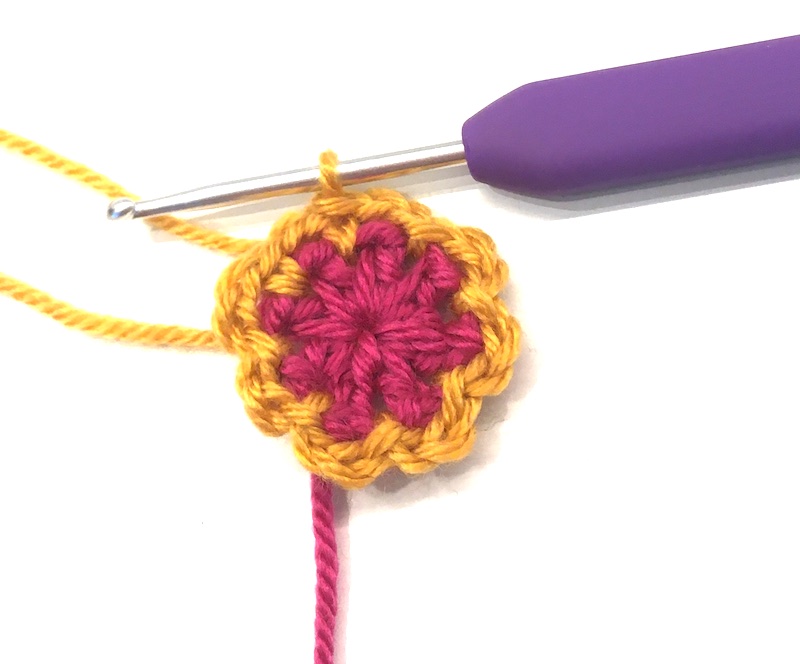
Round 4:  Join yarn in a 2-chain space and work (3ch [counts as a treble here] 2tr, 2ch, 3tr),

The first corner

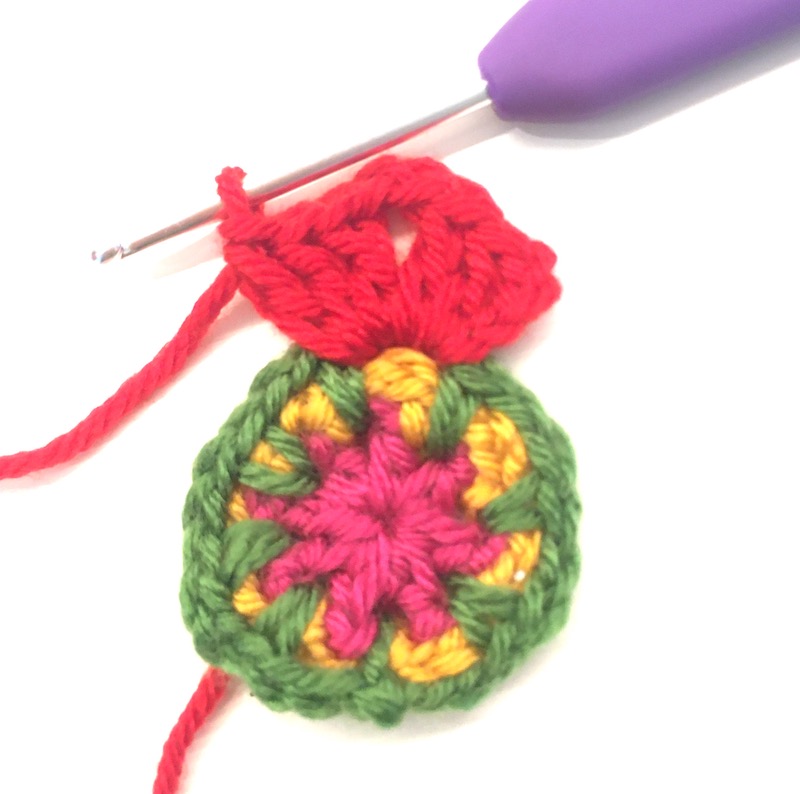
* in the next 2ch-sp, work 3 half trebles,

The first side

then in the next 2ch-sp work (3tr, 2ch, 3tr).

Another corner

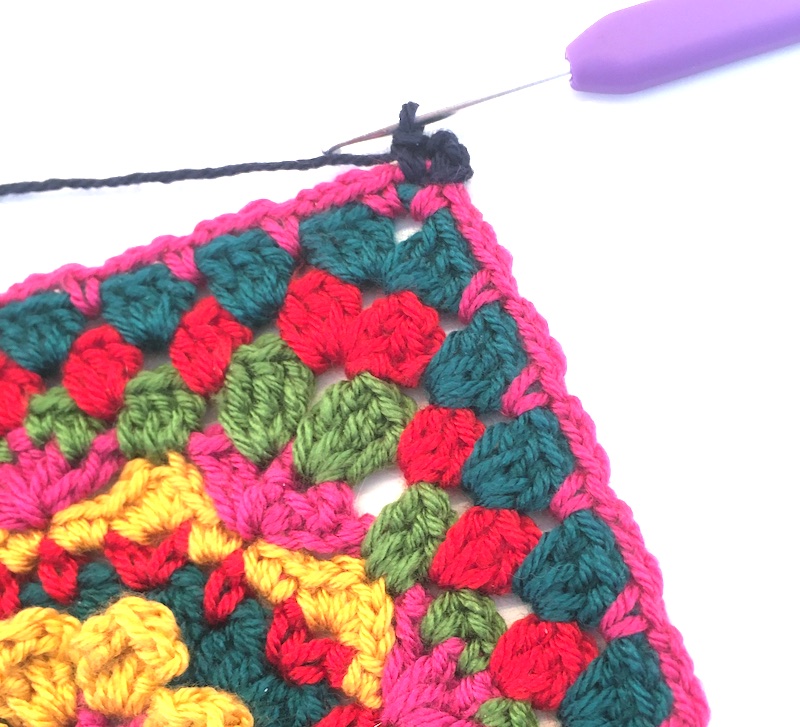
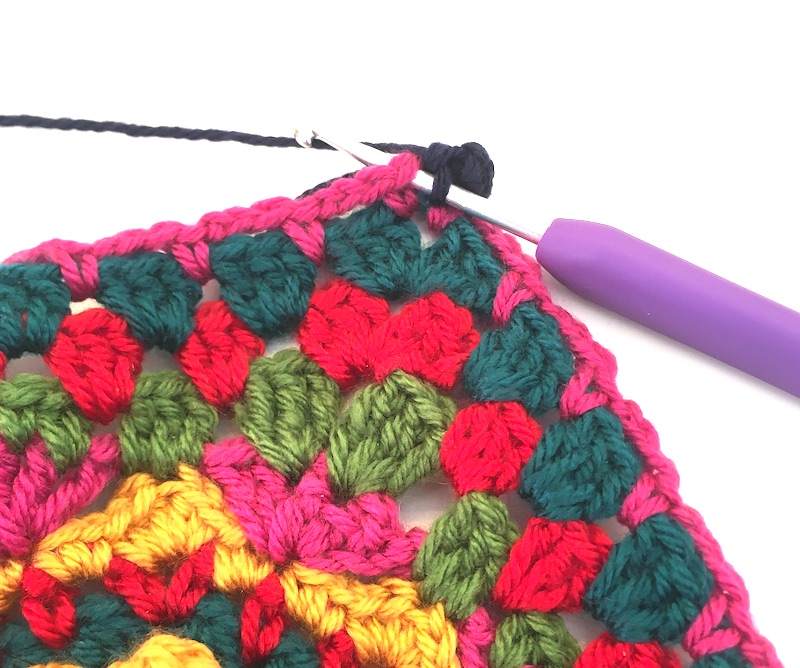
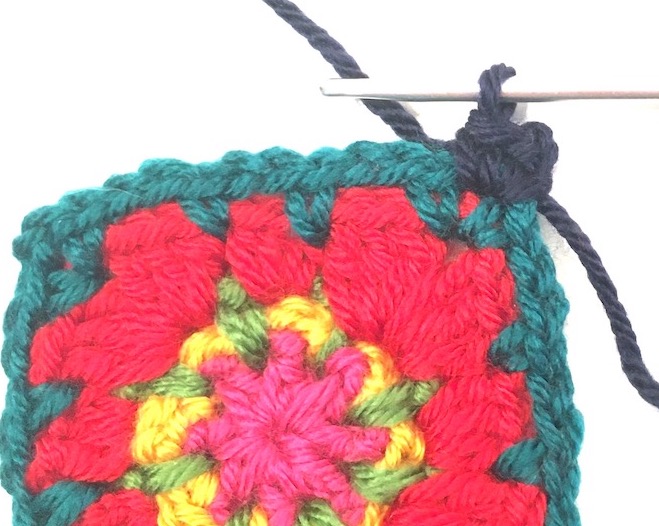
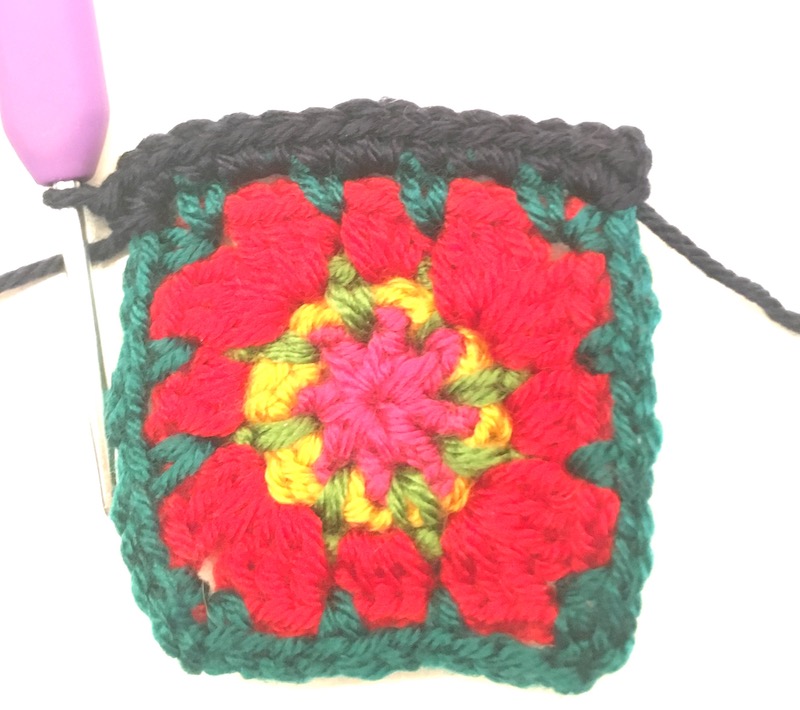
Now go back to the asterisk and repeat from the * twice – you should now have three sides and four corners completed, so just work 3htr in the next 2ch-sp, and join with ss to the third chain. Fasten off. Here’s what that looks like when the round’s finished.

Nearly there – just two rounds to go

Round 5: Join yarn in a corner space and work (3ch [counts as dc, plus 2ch] plus another dc), 

*now work (2ch, double crochet in next space between groups of trebles – these groups of three trebles are quite close together, so make sure you’re working between the groups,) twice, then 2ch, dc into the corner space, 2ch and a dc in the same corner space – it should look like this…

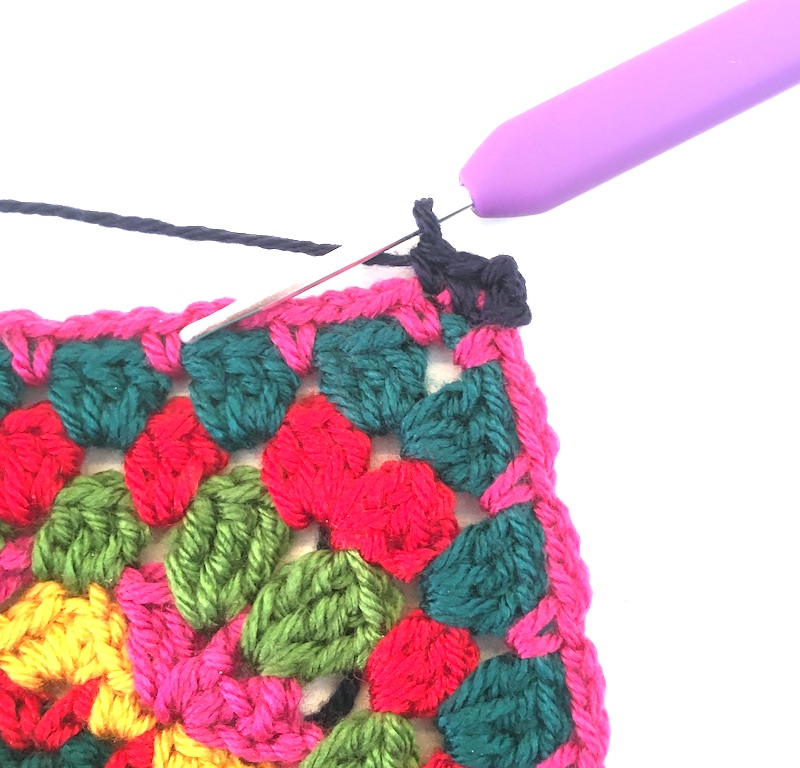
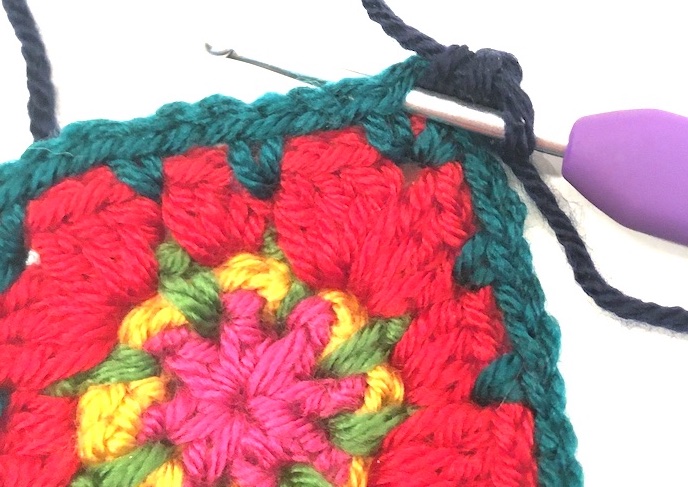
Repeat from the asterisk twice, then to finish the round (2ch, and dc in next sp) twice, and finally 2ch, and join with ss to the first ch. Fasten off. Here’s the completed round.

Last round coming up…

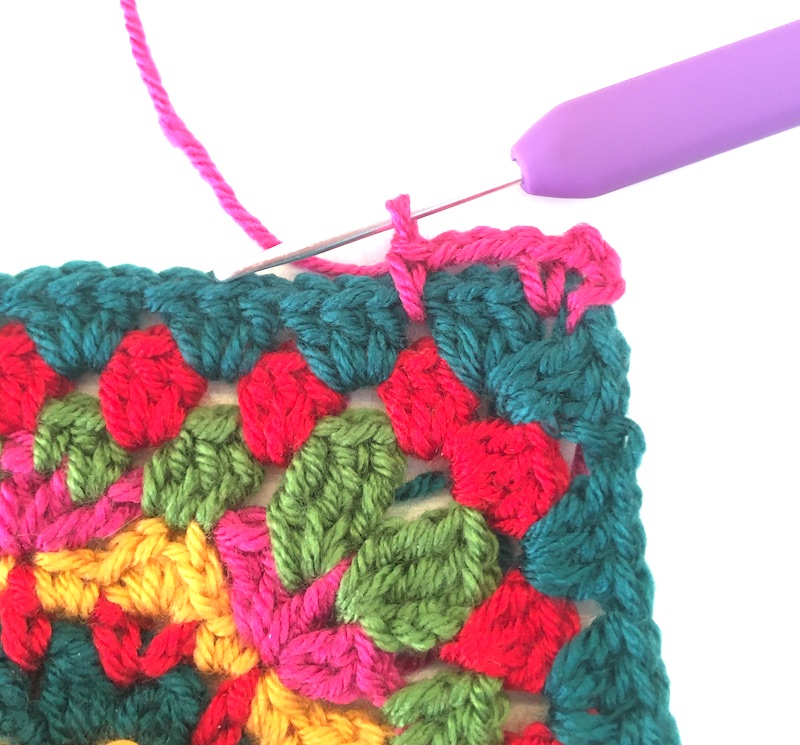
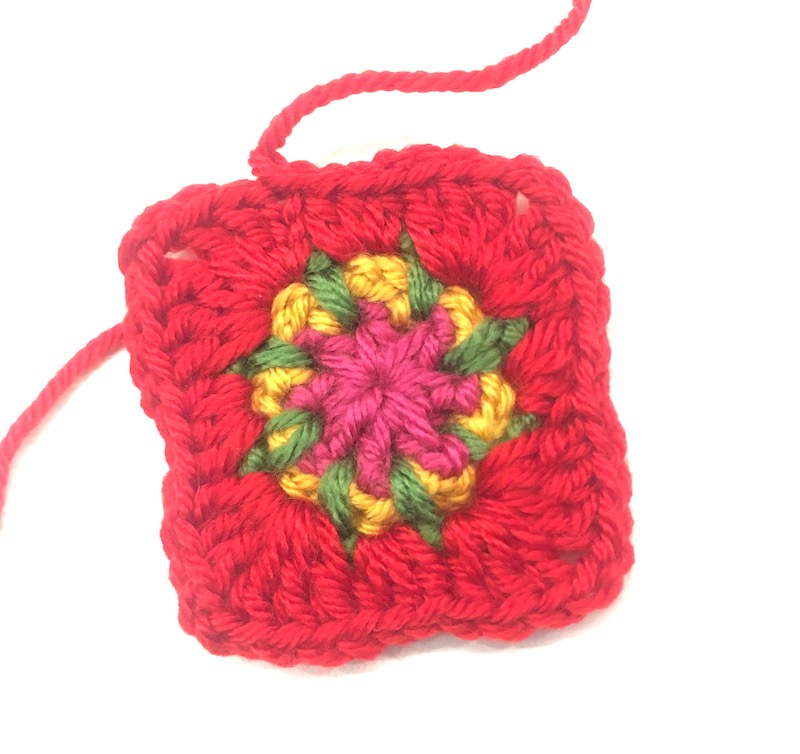
Round 6: Join yarn in a corner space and work (2ch [counts as a dc, plus 1ch], then another dc),

then * (a double crochet in the next stitch, then 2dc in the 2-chain space) this bit in brackets needs doing 3 times,

Remember to work through the top of the dc from the previous round – here’s where the hook goes
And this is what the double crochet looks like when it’s done
Next comes 2ch in the space
And again, remember to work in the double crochet

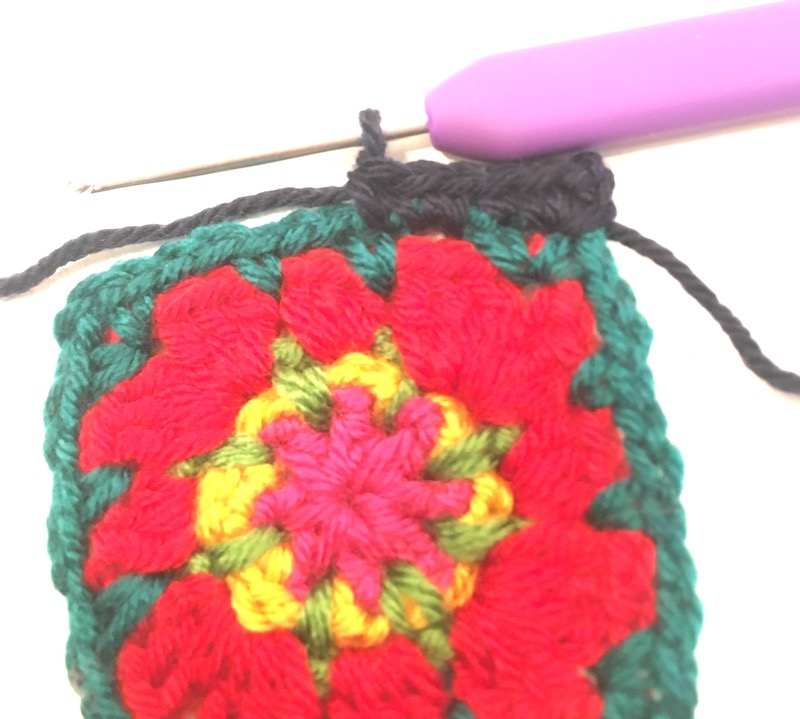
Once you’ve done that bit 3 times, you’re up to the corner, so work a double crochet in the next st, (1dc, 1ch, 1dc) in the corner sp.

This is what it looks like when one side and two corners are complete

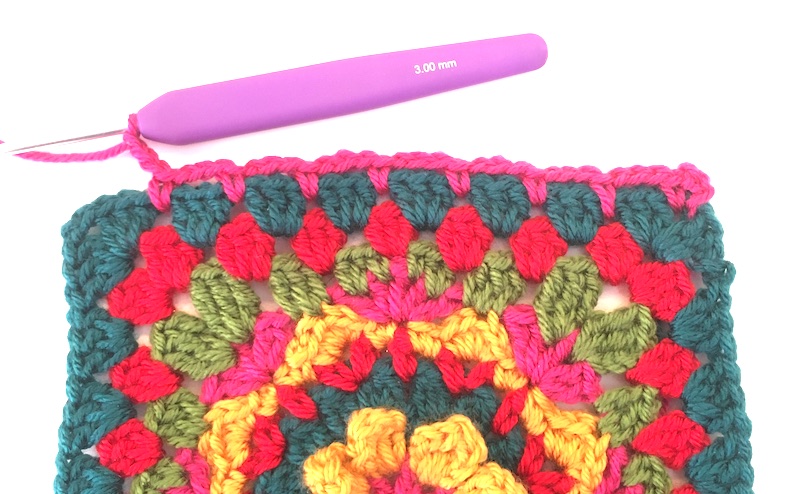
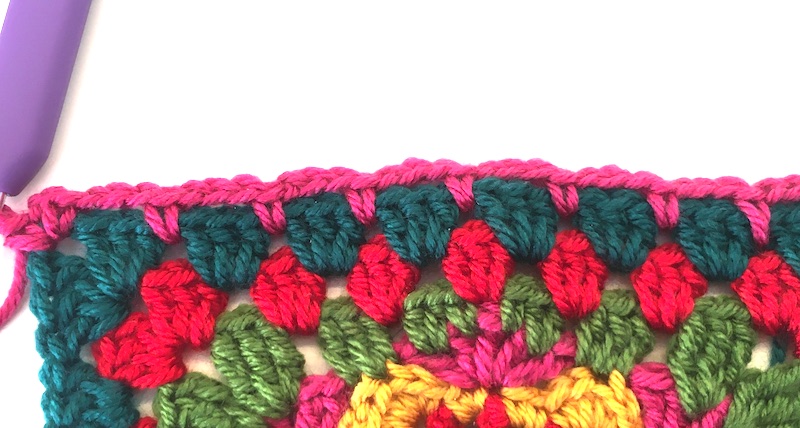
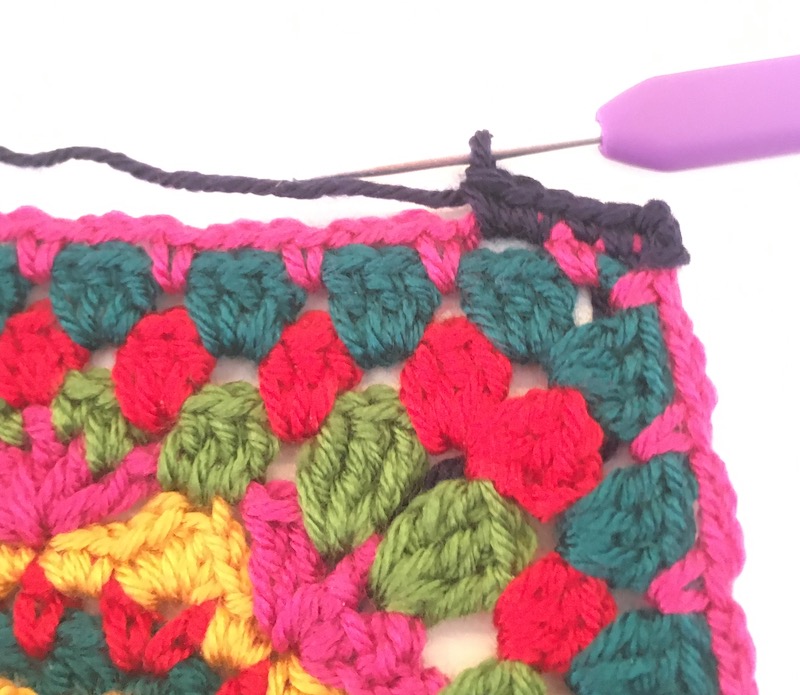
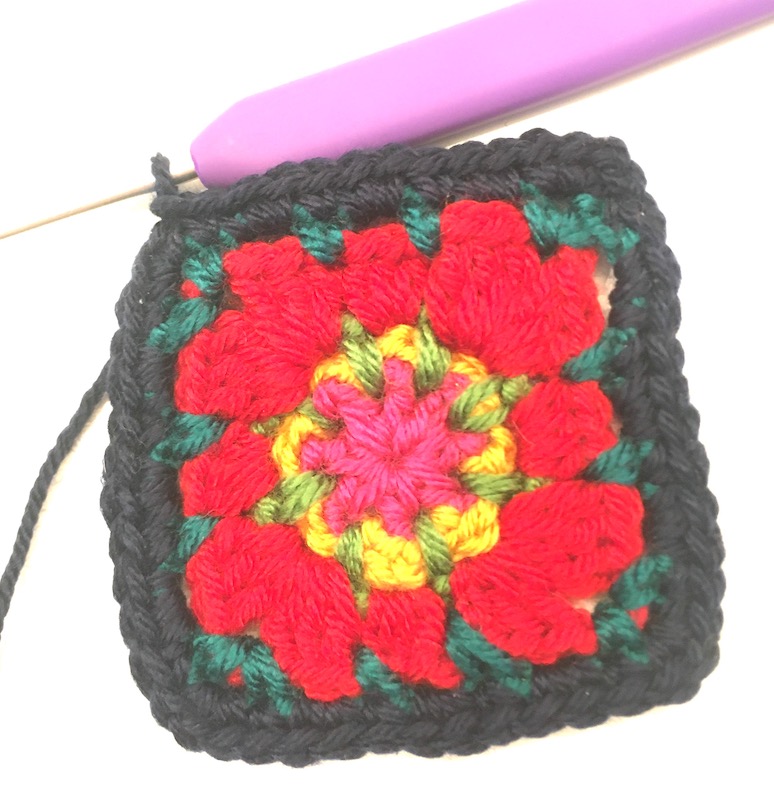
Now go back and repeat from * twice. Now to finish, work (1dc in next st, 2dc in next sp) 3 times, and 1dc in next st, and finally join with ss to first ch. Fasten off.

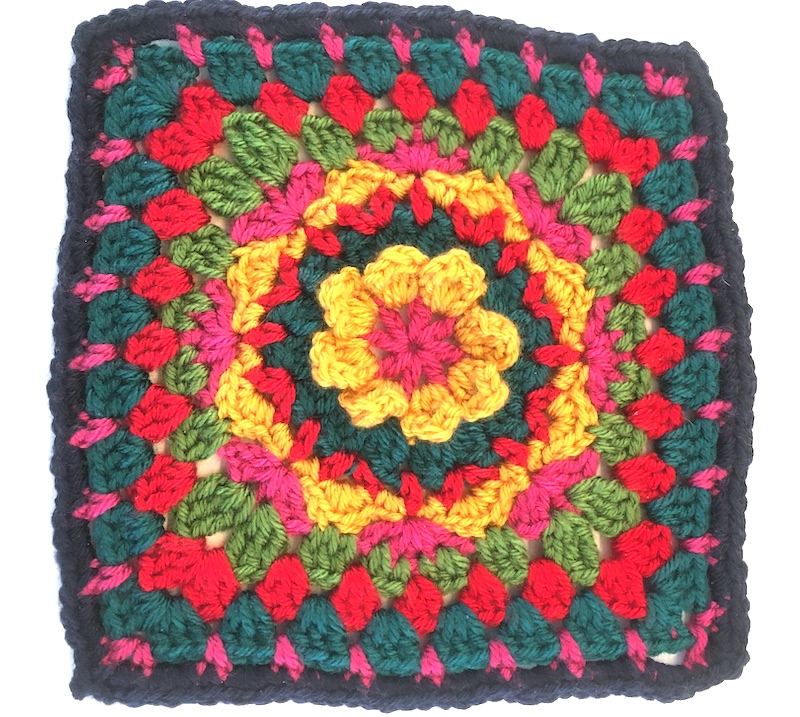
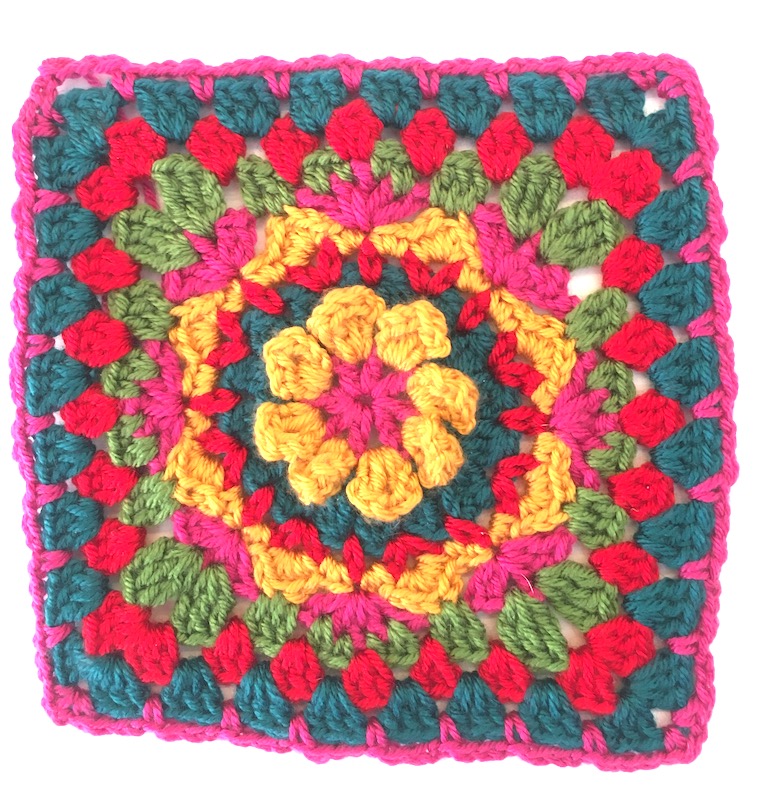
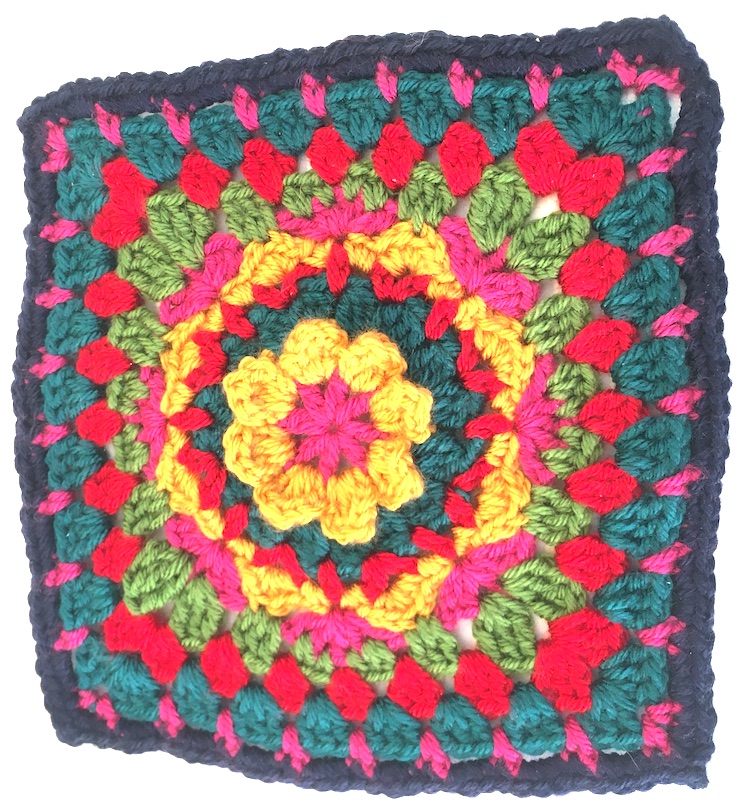
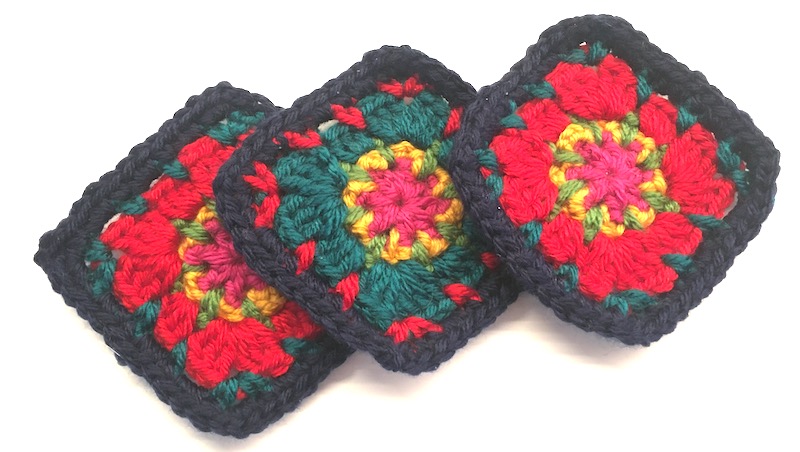
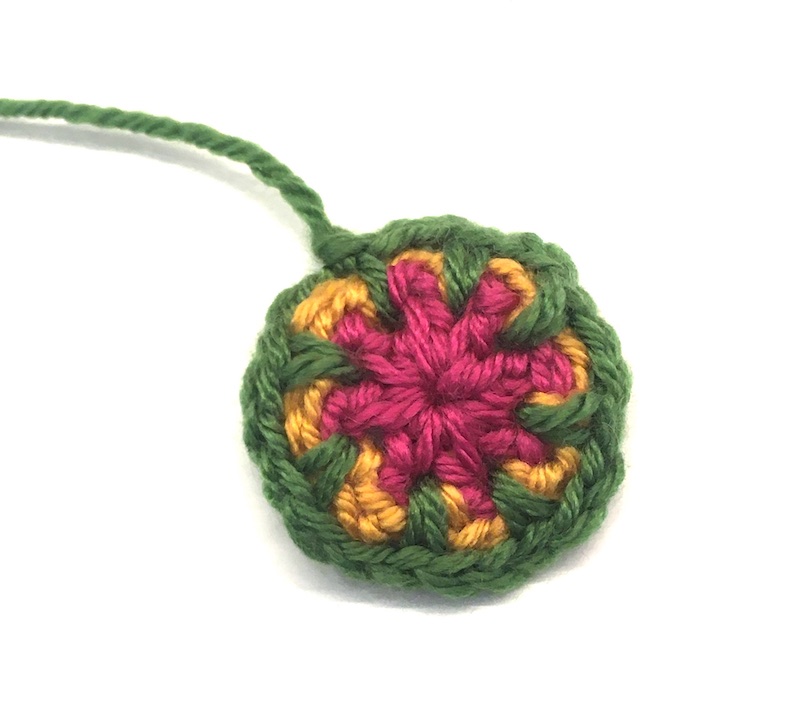
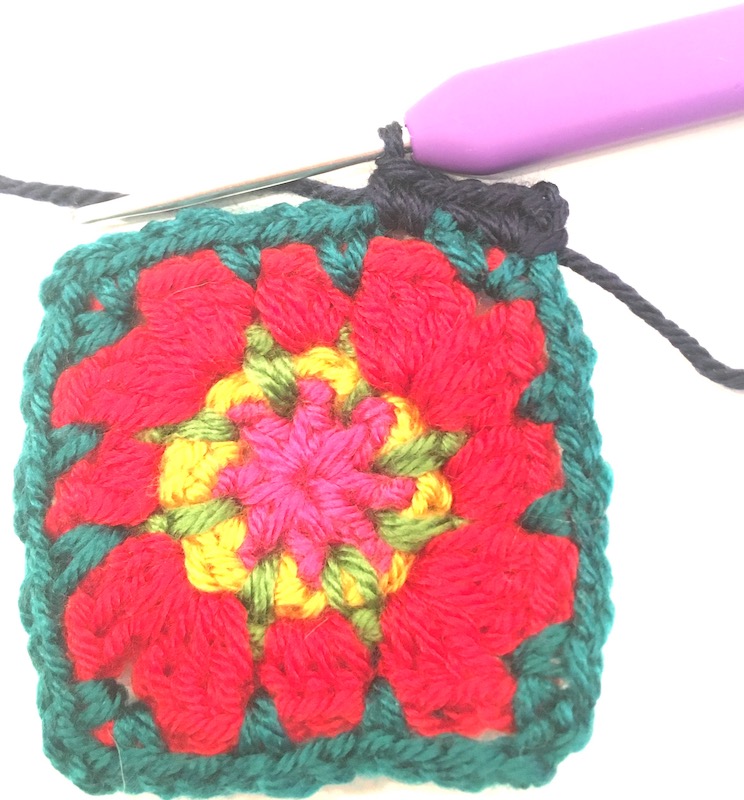
The finished small square looks like this…

The final row of a square - Part 4 of the CAL

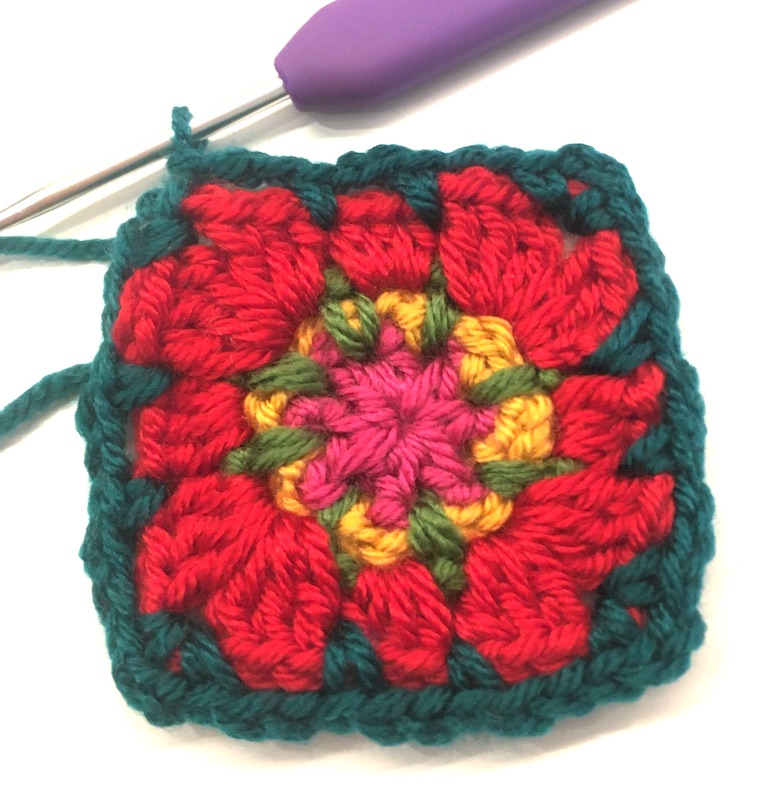
You can vary the colours as you like! I’ve chosen to do the final round in the same colour as the final round of the main square, but it’s entirely up to you! You need to make six of these squares – that’s 3 for each side of the bag.

Part 4 of the CAL is the small squares for the bag sides three per side

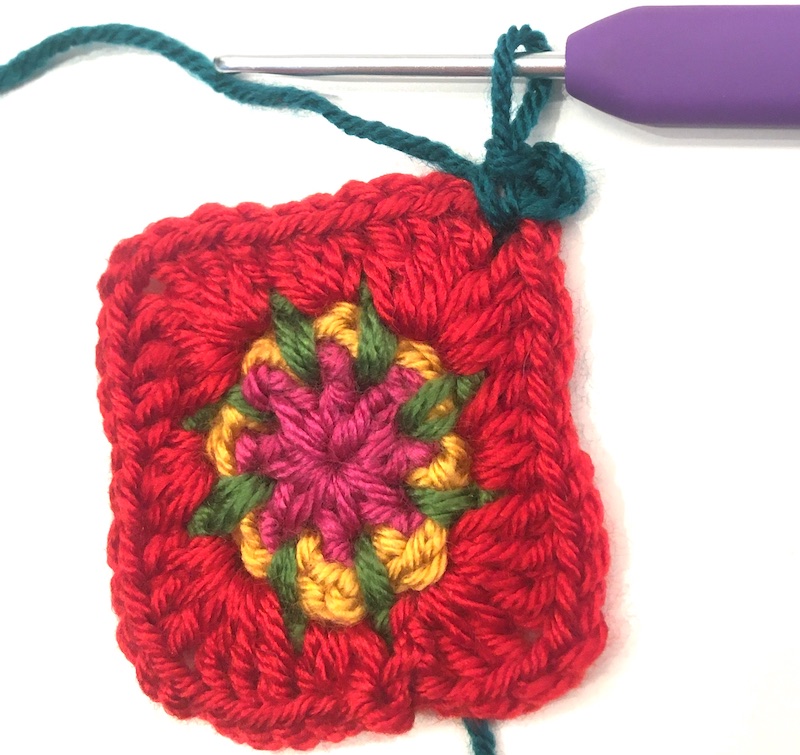
Don’t forget, you need to make 6 of these squares altogether, so get crocheting . Ready for Part 5? That’s here

Share your photos on social media with the hashtag #SpringBagCAL

And if you get stuck – get in touch by email, facebook, instagram or twitter and I’ll try to help.

Posted in: crochet, Crochet patterns Tagged: CAL, crochet along, crochet project, lockdown crochet

Part 3 of the Spring Crochet-along – finishing the main square

May 1, 2020 by Annie Leave a Comment

Part 3 starts here…

If you missed the first parts, head back here to begin. And to recap on part 2 (rounds 6-9) see here.

There are just three more rounds left to go to complete the main square and Part 3 tells you how to work these – don’t forget, you need to make two of these. And if you want the standard written instructions, they’re here.

Here’s what the completed square will look like… Again, don’t worry that it’s now exactly square at this point.

The next round is a normal granny square round for anyone who’s made a granny square before – it’s worked with groups of 3 trebles in each space across the sides, and 3 trebles, 2 chain stitches and 3 trebles in each corner.

Round 10: Join yarn in a corner, work 3 chain stitches [this counts as a treble here], 2 trebles, 2 chain stitches and 3 trebles.

Here’s the corner

* Now work 3 trebles in each space between the groups of trebles on the row below until you get to the next corner,**

And now the side

in the corner 2-chain space, work 3 trebles, 2 chains, and 3 trebles.

You need to repeat the last bit, from the asterisk * twice – you’ll now have worked 4 corners and 3 sides. To complete the last side, work from the single asterisk * and stop at the double asterisk **. To finish, join with slip stitch to the 3rd ch. Fasten off.

Round 11: Join yarn in corner and work 3ch [this counts as a dc and 2ch], then work a double crochet.

The corner looks like this

*Now work (3 chain and a double crochet in next space)

And here’s the bit you repeat across the side – 3ch and a dc

repeat this step (ie 3ch and a dc in the space) until you get to the next corner,

then work 3 chain **and, in the 2-chain space work (1dc, 2ch, 1dc).

The second corner completed

Now go back and repeat repeat from the single asterisk * twice, then from the single asterisk * to the double asterisk **. Finally join with a slip stitch to the first ch. Fasten off.

Now for the last round – hurray! This one works a double crochet edging all the way round. You’ll be working both into stitches and through the chain spaces on the previous round.

Round 12: Join the yarn in a corner space, work 3 chain [counts as dc, 2ch], and a double crochet.

Here’s the first corner

Now you need to repeat the same thing all the way across the side – *a double crochet in the double crochet stitch on the row below,

You need to make a dc in the next dc stitch – here’s the hook going through the top of the dc
And this is what it looks like when you’ve done the dc

and 3dc in the 3-chain space,

Here are the 3dc in the chain space

when you get to the corner you’ll do a double crochet in the stitch before the corner space ** (Remember that where you joined the previous row together, there’ll be a ss into a chain stitch, and this will be counted as a dc, so don’t forget to work a dc into that)

Don’t forget to work a dc in the last stitch before the corner space

then in the corner space work (dc, 2ch, dc). Now repeat from the single asterisk * twice, then go back and work from * to **. Finally join with ss to first ch. Fasten off.

You should have 35 dc on each side with a chain (at the corners) at each end, so altogether a side is 37 stitches wide.

Part 3 completed - the main square

Next week we’re going to make the small squares that sit across the top of this square and and side panels of the front and back, and the gusset that goes round the bag so make sure you’ve completed your main squares by then…

The next part of the pattern can be found here. And meanwhile, I’d love to see some of your squares on social media with the hashtag #SpringBagCAL

Don’t forget if you get stuck, just get in touch with me on facebook, email or instagram and I’ll try to help.

Posted in: crochet, Crochet patterns Tagged: crochet design, crochet pattern, crochet project, lockdown crochet
« Previous 1 2 3

Recent Posts

  • Crocheted plantpots
  • Christmas is coming (and it’s only November!)
  • Blanket coverage – time to get cosy!
  • Learning to crochet or knit on Zoom!
  • Lining the Spring Bag

Archives

  • May 2022
  • November 2021
  • February 2021
  • November 2020
  • May 2020
  • April 2020
  • February 2020
  • January 2020
  • November 2019
  • January 2019
  • December 2018
  • November 2018
  • September 2018
  • July 2018
  • April 2018
  • March 2018
  • February 2018
  • December 2017
  • October 2017
  • September 2017
  • August 2017
  • July 2017
  • June 2017
  • May 2017
  • April 2017

Categories

  • classes
  • craft fair
  • crochet
  • Crochet patterns
  • inspiration
  • Interviews
  • knitting
  • knitting patterns
  • Thanet news
  • Uncategorized
  • workshops

Pages

  • All about me
  • Blog
  • Favourite links to blogs, places and people
  • Features and Interviews
    • An interview with Dee Hardwicke
    • Knitwear designer Martin Storey – an interview
    • Louisa Harding, knitwear designer talks to Annie Windley
  • How to guides
    • 1 Making a slip knot
    • 2 Cast on – a step-by-step guide
    • 3 Knit stitch – a step-by-step guide
    • 4 Purl stitch – a step-by-step guide
    • 5 Cast off – a step-by-step guide
    • 6 Making a chain stitch
    • 7 Making a double crochet stitch
    • 8 Making a treble crochet stitch
    • How to make a Basic Granny Square
    • Joining granny squares
  • Lessons in Thanet and North London and by Zoom
    • Crochet projects
    • Now We’re Knitting! (beginners)
  • Patterns
    • Annie’s Advent Calendar: Christmas CAL 2018
    • Carrot & pea bunting pattern
    • Fallen Leaves Autumn Cowl
    • Floral granny squares & little flowers pattern
    • Little crochet heart pattern
    • Little Tea Cosy pattern
    • Waffle Blanket
  • Shop
  • Spring Granny-Square Bag CAL pattern

Meta

  • Log in
  • Entries feed
  • Comments feed
  • WordPress.org

Follow me on social media

Twitter
Facebook
Instagram

Copyright © 2022 Picking Up Stitches.

Omega WordPress Theme by ThemeHall