Part 5 means there are just these crochet side pieces to make before we start putting some pieces together! If you’ve only just found this page, head back to the start and do Parts 1 (main square rounds 1-6) , Part 2 (rows 7-9), Part 3 (finishing the main square) and Part 4 (small squares) first .. And if you’d prefer the standard written instructions without pictures, head here.
SIDE STRIPS (make 4)
Part 5 explains how to make these strips which will attach to two sides of the square, and as each side of the square is 35 stitches wide, we need to make the strips 35 stitches wide
However, because we don’t use the first chain that we make here, make a foundation chain of 36 chain stitches. You’re now going to be working in rows.
In the first few pictures, I’ve used a lighter colour yarn as it’s easier to see the chain stitches.
Foundation row: On this row, you’re going to ignore the first chain (the one nearest the hook) and start to work along from the second chain.
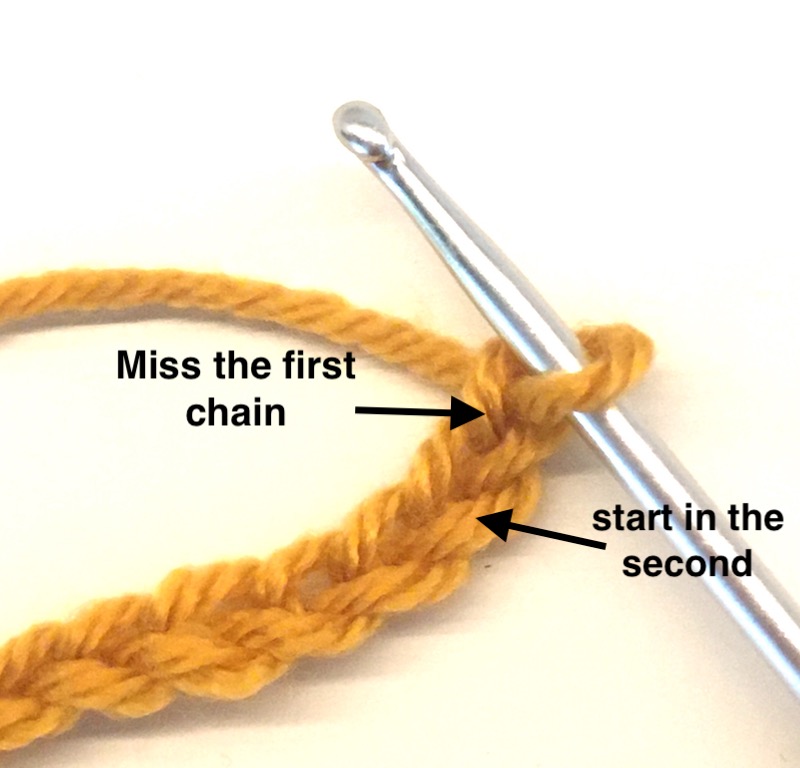
So work a double crochet in the 2nd chain.
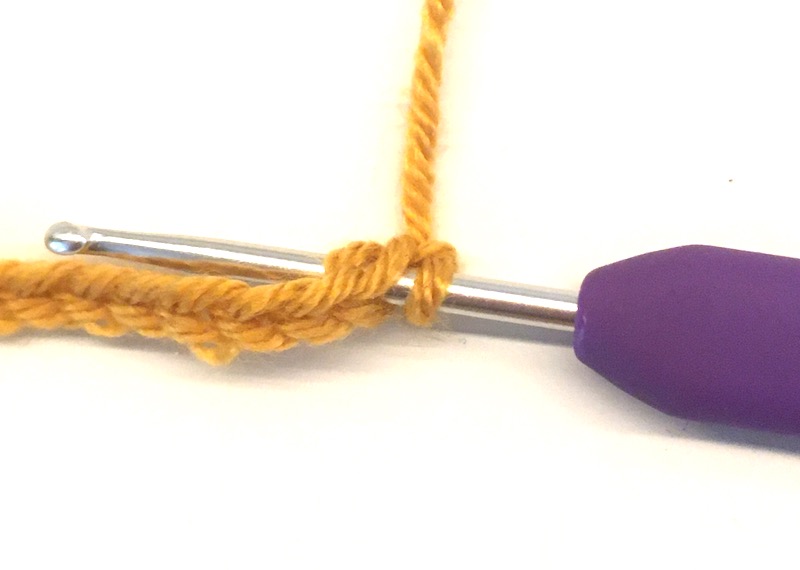
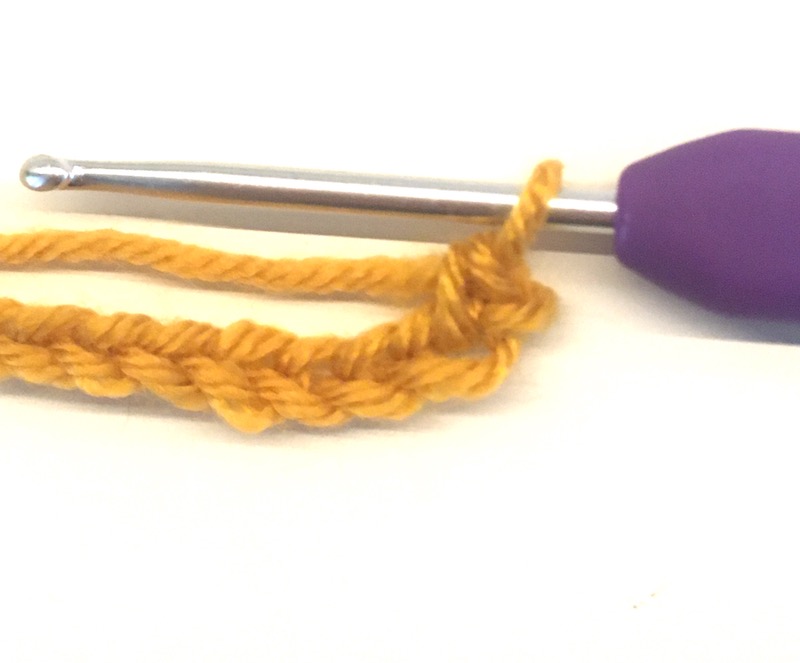
Now work all the way along the chain stitches with a double crochet in each chain stitch.
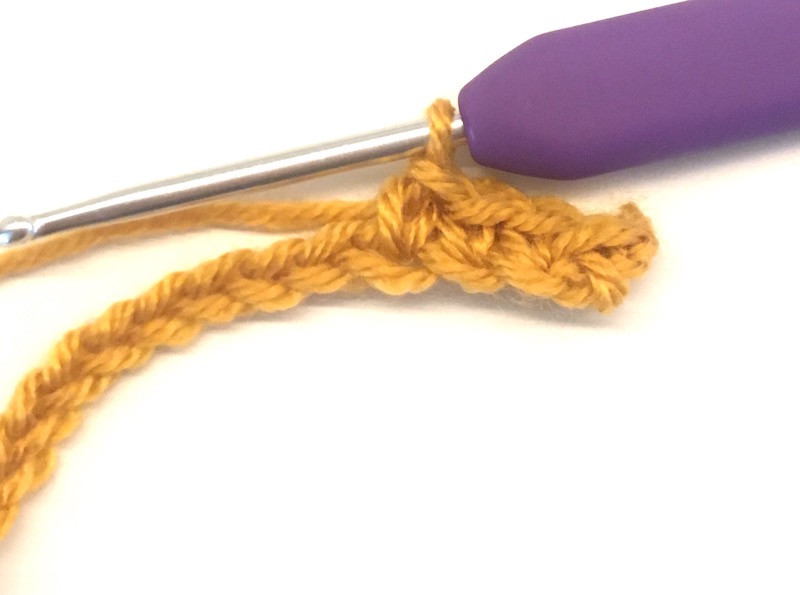
Fasten off. Do not turn your work.
The next row is a series of stitches, a bit like waves, working from tall stitches down to short stitches and then back up again.
Next Row (starting at same side as the foundation row with right side of work facing you): Join yarn in the first st and work across the stitches on the row below as follows, 4ch [counts as a dtr here] and then (treble,
half treble, double crochet, slip stitch, double crochet, half treble, treble, double treble) now repeat this bit in brackets 3 times more. Then to finish the row work a treble, and a half treble. Fasten off. Do not turn.
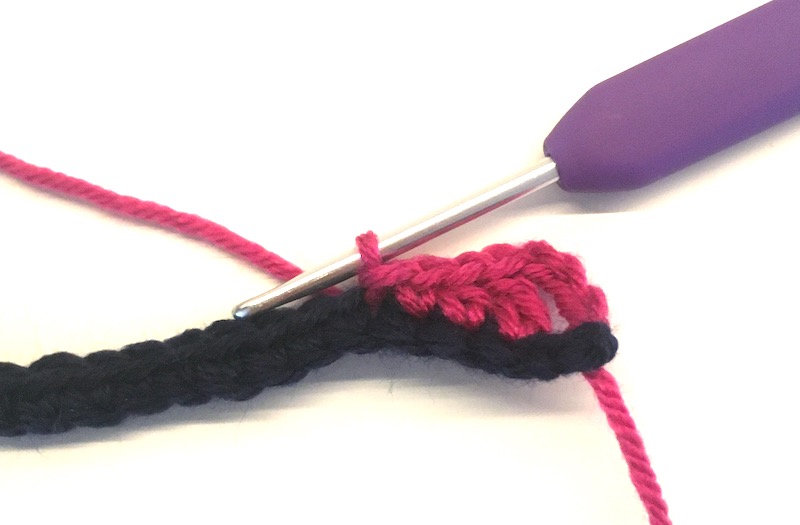
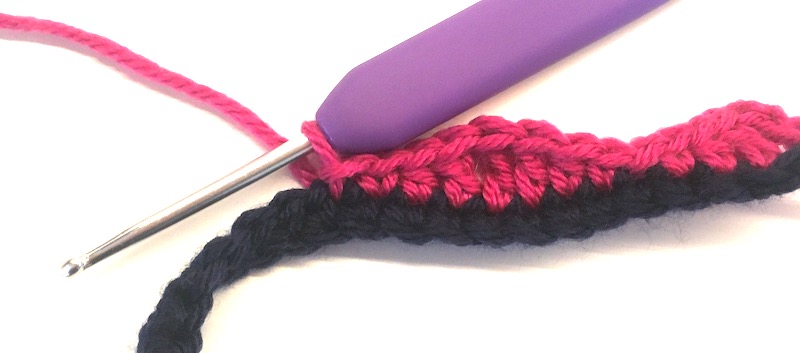
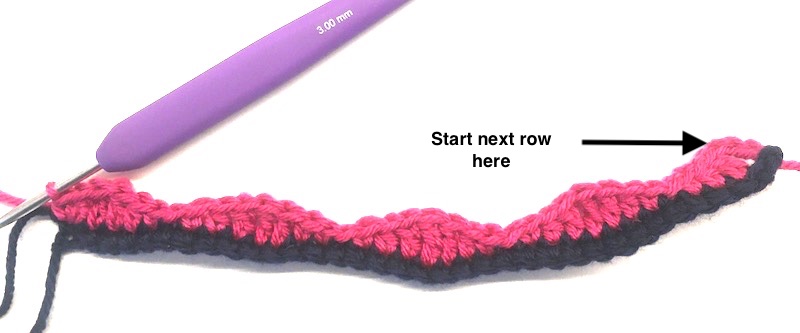
The next row has tall stitches on top of short stitches and vice versa, so it turns into an oblong again.
Next row (starting at same side as previous row with right side facing): Join yarn in first stitch [ie the top of the 4ch] with a ss, and work across the stitches on the row below with (dc [in the treble below], htr [in the half treble below], tr [in the double crochet below], dtr [in the slip stitch below], tr [in the double crochet], htr [in the half treble], dc [in the treble], ss [in the double treble]) . Repeat this bit in rounded brackets 3 times, then dc and htr. Fasten off. Do not turn.

Last row (starting at same side as previous row with right side facing): Join yarn in first stitch work 1 chain and then work a double crochet in each st (don’t forget to work one in the first stitch). You should have 35 double crochet stitches. Fasten off.

You need to make four or these (there’ll be one on the left and one on the right of each main square).
Get prepared to complete the bag sides
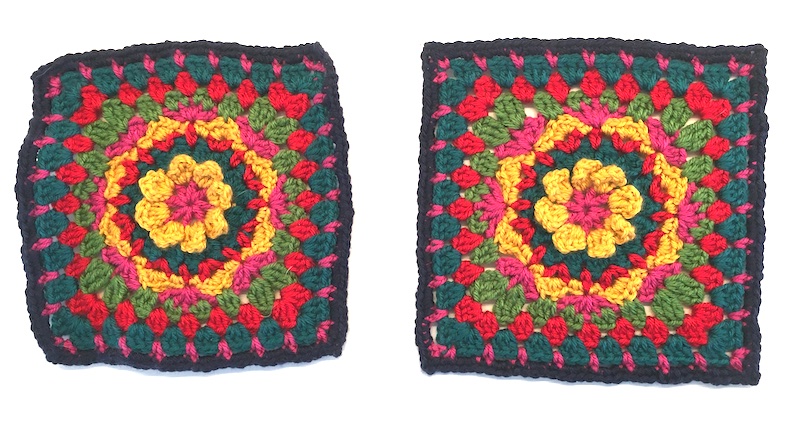
Before starting on the joining the bits that make up the sides of the bag together, darn in all the ends and block out the 2 main squares, 6 small squares and 4 side strips. If you missed my post about how to do this, it’s here. And here’s a picture of my main squares – the first hasn’t been blocked and the second has – you can definitely see the difference! Make sure you’ve done this tonight and you’ll be ready for Part 6.
If you get stuck or need any advice, just get in touch by email, facebook, instagram or here.
And don’t forget to share your pix on social media #SpringBagCAL
