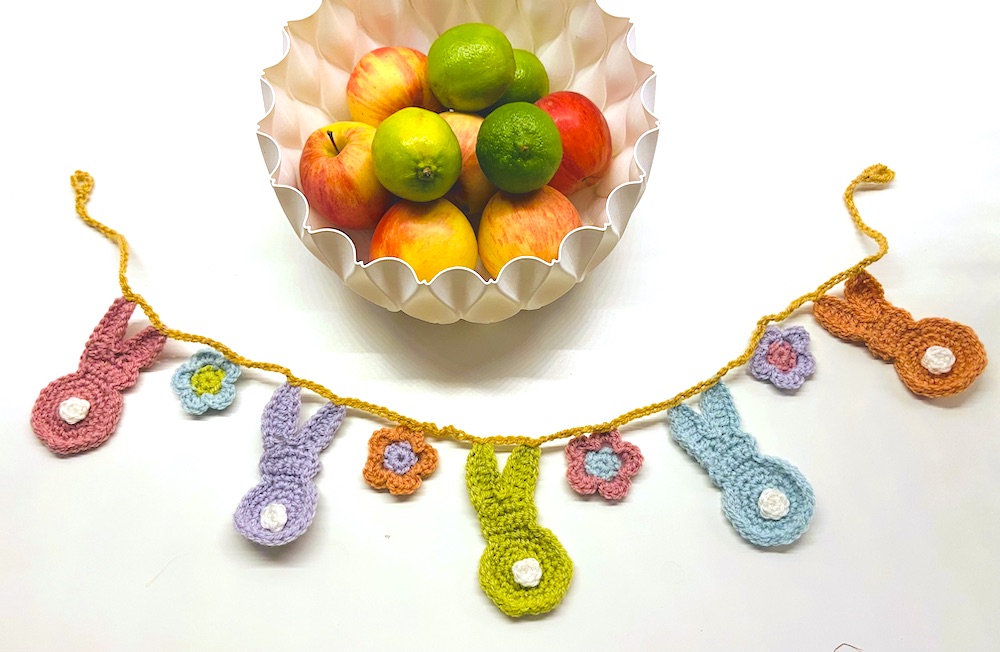
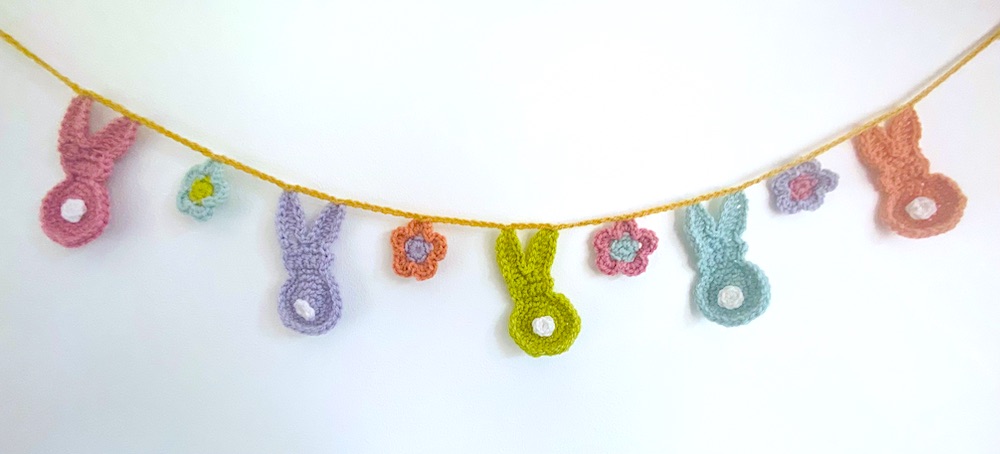
Easter Bunnies – what’s not to love! This year I decided that they definitely deserved an Easter garland all of their own. After all, Easter is only a hop and skip away!
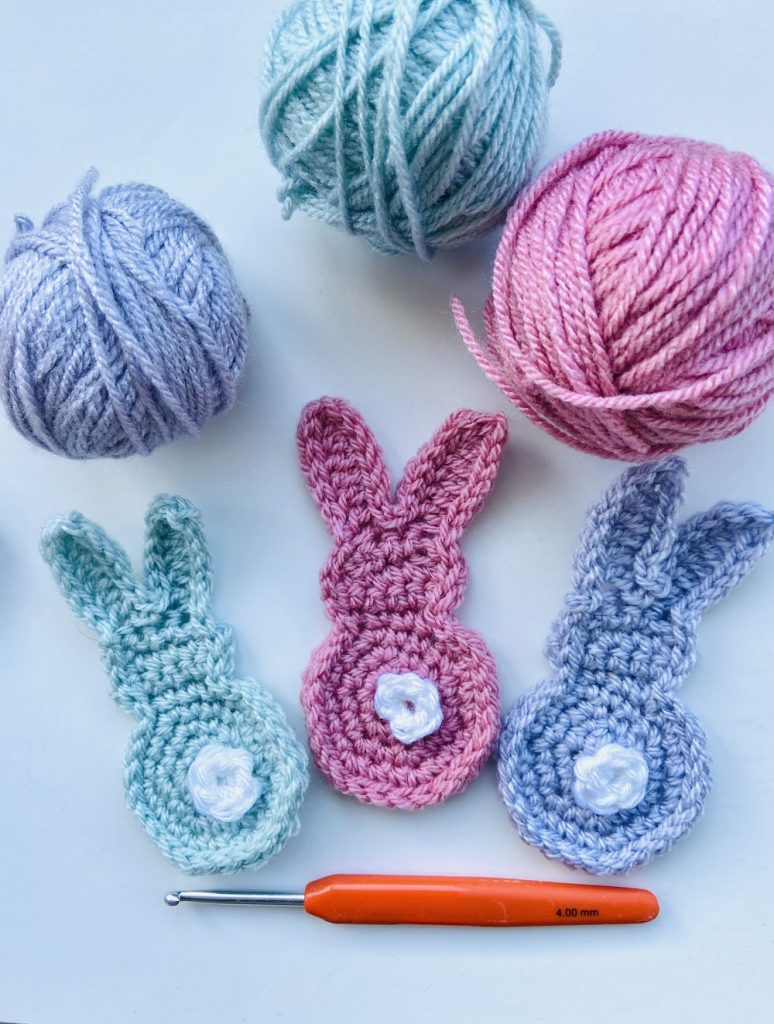
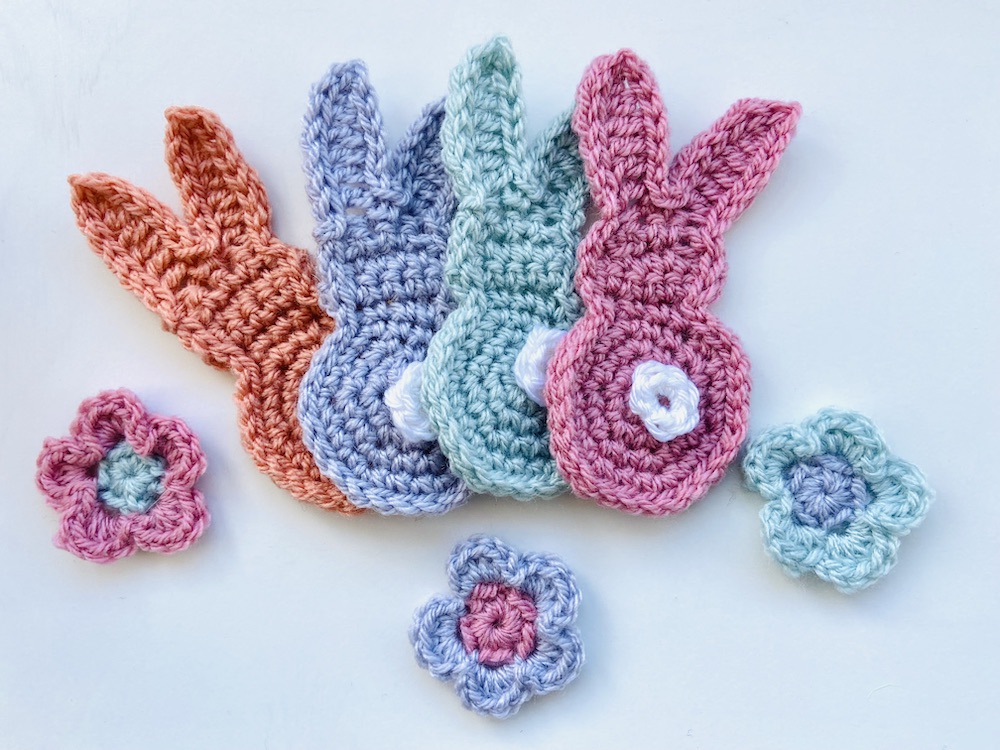
I discovered that I had lots of pastel colours in my yarn stash. So I soon hooked a series of pretty little Easter bunnies with cute white bobtails. (Also, I’ve just taken delivery of a lovely colour pack of Stylecraft DK yarn in beautiful spring colours from Lincoln Wool Pack, so I feel a few more of these Easter Bunnies will be appearing around my house soon!)
The rabbits are each worked in one piece, apart from the tail, starting with the body, followed by the head and finishing with the ears. The little tails are sewn on at the end.
Although the little rabbits would look perfectly fine and dandy on their own, I thought little flowers would make the garland perfect.
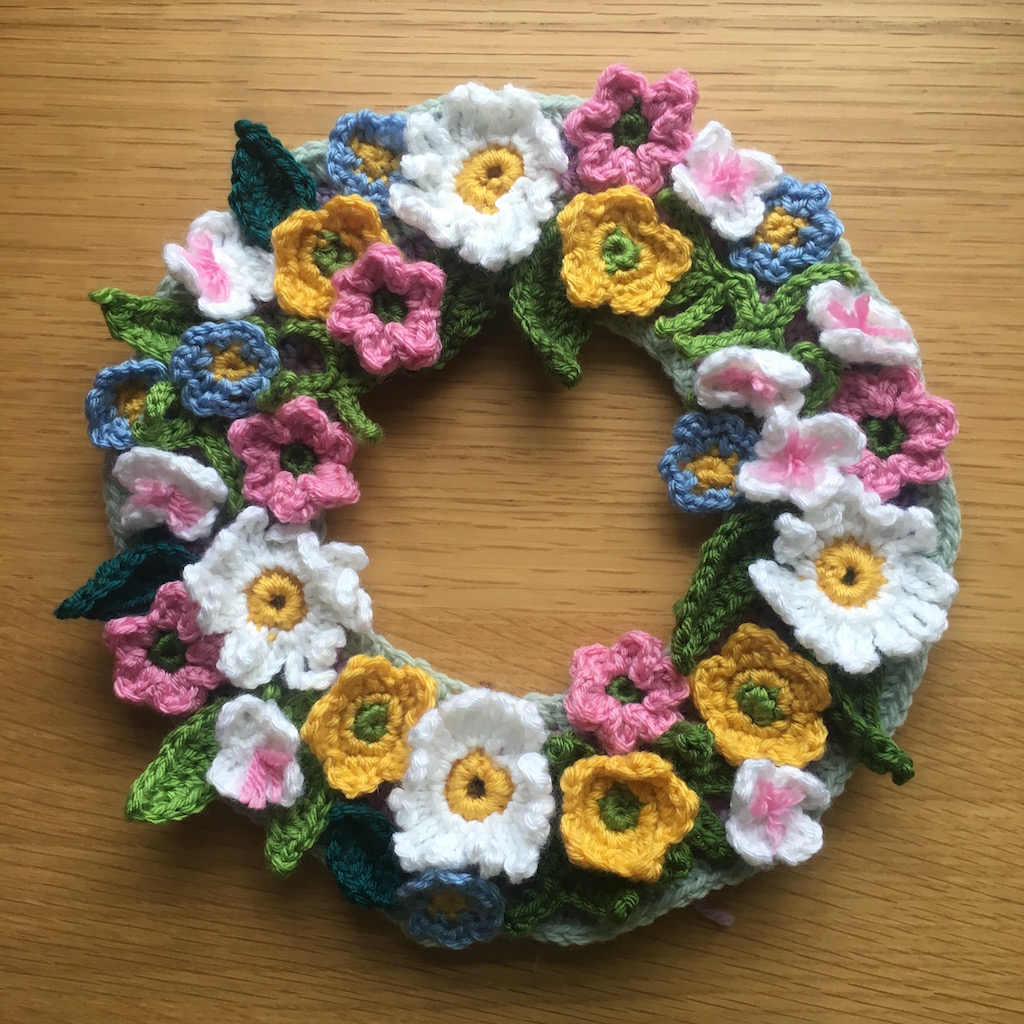
I had so many flowers to choose from – remember my Springtime wreath (this is one of the crochet projects I teach, by the way)? Would any of these fit the bill?
Or maybe one of these, that I made years ago to grace the picture at the top of my website?
In the end, I came up with new one! Each flower is worked in two colours – so quick to make.
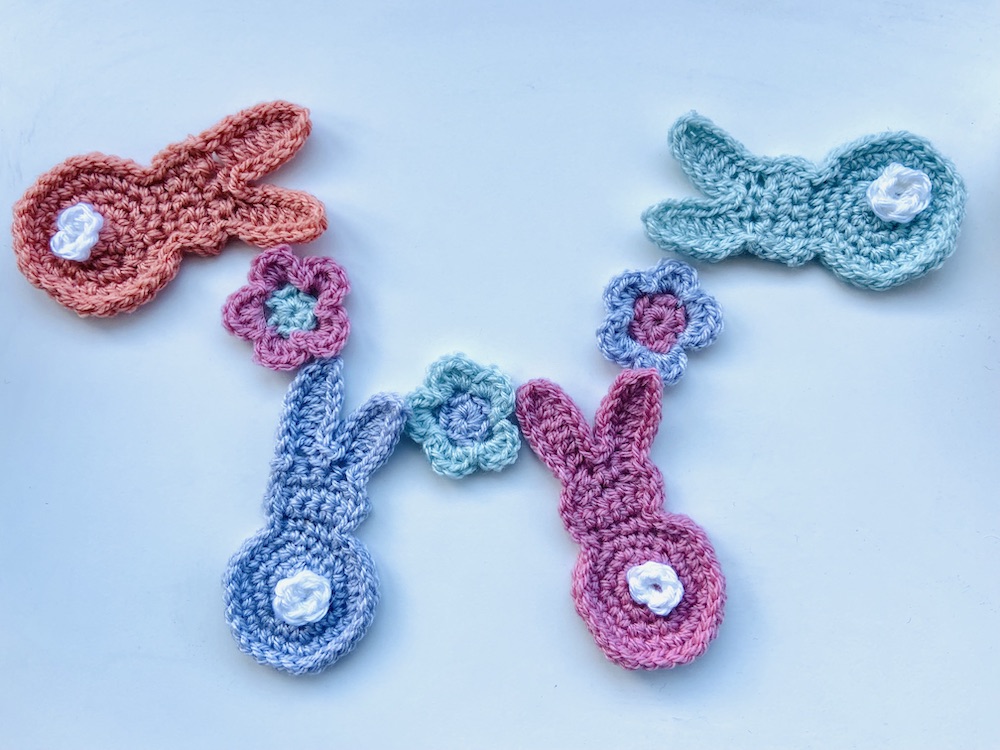
I chose to have a rabbit each end and a flower in between each pair.
Then they were all crocheted together with a little loop at each end of the string – a perfect garland of Easter Bunnies ready to hang up.
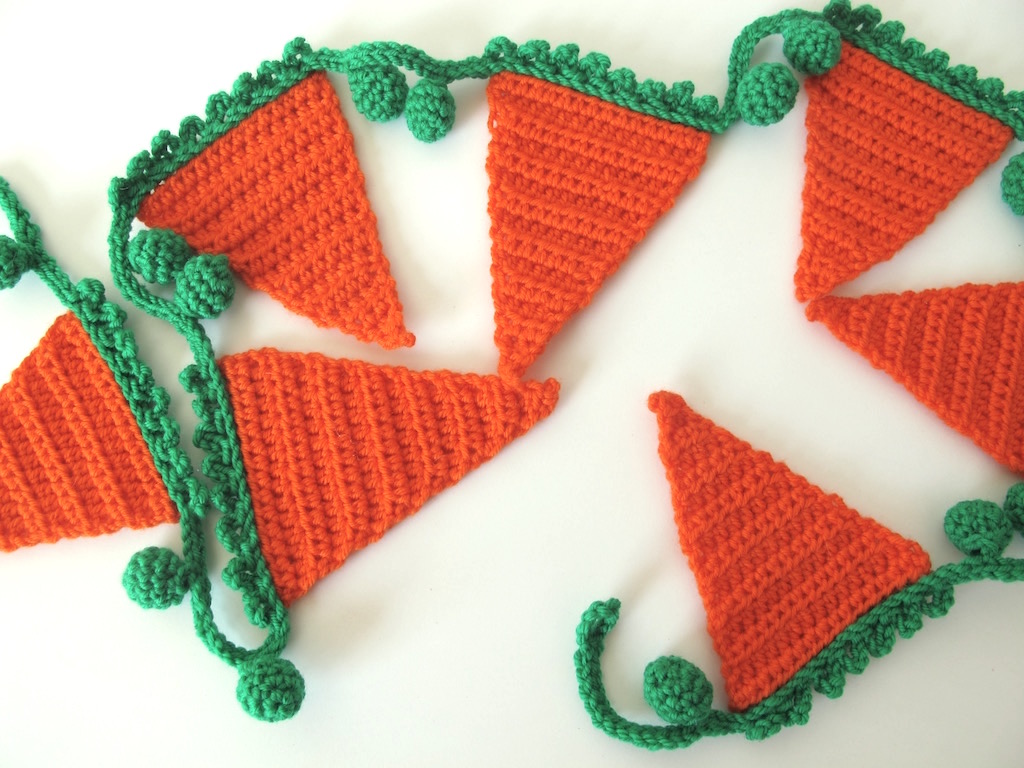
And once I’d finished the Easter bunnies, I realised that they’d go perfectly with a string of bunting I made before. My carrots and peas bunting! Do you remember that?
Or you can read about the background to this bunting here
Don’t forget that if you live in Thanet, I teach classes for beginners, and the Easter Bunnies will be added to my list of crochet projects to choose from (I also teach at Broadstairs Adult Education College – see Kent Adult Education site for details about current classes). The pattern will be available on Ravelry soon, so keep an eye out there! I’ll hop along now!!!
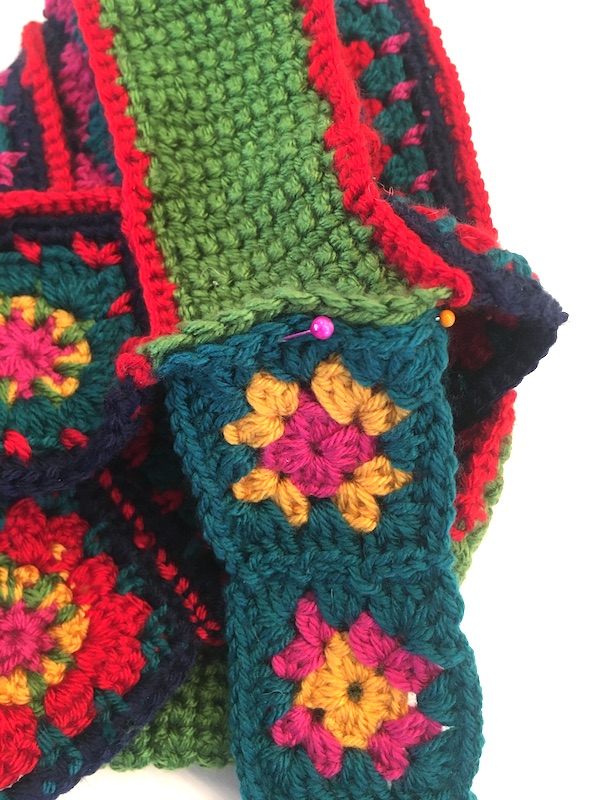
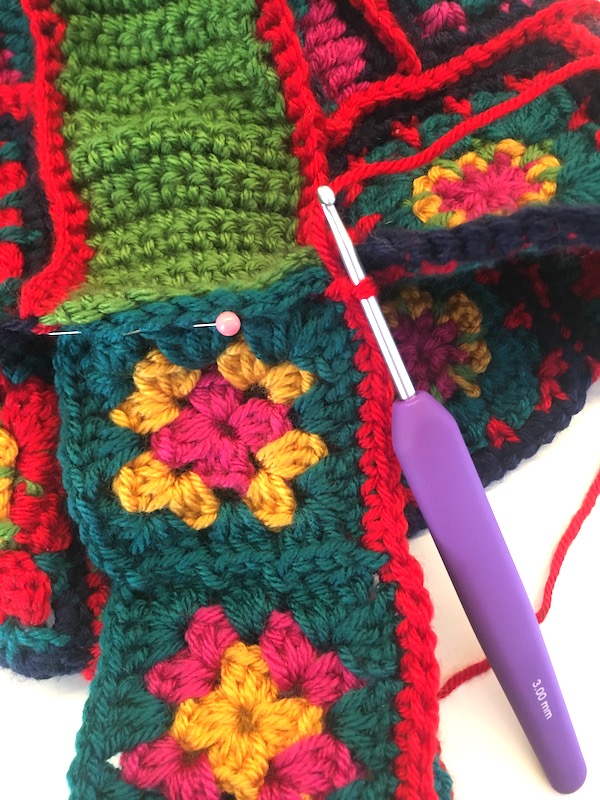
First we’re going to attach the main bit of the bag to the strap and edge the strap. First, position one of the short edges of the strap next to the end of the gusset with wrong sides together, and strap facing you.
Pinned in place
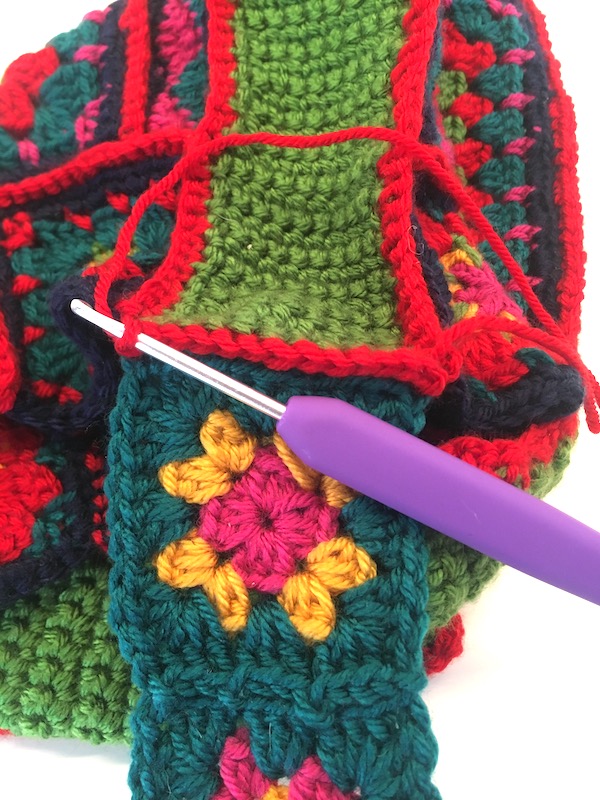
Then, starting at the corner, work across the end of the strap and the gusset in double crochet catching one loop from each side for each stitch as before.
Double crochet across the gusset and strap end
At the corner, turn your work
Here I’ve turned the work and am starting to work along the side of the strap
and with the right side of the strap still facing you, work all the way along the edge of the strap. You’ll be working 1dc each corner space of a small square and 1dc in each stitch until you get to the end of the strap – so for each square, that’s one dc in the corner space, 9dc in stitches along the edge of the square and one dc in the corner space.
Here’s the side of one square completed
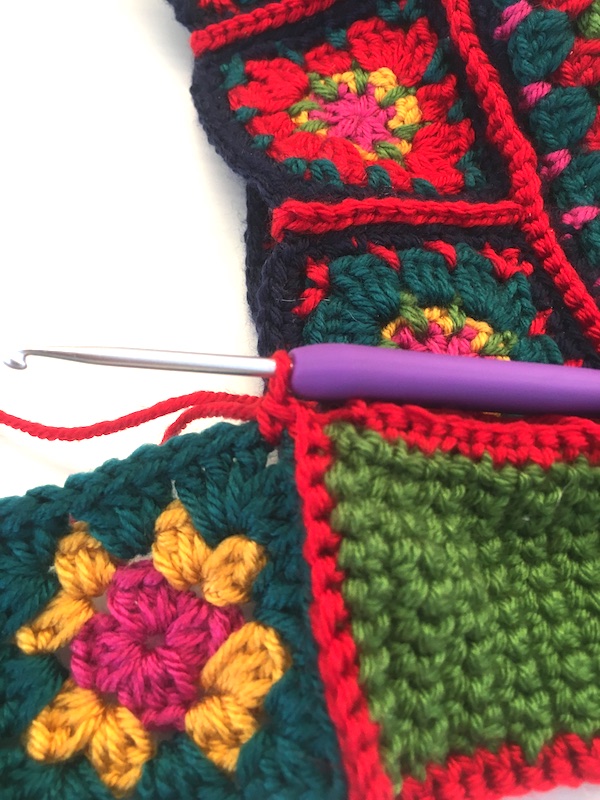
Now position the short end of the strap against the gusset, again with wrong sides together and the strap still facing you,
One side of the strap completed, turned again and ready to dc the other short end to the gusset
work across short side and the gusset, then along the other edge of the strap as before. Join with ss to first st. Fasten off.
Here’s the strap attached and edged
Final touch!
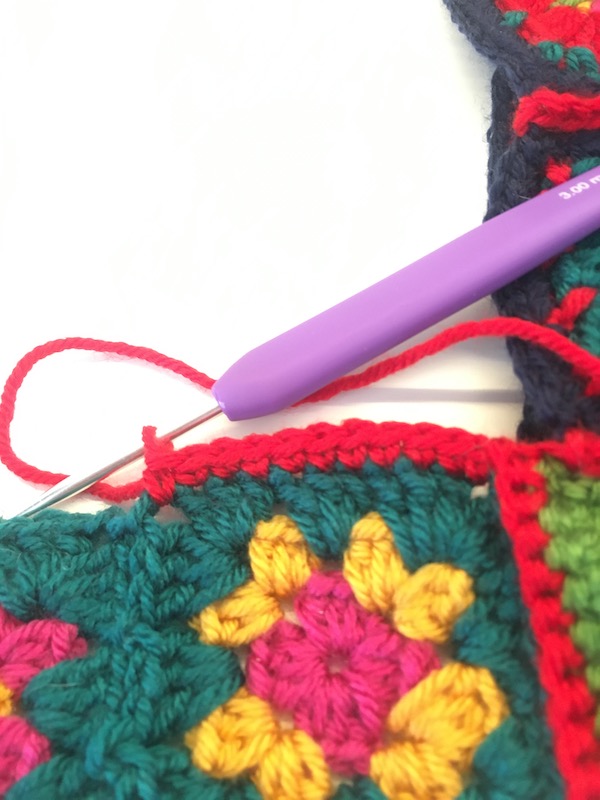
Finally, edge the tops of the sides by joining yarn in corner sp of gusset and with right side of bag facing, work in dc across the top edge (ie along the top of the small squares), finishing with a dc in the space on the gusset again. Complete other top edge to match.
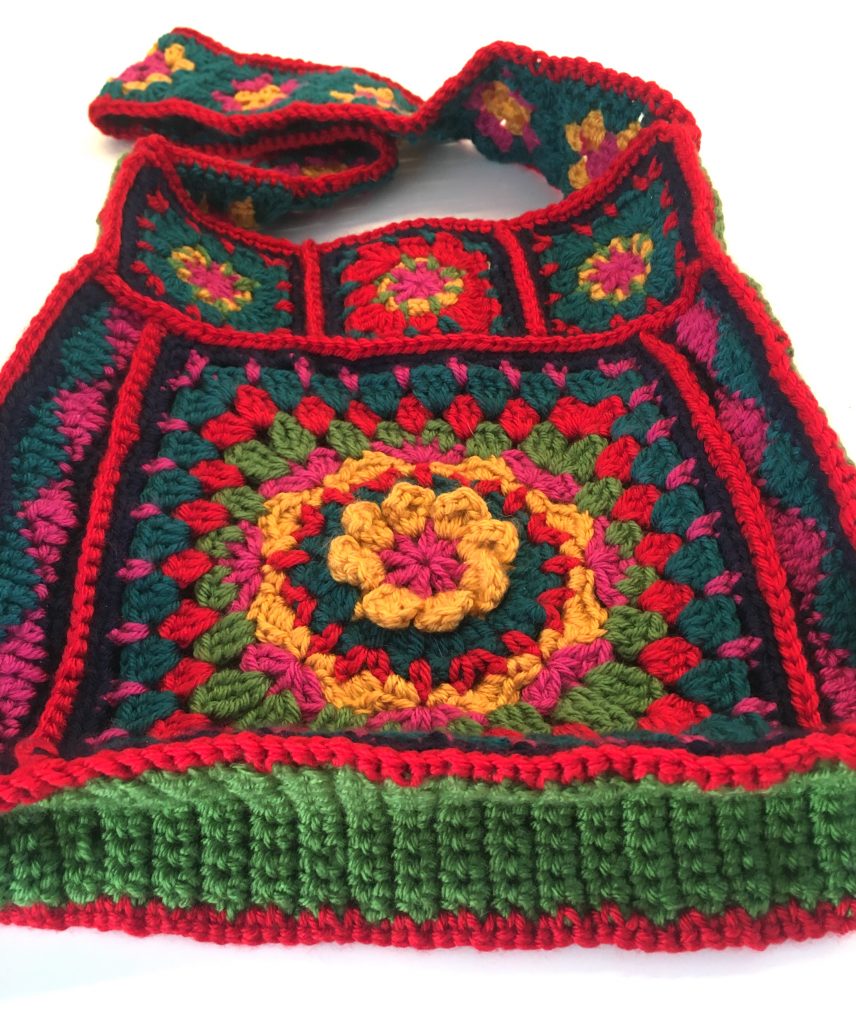
Start in the corner and make sure it’s secured to the gusset corner tooOnce the ends have been sewn, the bag’s finished
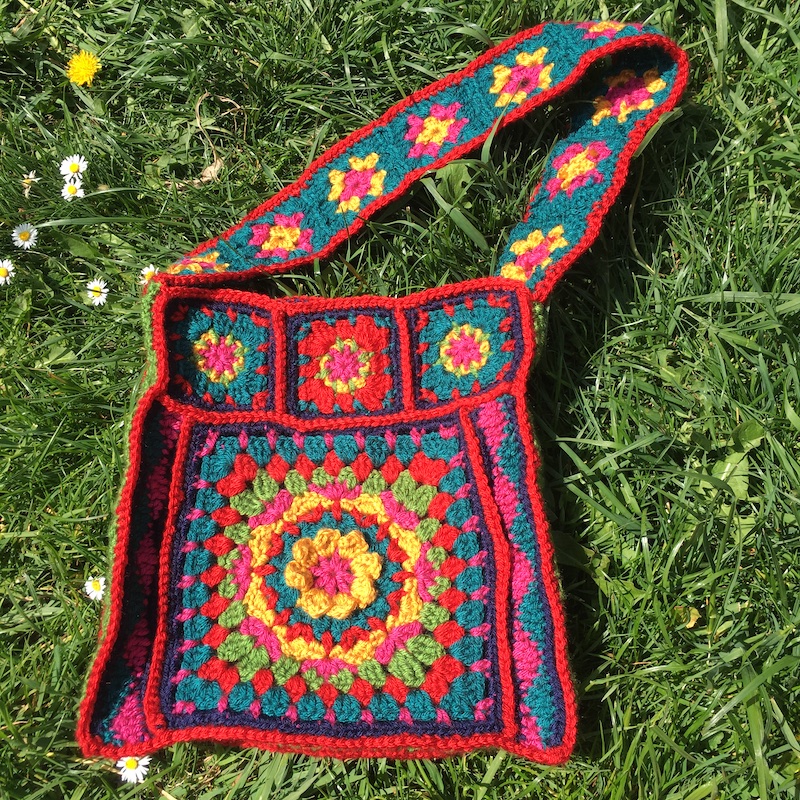
Ta-da! You have your spring bag!
Your bag is ready to go, but if you like, you could add a lining. There are instructions how to do this here.
I hope you’ve enjoyed following along and maybe learned some new techniques along the way. If you’ve made a bag, please send me a photo, or share one in the comments here, or post it on my Picking Up Stitches facebook page as I’d love to see them.
Make 12 or as many as you prefer for the length of the strap)
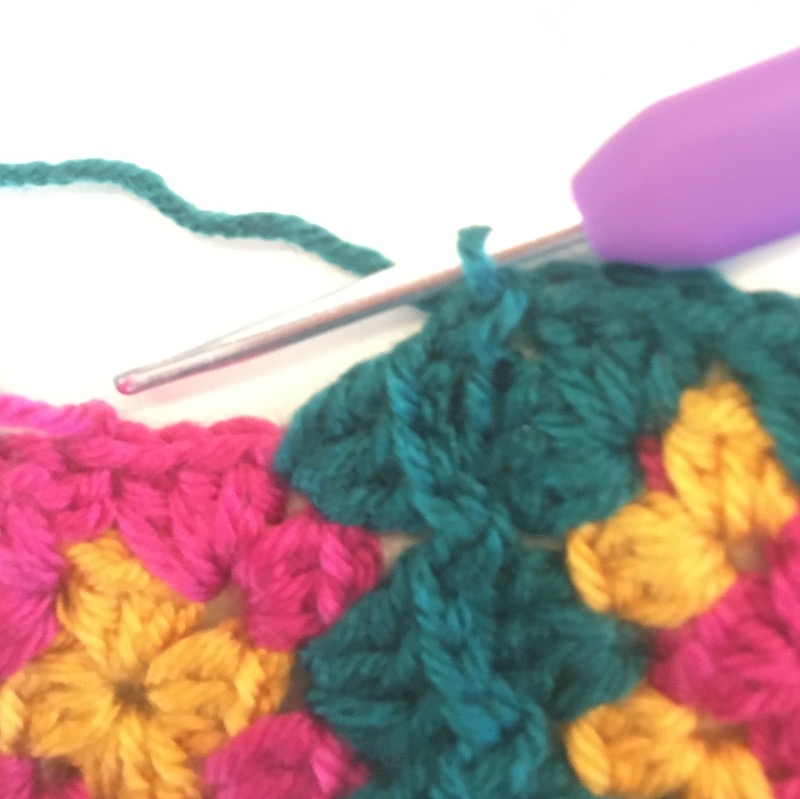
These are like mini granny squares, worked in groups of half trebles. There are only three rounds, the first two are regular rounds and then the third round is used to join a square to the next one – it’s a method called JAYG which stands for Join As You Go
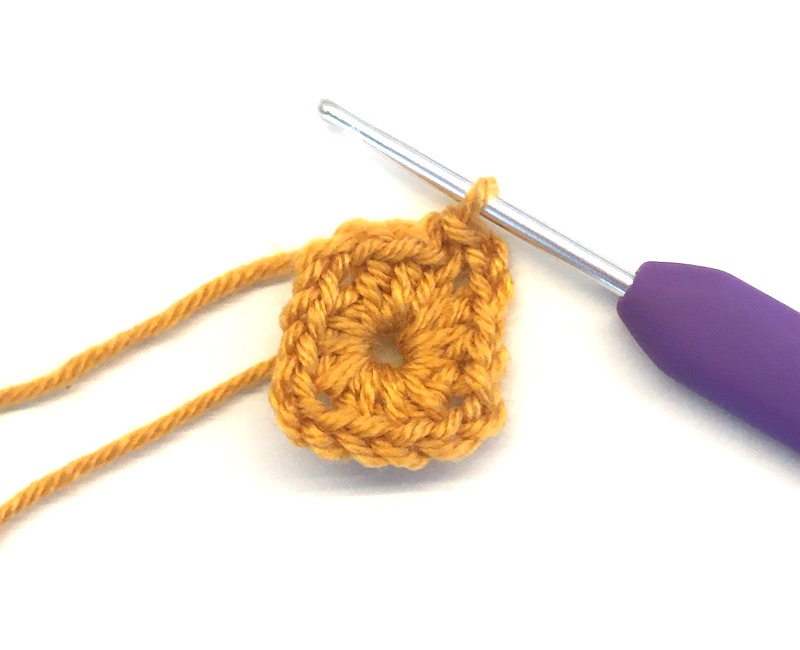
Round 1: In a magic circle, work 2chain [counts as htr], then work 2htr, now a bit to repeat three times: (2ch, 3htr). Finally, work 2ch, and join with ss to top of the second chain. Fasten off. As usual you can start with a ring made up of 4chain stitches slip stitched together instead if you can’t do the magic circle.
How cute is that little square!
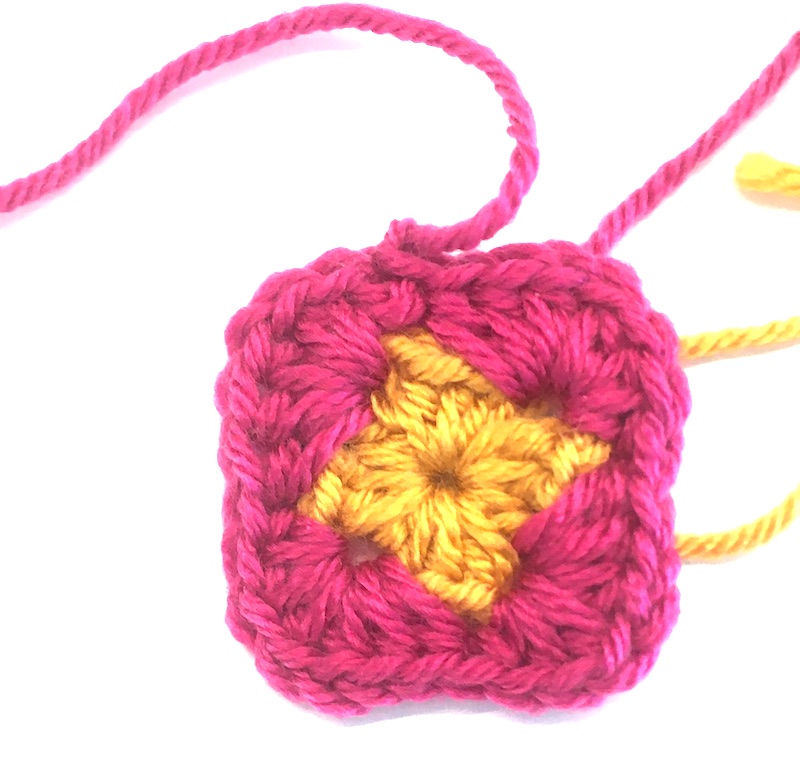
Round 2: Join yarn in a 2ch-space, and work (2ch [counts as htr], 2htr, 1ch 3htr), * in the next corner 2ch-sp work (3htr, 1ch, 3htr), rep from * twice, join with ss to 2nd ch. Fasten off.
The next round is only done on the very first square you make.
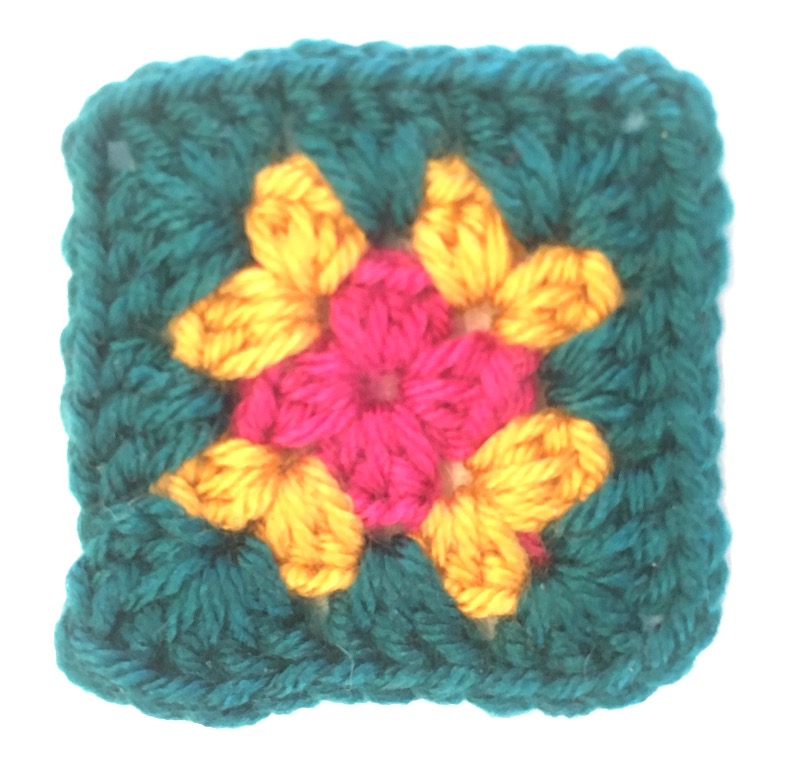
(For first square only) Round 3: Join yarn in a 1ch-sp in a corner, now work (3ch [counts as tr], 2tr, 2ch, 3tr) – this is the corner, * in the next space (ie between two groups of three trebles, on the side of the square), work 3tr, in the next corner space work (3tr, 2ch, 3tr), go back and repeat from * twice, then to finish, in the next side space work 3tr, join with ss to the 3rd ch. Fasten off.
The first square looks like this..
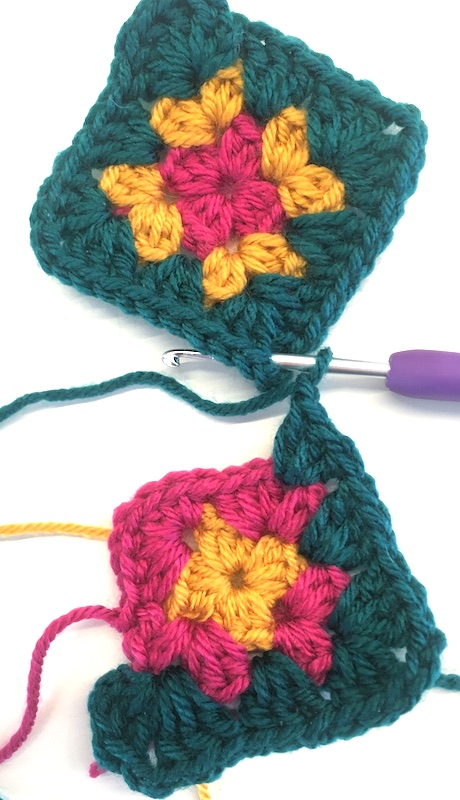
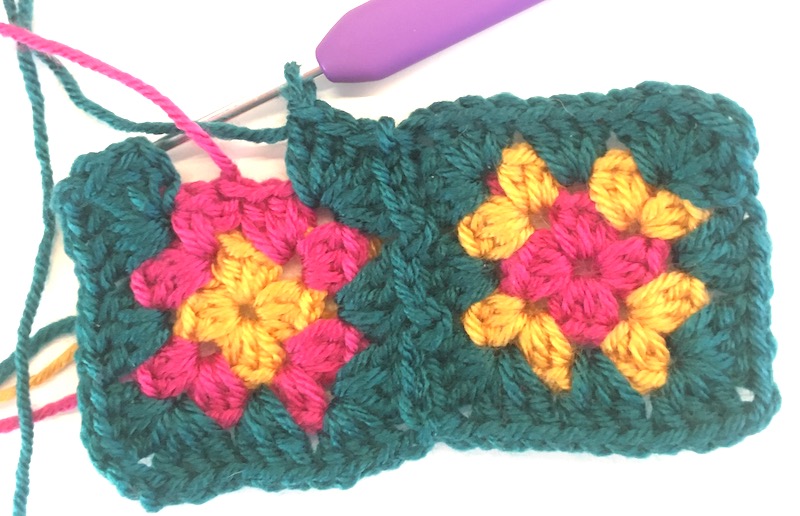
Now comes the clever round that you work on each square you make from now on – it sounds a bit complicated, but as long as you remember that you’re aiming to join along one side of the square to the one you’ve already made, it should make sense. And I’ve included lots of pictures to help. But if you do find it too complicated (which I’m sure you won’t) then you could just make the squares all as the first one, then sew or crochet all the individual squares together. However, give the JAYG method first, you’ll be glad you did once you get the hang of it!
(All subsequent squares) Round 3: Join yarn in a corner space, and work (3ch [counts as a treble], 2 more trebles, 2chain stitches and 3 trebles),
* in next space between groups of stitches on the side, work 3trebles, in the next corner space, work (3tr, 2ch, 3tr),
in next sp work 3tr.
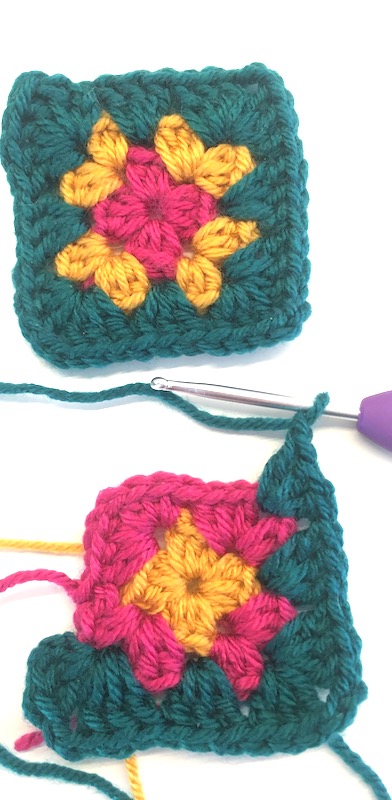
Now comes the joining bit – you’re going to need to place your completed square next to the one you’re working.
In the next corner space work 3tr, then 1chain.
You need both squares together for this bit
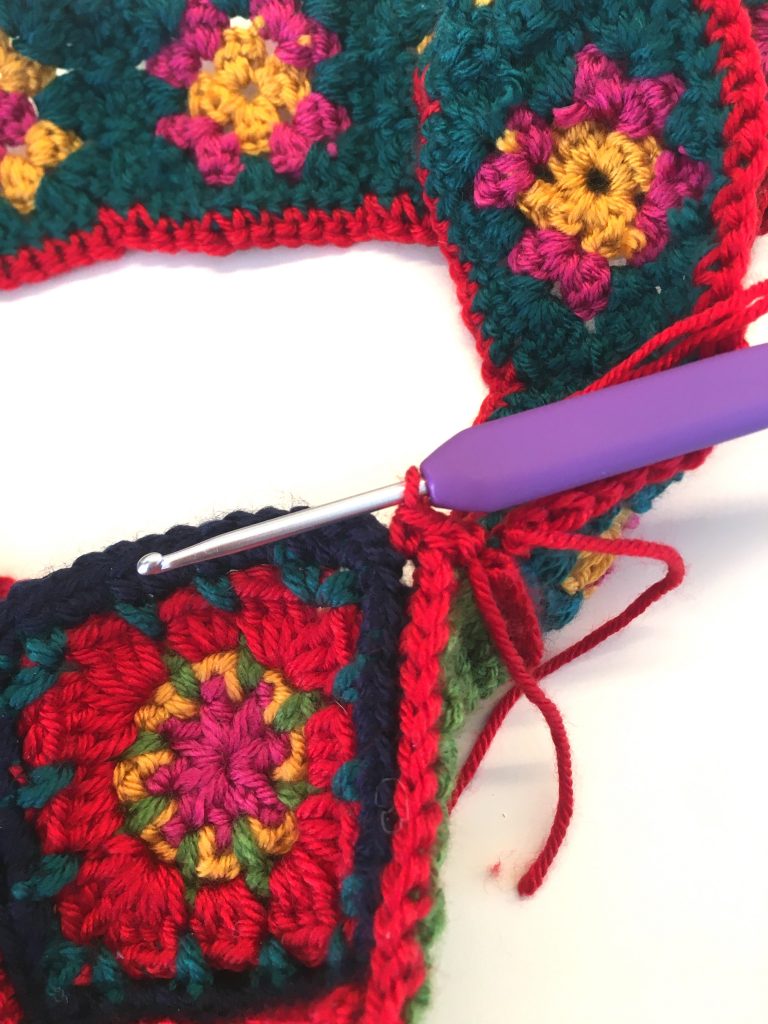
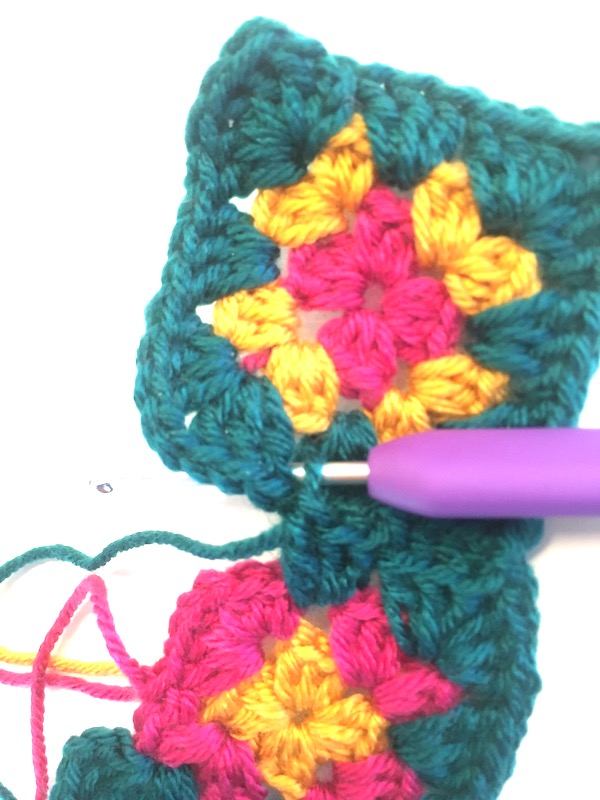
Now put your hook from front to back through the bottom right corner of the completed square making sure the right side of that square is facing you (see the picture below).
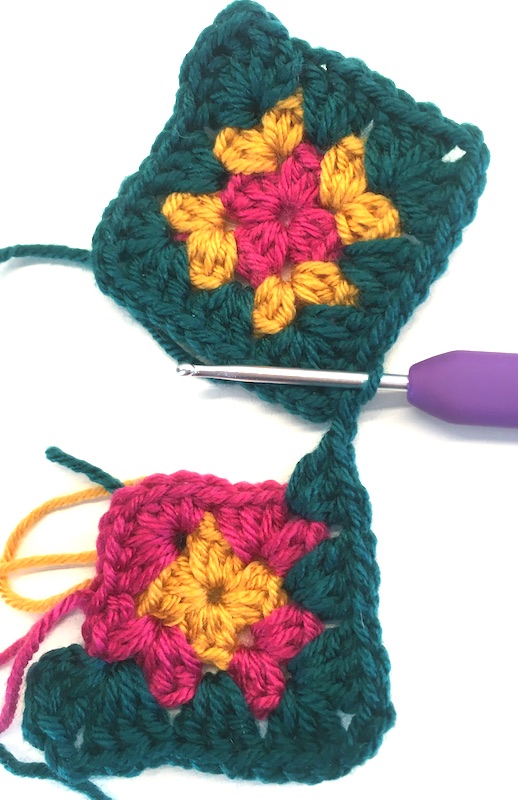
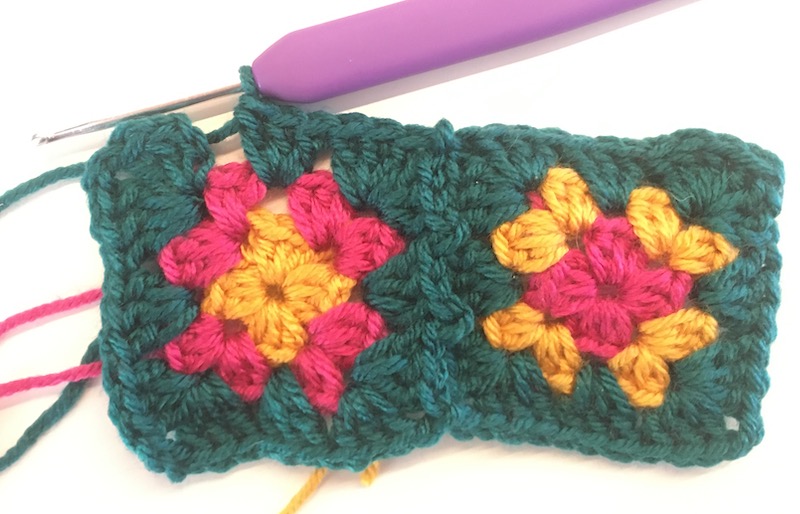
and work a slip stitch, which attaches the two squares together.
Here I’ve worked a slip stitch and you can see that the two corners are joined
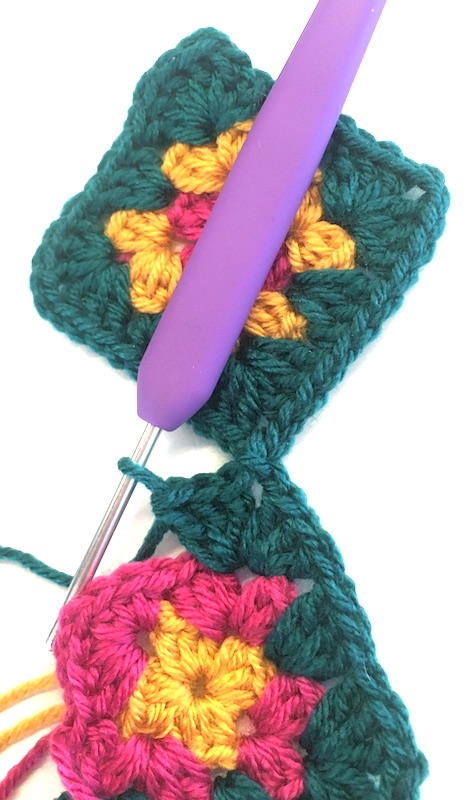
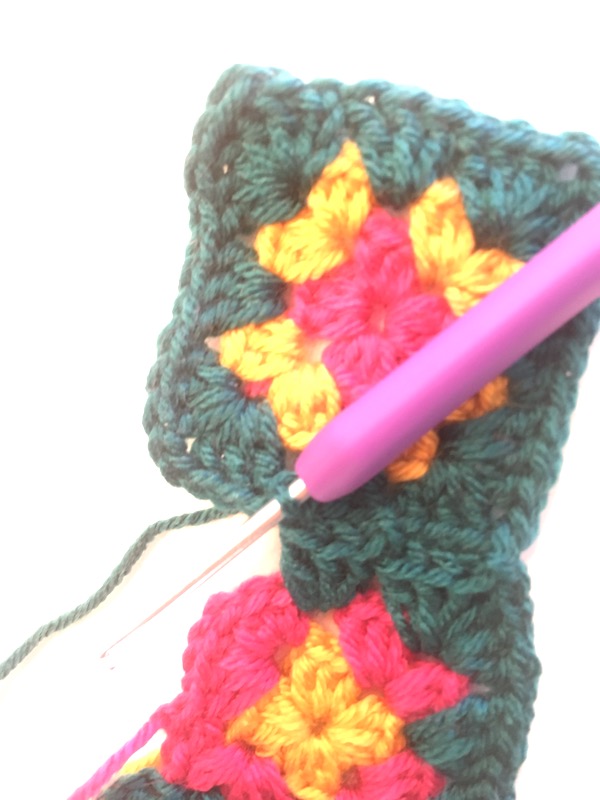
Now work 3tr in the corner space on your current square,
inset the hook into the space between groups of trebles on the completed square
and slip stitch here to join at this point too,
Here’s the beginning of the slip stitch – just need to pull it straight through the loop on the hook nextSlip stitch completed
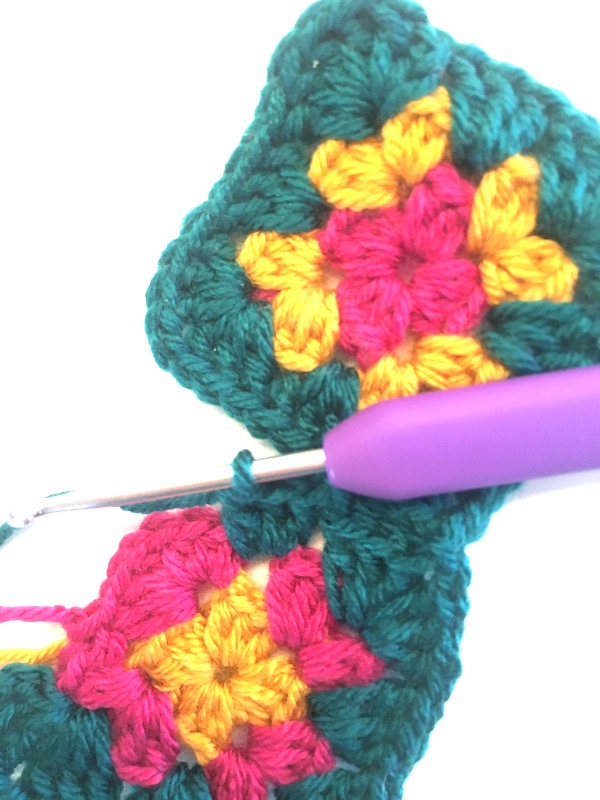
then 3tr in the next space between groups of trebles on current square,
slip stitch through the next space on completed square again,
Hook through the space…and slip stitch the squares together
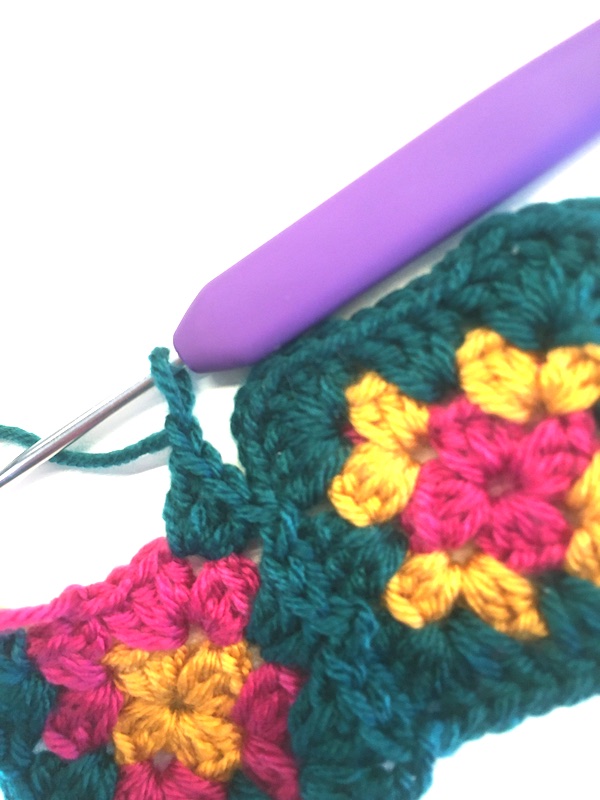
work 3 trebles in corner space on the current square,
then 1ch, now slip stitch through the corner space on completed square,
hook through the corner space…and slip stitch together
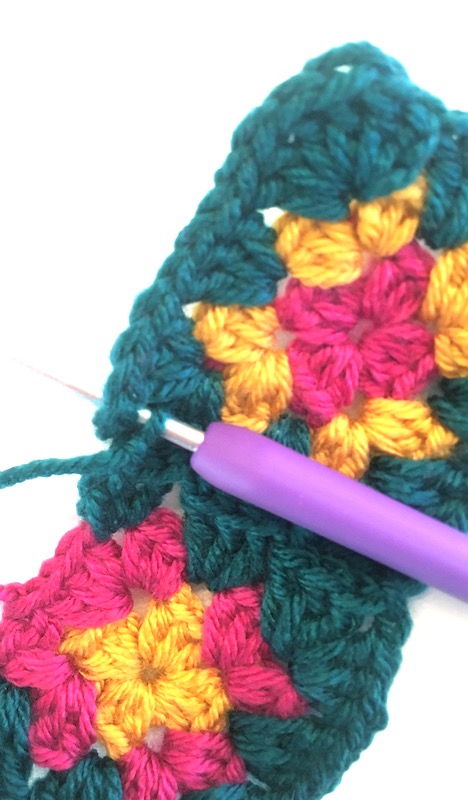
then 3 treble in corner space on current square.
Three trebles to complete the corner
– that’s the joining bit completed, so now just work 3 trebles in the final space on the current square,
and join with a ss to the 3rd ch.
Fasten off.
Now attach another square that you’ve worked two rounds on to the strip in the same way.
I’m sure you’ll soon get the hang of it once you’ve made a few.
You can make as many squares as you like depending on how long you want your finished strap to be.
Once that’s done, block your strap out, and you’re ready to complete the bag in the next part – part 9, which is here.
If you get stuck, just email or contact me on facebook, instagram or twitter and I’ll try to help. And don’t forget to share all your pictures on social media! #SpringBagCAL