This is Part 6. Have you been following along? If so, you’re ready to go. If not, head back and do Parts 1 (main square rounds 1-6) , Part 2 (rows 7-9), Part 3 (finishing the main square) , Part 4 (small squares) and Part 5 (side strips) first. If you prefer to follow standard written instructions instead of the version with lots of pictures, head here.
Once you’ve blocked your main squares, small squares and side strips, you’re ready to begin crocheting the bag’s side pieces together – each side is made up of one main square, three small squares and two side pieces.
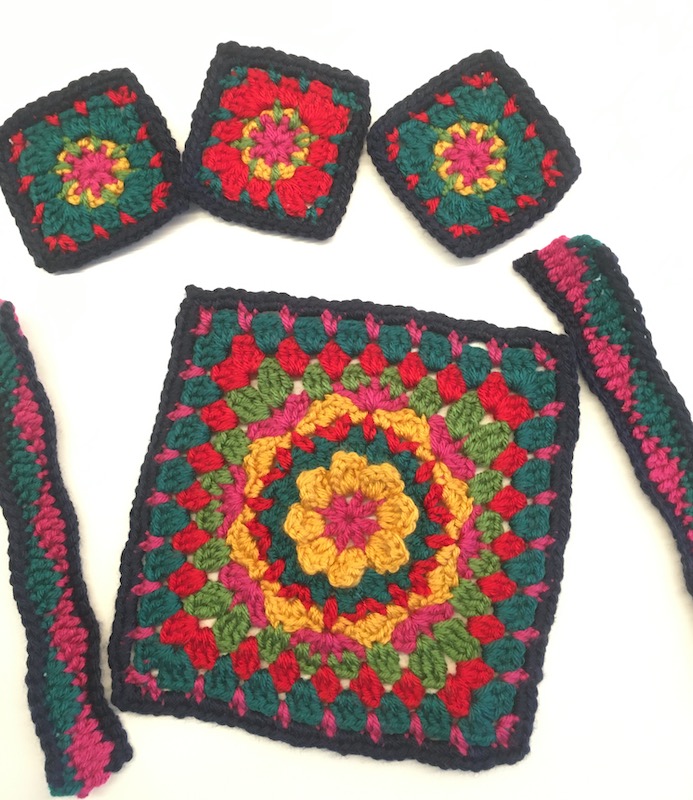
First you need to crochet three small squares together.
Place two squares, wrong sides together,
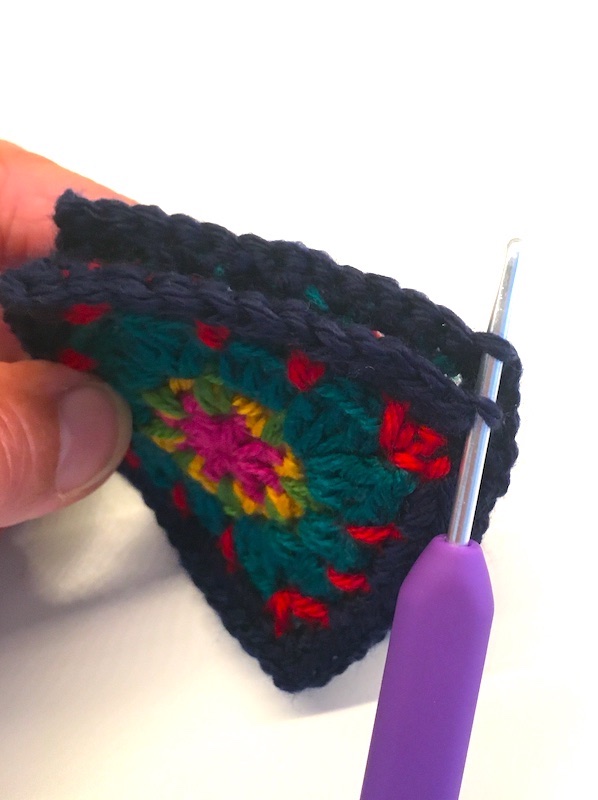
and join by working a double crochet through each stitch, catching one loop on each square (the outer loop) for each stitch.
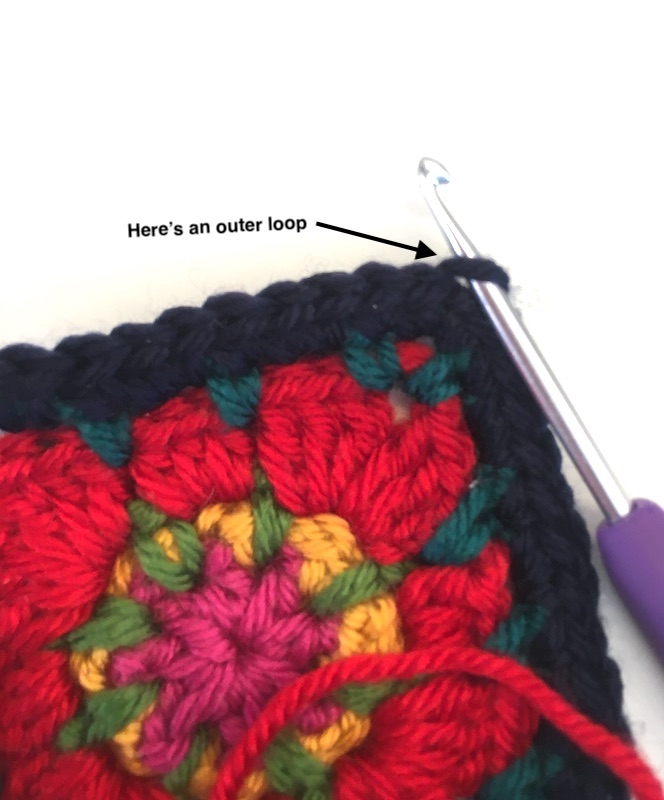
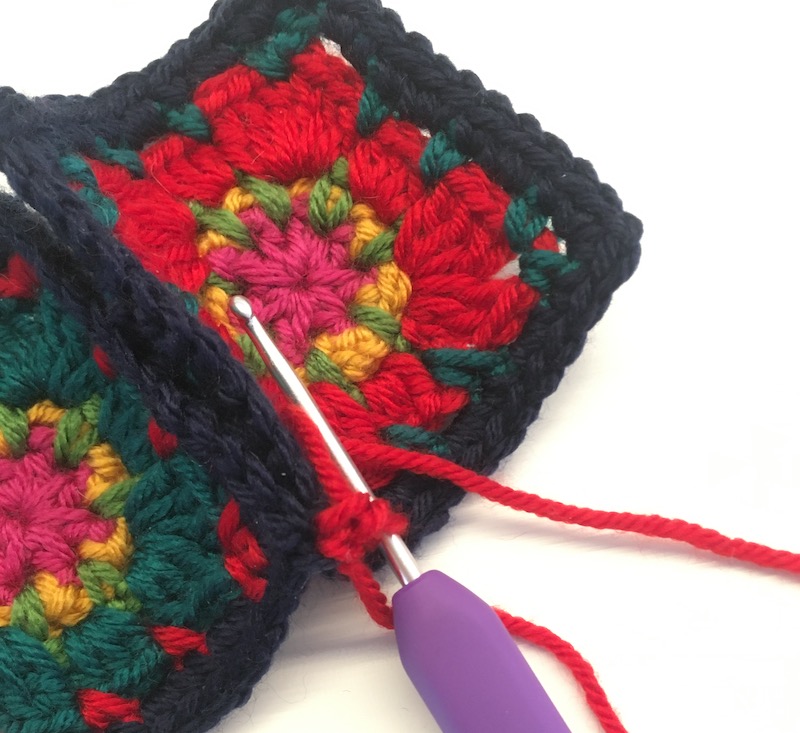
You can start with 1 chain stitch, but make sure you also work a double crochet in the first stitch before making your way along the side.

You end up with a ridge on the right side.

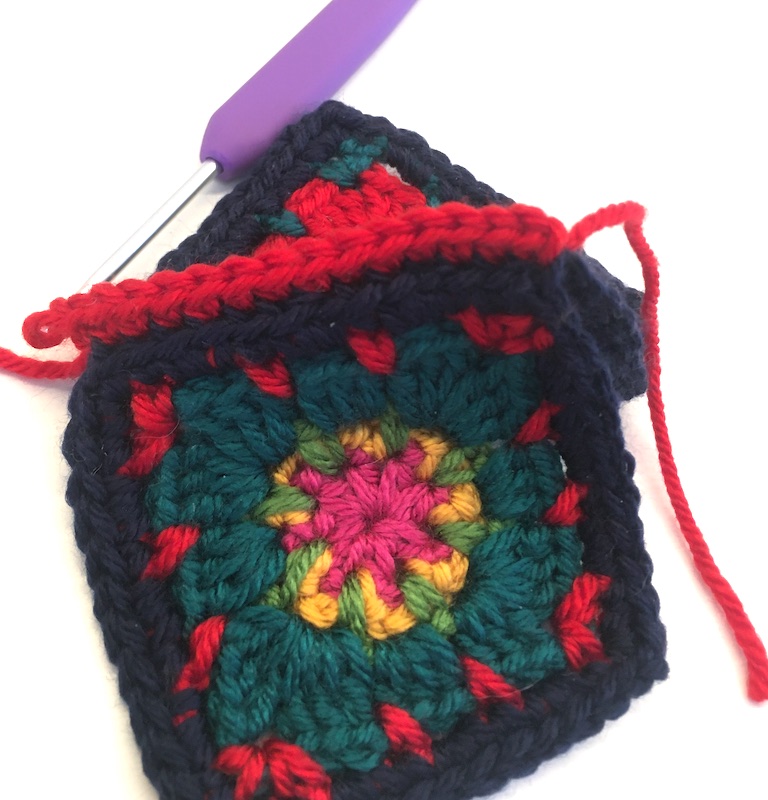
I chose to do all my joins in the same colour, but it’s entirely up to you what colours you choose.
Now join these two squares to the third square in the same way.
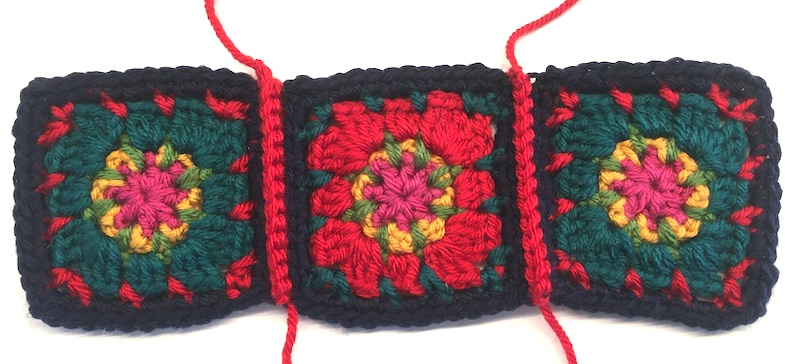
Now make another three-square strip for the other side of the bag.
Next it’s time to join the side strips to the main square.
Place wrong sides together, pinning the long side of a strip to one side of the main square. It’s best if you match each end of the strip to the corners of the square and pin those first, then ease the rest of the strip to fit and pin the middle.
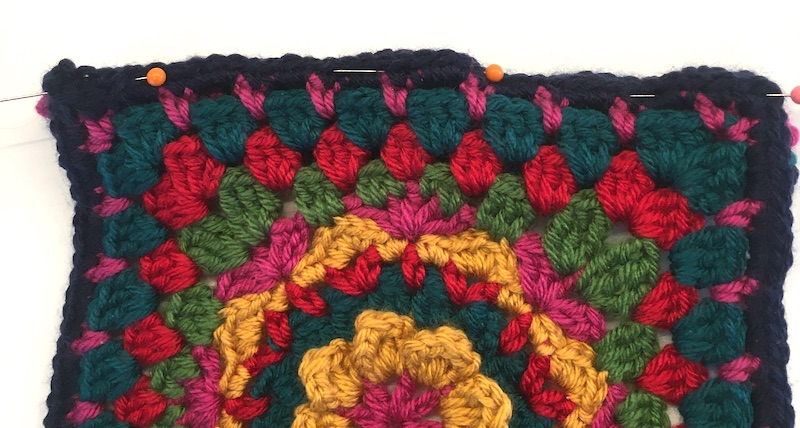
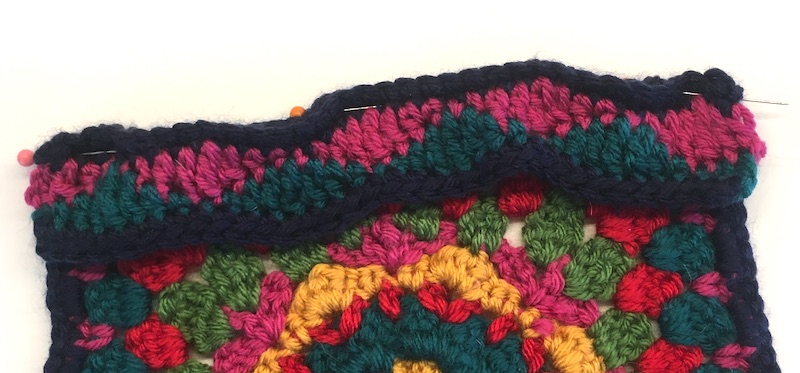
Now join with double crochets in each stitch all the way along, catching one loop on the main square and one loop on the side strip for each stitch. Now join the other side strip to the other side of the square in the same way.
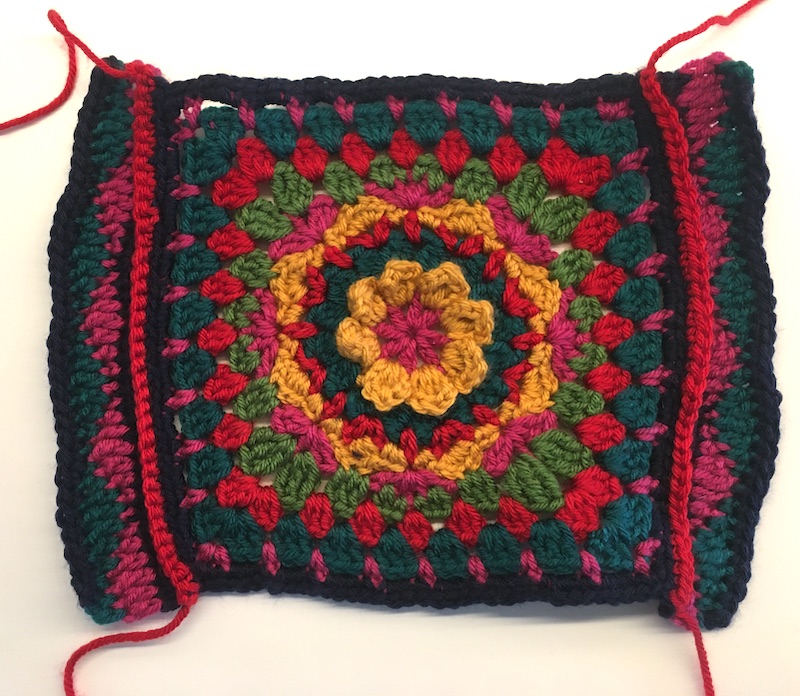
Finally join the top strip of three squares to the main square with the side strips attached – they should fit exactly. Place the wrong sides together and pin the corners first, then the mid point, then ease the pieces and pin before you join them – make sure the edges match up.
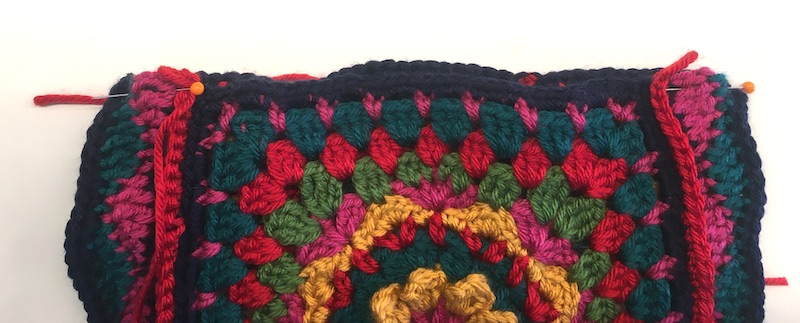

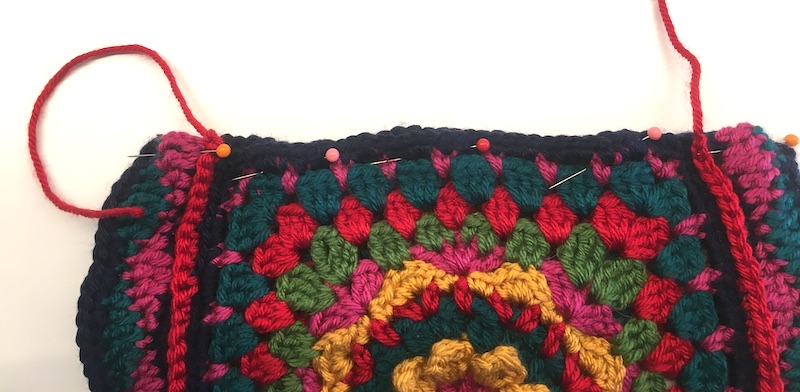
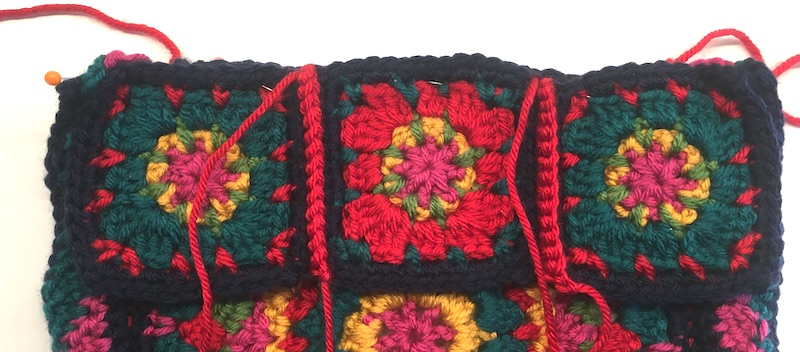
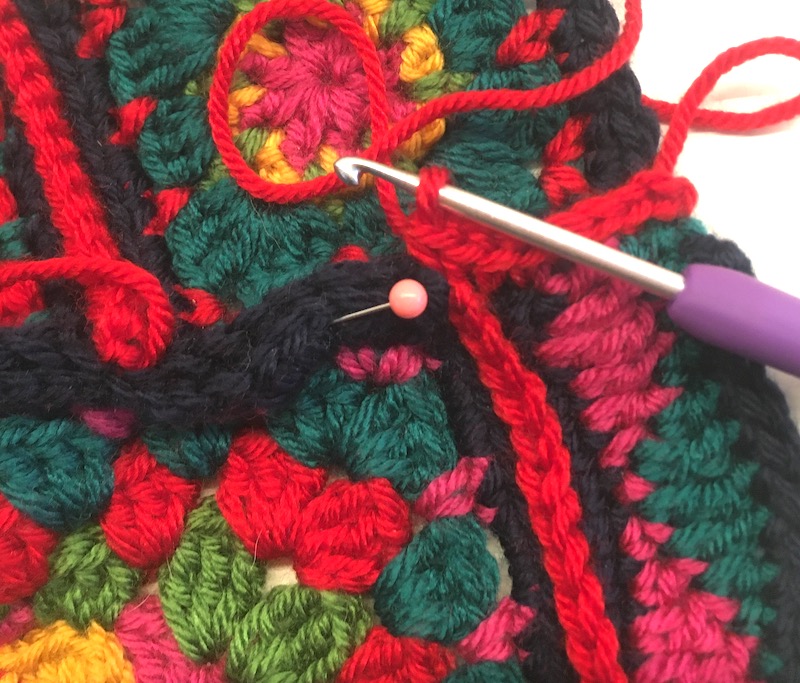
Now, catching one loop (or bit of edge) on each piece and working in double crochet as before, work all the way across. Bear in mind that for the short edge of the side strip, you won’t be working into the loop on the strip, but into the edge of one of the stitches – as in the following picture.

Take care when you get to the place where you joined the strip to the main square – be careful not to leave a gap here, even if it means making an extra stitch.
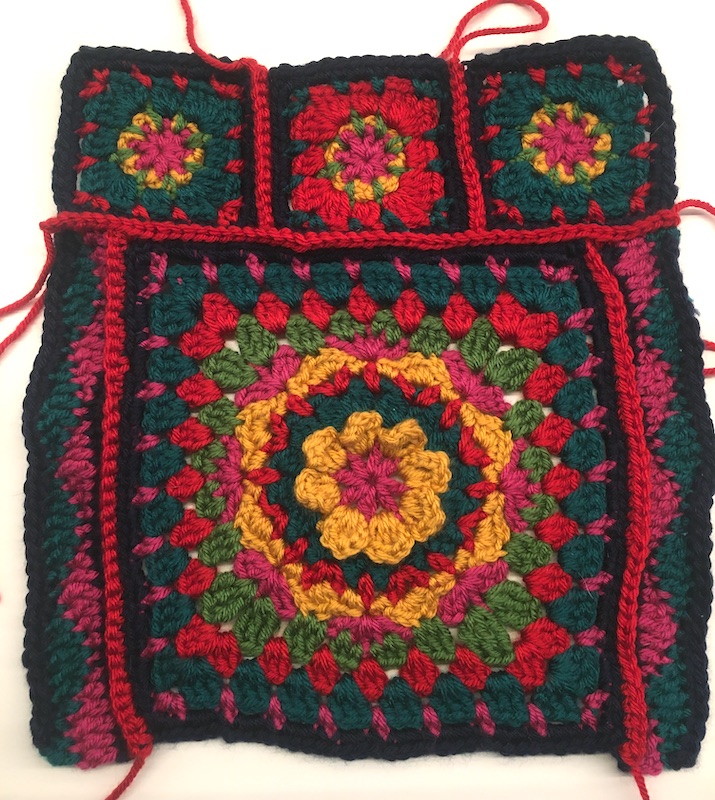
Now complete the other side to match.
These again won’t necessarily look exactly square at this point, but don’t worry, once the finishing touches have been done, it should all look perfect!
In the next part. we’ll be making the gusset of the bag, so you to have the sides completed before you do that to that you make sure you make the gusset the correct length. Find Part 7 here.
Share your photos on social media with the hashtag #SpringBagCAL
